Stop, breathe, and quickly check for injuries, water, and shelter; if you’re safe, note your last known point, look for trail markers or natural cues, and try to fix your position on a map using compass bearings or nearby ridges. Build a small high‑ground fire or use a whistle or reflective mirror to signal, then create a wind‑blocked shelter with insulating ground cover and extra clothing to stay warm. Follow a visible ridge, creek, or distant peak while regularly confirming landmarks, and decide whether to stay put or backtrack based on your assessment—more details await if you keep going.
TLDR
- Stop, stay calm, and assess injuries, hydration, and available resources before deciding to move.
- Determine your location by matching terrain features, contour lines, and landmarks to a topographic map or compass bearing.
- Choose a safe action: stay put, backtrack to the last known point, or signal for help using a fire, whistle, or reflective device.
- Build a wind‑protected shelter with insulating ground material and extra clothing to retain heat.
- Use natural cues—distant peaks, ridges, or streams—to navigate back, regularly reassessing position against the map.
How to Assess Your Situation When Lost

Where do you start when you realize you’re lost? Stop immediately, halt movement, and breathe, avoiding panic. Recall your last known point, retrace mentally, and note any missing landmarks. Scan surroundings for trail markers, footprints, or natural cues like sun or river. Assess injuries, dehydration, and resources. Decide whether to stay, backtrack, or signal, prioritizing safety over progress. Check for a signal and attempt to contact help if possible. If you carry navigation tools, consult your map and GPS backups to orient yourself and plan your next move route planning.
Locate Your Position on the Trail
First, scan the terrain and match the contour lines, ridges, or valleys you see to your topographic map, noting any distinctive landmarks like a creek crossing or a peak. Then, check your compass bearing and compare it to the map’s orientation, adjusting your position as you spot familiar features. Finally, use nearby natural lines of position—trails, roads, or power lines—to pinpoint where you are, intersecting those clues for a reliable fix. Also, whenever possible carry and consult a topographic map to improve accuracy and safety while relocating yourself.
Assess Terrain Features
How can you pinpoint your exact location on a trail when the path disappears? Scan the horizon for ridges, valleys, and peaks, then match them to contour patterns on your map. Close‑spaced lines mean steep cliffs, wide spacing signals flat ground, V‑shaped lines mark ridges, U‑shaped lines reveal valleys, and concentric circles indicate summits. Use an altimeter, landmarks, and handrails like streams to confirm your position.
Check Compass Bearing
After you’ve matched the ridges and valleys to your map, the next step is to lock in a compass bearing so you know exactly which way to go.
Place the map on a flat surface, align the compass edge with your intended path, point the arrow forward, then rotate the bezel until the red needle lines up with map north.
Hold the compass flat, turn your body until the magnetic needle matches the orienting arrow, and keep it steady while you walk.
Adjust for declination if needed, and double‑check by sighting a known landmark or using a GPS waypoint for extra confidence.
Identify Landmarks Nearby
Where are you right now on the trail, and which landmarks can confirm your location? Scan for a single blaze on a tree to know you’re on a straight segment, then look for two offset blazes marking a turn, stacked double blazes indicating a junction, and cairns perched on treeline. Spot a distinctive mountain silhouette, creek, or ridge; match it to your map, and you’ll pinpoint your position.
Signal for Help: Fire, Whistle, or Mirror
When you’re lost, choosing the right signal can mean the difference between being spotted quickly and staying unnoticed for hours.
Build a small, high‑ground fire with a teepee shape; its smoke shows wind direction and can be seen for miles.
Use a whistle only when rescuers are nearby, as sound fades quickly.
Carry a reflective mirror or any shiny metal, aim sunlight toward the sky, and flash intermittently for long‑range visibility.
Maintain steady pressure on signaling devices to ensure consistent, effective signals.
Build a Simple Shelter and Keep Warm
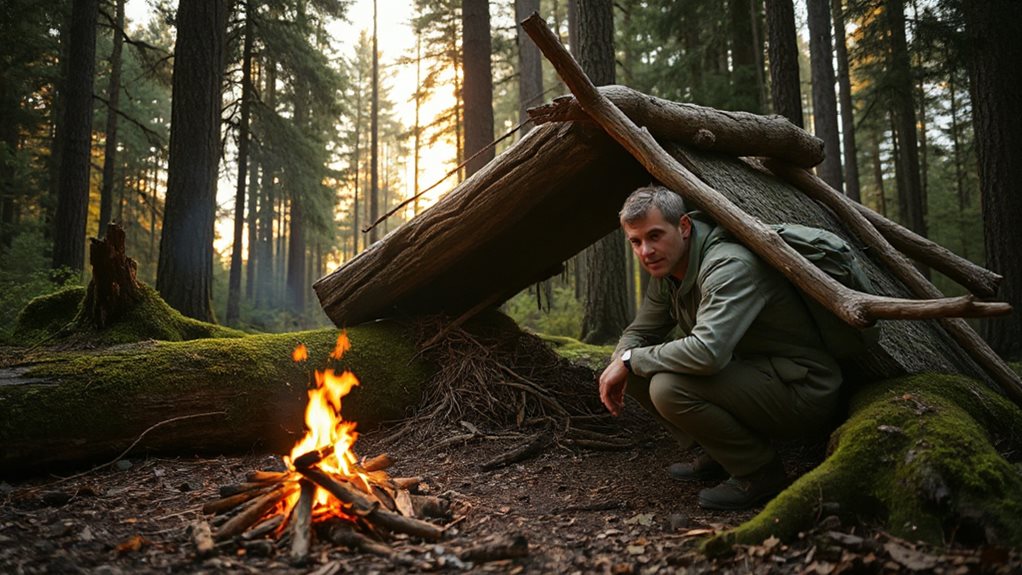
Find a natural windbreak—like a stand of trees or a rock outcrop—to shield your shelter from gusts, then lay down an insulating ground layer of pine boughs, dry leaves, or moss to keep the cold earth at bay.
Use your extra clothing as a heat‑retention blanket, stuffing it between the frame and the ground or draping it over the interior walls for extra warmth.
Build the shelter on high, dry ground and add layers of natural insulation to block wind and rain.
Choose A Natural Windbreak
A natural windbreak can be your best ally when you need a simple shelter and warmth on the trail, and you’ll find that evergreen trees, boulders, or dense brush often provide the most reliable protection.
Position yourself perpendicular to the wind, using a ridge, boulder, or thick thicket as a barrier.
Choose level ground, avoid wind tunnels, and face your shelter opening away from gusts, gathering branches, rocks, and leaves to reinforce the wind‑blocked side.
Build a Insulating Ground Layer
A solid insulating ground layer is the foundation of staying warm in a simple shelter, and it works by trapping dead air and preventing heat loss to the cold earth beneath you.
Gather dry pine needles, leaves, or grass; stack them 6‑12 inches thick, shingling from bottom to ridge for stability. Keep layers loose to preserve air pockets, and add more if they compress. Use a tarp or foam pad underneath to block moisture and enhance R‑value. Inspect regularly for gaps, and replenish as needed.
Use Clothing for Heat Retention
After you’ve set up a solid insulating ground layer, the next step is to keep the heat you generate from escaping your body.
Slip on a moisture‑wicking base, add a fleece mid‑layer, then a shell with pit‑zips for venting.
Wrap a neck gaiter, wear a hat, and tuck spare socks or a Mylar blanket around you.
Remove sweaty layers promptly, and use a hot‑water bottle wrapped in spare clothing for extra warmth.
Navigate Back Using Natural Landmarks

Where do you turn when the trail disappears? Spot a distant peak or cliff, then pick a nearer ridge or saddle that lines up with it. Follow a creek or valley that runs parallel, keeping the cliff face in view.
Before you reach each landmark, identify the next one—clearings, hills, or three aligned markers—to stay on course.
Match terrain to your map, and you’ll navigate back confidently.
Move Now or Wait for Rescue?
When the trail disappears, you might wonder whether to keep moving or stay put for rescuers. If you stay, search teams find 40% of lost hikers, average rescue takes ten hours, and you’re likely within fifty‑eight meters of a trail.
Moving can give a better view, but injuries rise, cognitive function drops, and you expand the search area. Weigh risk, terrain, and your condition before deciding. Longer paddles provide more powerful strokes but can lead to quicker fatigue paddle length.
Final Note
By staying calm, assessing your surroundings, and using simple tools—like a map, a whistle, or a reflective surface—you can greatly improve your odds of getting back safely. Build a shelter if needed, keep warm, and mark your path with natural landmarks to avoid wandering further. If rescue is imminent, signal clearly; otherwise, move methodically toward known points. Remember, careful planning and steady actions are your best allies when you’re lost on the trail.


