A hydration bladder is a flexible, BPA‑free reservoir that slides into your pack, connects to a bite‑valve hose, and lets you sip water hands‑free by using gravity and a valve that opens only when you bite. The hose runs through your shoulder straps, the bite‑activated valve seals automatically when you stop, and a quick‑release connector lets you detach or drain the tube easily. You’ll find capacity options from 0.5 L to 3 L, and tube length should match your torso for comfortable reach, so if you keep reading you’ll discover how to choose, install, and maintain the perfect setup for your adventures.
TLDR
- A hydration bladder is a flexible, BPA‑free rubber or plastic reservoir (1–3 L) that fits inside a backpack for on‑the‑go water storage.
- Water exits through a hose attached to the bladder’s bottom, using gravity and a bite‑activated valve for hands‑free sipping.
- Installation involves rinsing, filling, sealing the cap, securing the bladder in a Velcro hanger, threading the hose through shoulder pass‑throughs, and clipping the bite valve.
- Choose bladder capacity and tube length based on activity length, terrain, and torso size to balance weight, balance, and comfortable reach.
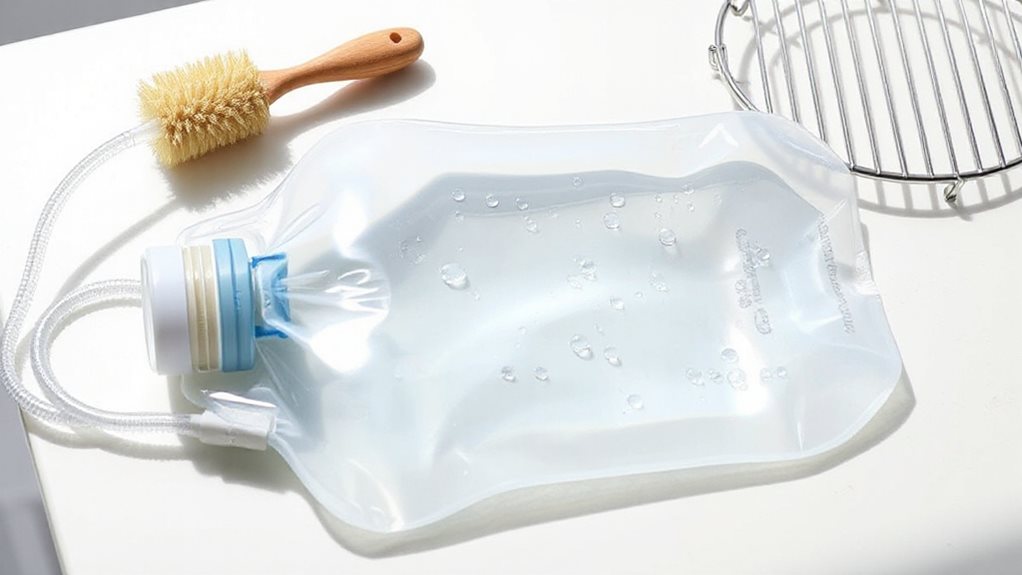
- After each use, rinse, soak, and scrub the bladder and hose, then hang upside down to dry completely to prevent mold and odor.
What’s a Hydration Bladder, Anyway?
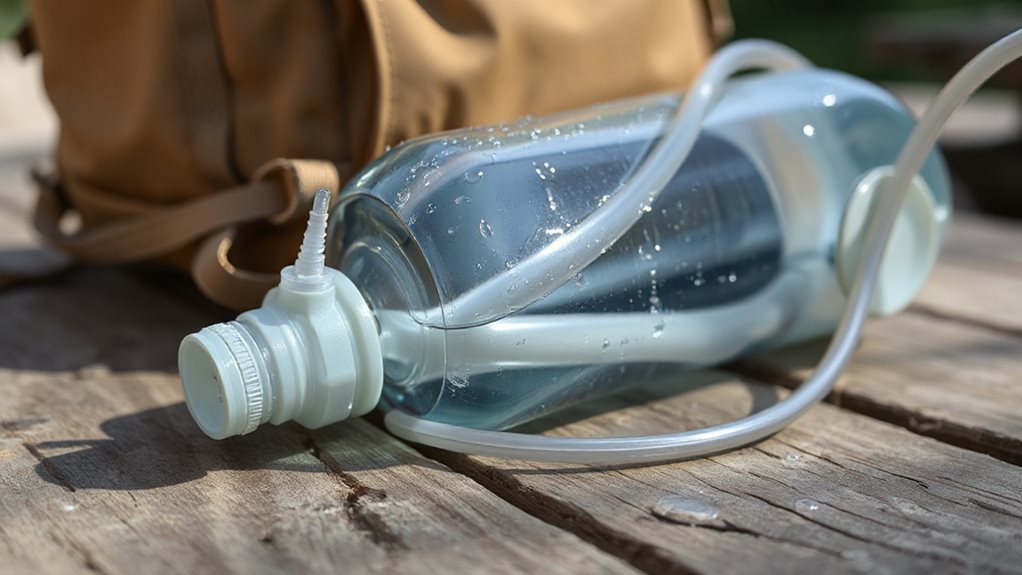
What exactly is a hydration bladder, and why does it matter for anyone who spends time on the trail or in the field? It’s a flexible, reusable water container that fits snugly inside your pack, made of BPA‑free rubber or plastic. A tube runs to a bite‑valve, letting you sip hands‑free. Capacities run 1‑3 liters, so you stay hydrated without stopping, keeping momentum and freedom. The bladder is stored in a backpack with the container against the back, and the drinking tube runs over the shoulder to the mouth, allowing hands‑free drinking. A common complement to hydration systems is a dry bag for protecting other essential gear from moisture.
How Do the Hydration Bladder’s Components Enable Hands‑Free Drinking?
Ever wonder how a hydration bladder lets you sip without stopping? The hose attaches at the bottom, so gravity pulls liquid from the lowest point, while the vertical shape keeps the bladder from collapsing. A bite‑activated valve opens when you bite, sealing shut when you release, and a quick‑release connector lets you attach or detach the hose instantly. Tubes route through shoulder straps and pack keepers, stabilizing the path, and anti‑siphon features prevent backflow, ensuring leak‑free, hands‑free drinking. Using quality components like durable hoses and valves improves reliability and durability in the field.
How to Install and Use a Hydration Bladder
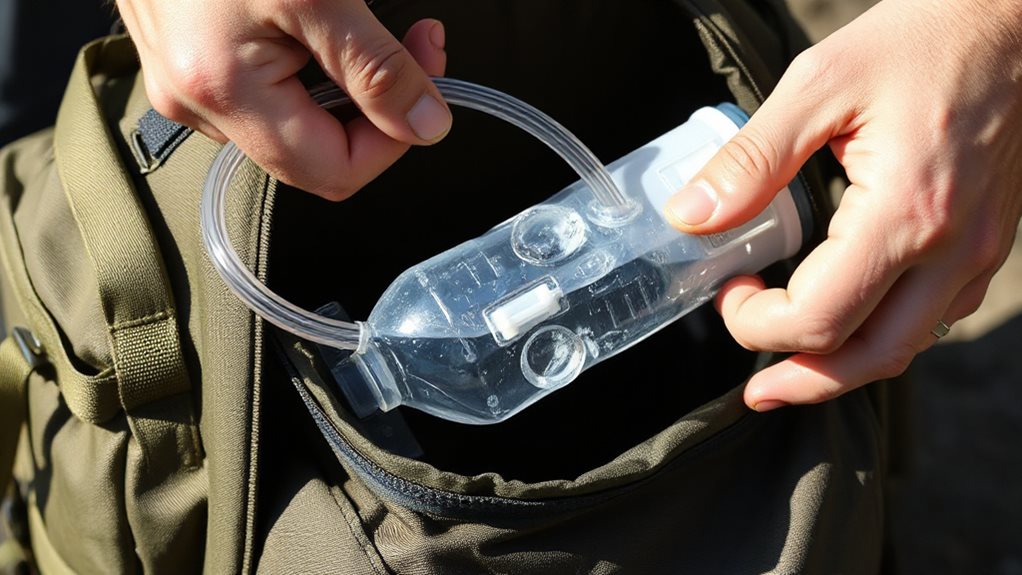
The hands‑free drinking you just learned about becomes practical once you correctly install the bladder and route its hose. Rinse the bladder, fill with water, screw the cap tight, then slide it into the pack’s Velcro hanger, securing it.
Thread the hose through shoulder pass‑throughs, clip it, click the bite valve in, and zip the pack. When you sip, the valve self‑seals; press the quick‑release to disconnect, drain, and dry.
How Should I Choose Capacity and Tube Length for My Activity?
Choosing the right bladder capacity and tube length hinges on the length of your outing, the climate, and how your pack fits your body. For short hikes or runs, a 0.5‑1 L bladder keeps weight low; for day hikes with water sources, 1‑2 L works well. In hot or water‑scarce terrain, aim for 2‑3 L, balancing weight and balance. Pick tube length that reaches comfortably from the pack to your mouth without excess, matching torso size and activity.
How Do I Clean, Dry, and Store My Hydration Bladder?
How do you keep your hydration bladder fresh, mold‑free, and ready for the next excursion?
Empty and rinse it right after use, then soak three‑quarters full of warm water with lemon juice, vinegar, or a cleaning tablet for 5‑30 minutes.
Scrub the interior with a soft brush, flush the tube using a brush, and rinse until clear.
Hang upside down, prop open with towels, let air‑dry completely, then store in a freezer or dry, dark place.
Kayaking regularly can help you stay fit and manage your weight, so keeping your hydration system clean is important for weight loss and performance.
What Are Common Issues and How Do I Fix Them?
Ever notice a strange smell or sluggish flow when you reach for a drink? Mold thrives in moist, porous surfaces, so rinse and scrub the bladder, tubes, and valve after each use; dry them thoroughly, preferably with a clean cloth or by hanging upside down.
Store the unit empty in a cool, dry place, or freeze it between trips to halt bacterial growth.
Use a brush for tube interiors, soak the bite valve in mild soap, and rinse well to eliminate biofilm and restore proper flow.
If you store water for extended periods, remember that freshwater in tanks should generally be consumed within two weeks to avoid contamination.
Why Is a Hydration Bladder Better Than a Traditional Bottle?
You’ll notice the hose lets you sip without stopping, so your hands stay free and your stride stays steady.
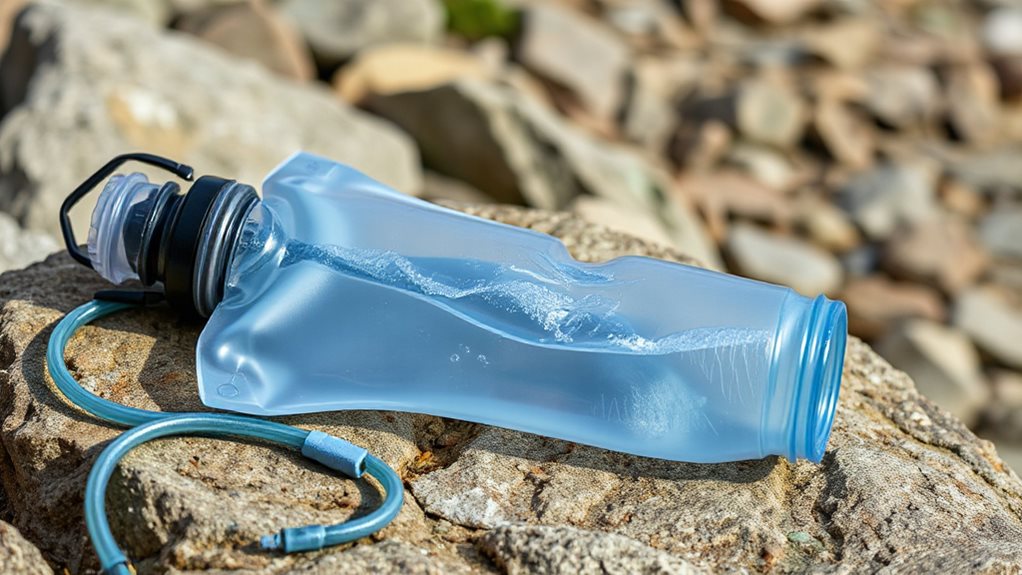
The bladder’s soft, roll‑up design spreads weight more evenly across your pack, making it feel lighter than lugging a rigid bottle.
And because you can carry two to three liters in one unit, you’ll refill far less often, keeping you hydrated on long hikes without the hassle of multiple bottles.
Mullet spawning runs can concentrate predators and create predictable feeding frenzies that illustrate how efficient, hands‑free hydration is crucial during prolonged outdoor activity.
Hands‑Free Hydration
A hydration bladder lets you sip continuously without stopping, because the tube hangs over your shoulder and stays within reach while you move. You keep your stride, never pause to uncork a bottle, and the hose reminds you to drink every few minutes, enhancing regular hydration.
With 2‑3 L capacity you carry twice the water of a 32 oz bottle, yet the system stays lightweight, compact, and effortless on the trail.
Weight Distribution Advantage
Why does a hydration bladder feel lighter on the trail? Because it sits inside your pack, spreading weight evenly across your back, not concentrating it in a hand or shoulder bottle. This balance keeps your posture steady, reduces shoulder and arm fatigue, and prevents sloshing shifts. You’ll enjoy smoother momentum, less muscular strain, and a stable, comfortable carry for long distances.
Extended Capacity Convenience
How much water can you realistically carry without feeling weighed down? A hydration bladder holds 2‑3 liters, double the 32 oz bottle most hikers lug. You’ll sip via a shoulder hose, never stopping your stride, and you’ll refill far less often—ideal when sources are scarce. The empty bladder rolls up, saving pack space, and its weight distributes evenly, keeping you light and free on the trail.
Final Note
You’ve learned that a hydration bladder offers hands‑free drinking, easy refilling, and customizable capacity to match any activity. By installing the bladder, securing the tube, and using the bite valve, you stay hydrated without pausing. Proper cleaning, drying, and storage keep it hygienic and ready for the next undertaking. Choosing the right size and tube length guarantees comfort, while troubleshooting common issues—like leaks or clogs—keeps performance reliable. In short, a bladder simplifies fluid intake, letting you focus on the trail, not the bottle.


