Pick a heat source that matches your trip—two‑burner propane for car camping, a lightweight backpacking can, or liquid fuel for high altitude—and pair it with a skillet, Dutch oven, collapsible cutting board, and a reliable 32‑oz hydration bottle. Pre‑marinate meats, freeze‑dry meals, and portion rice or pasta in labeled bags to cut prep time and waste. Use foil‑packet meals or a one‑pan breakfast skillet for quick, minimal‑cleanup cooking, and store food in an IGBC‑certified canister or hang it 12‑15 feet to keep bears away. Follow fire‑safety steps: clear a 10‑foot radius, build a teepee of kindling, keep water nearby, and respect local rules. Clean with a two‑bin dish routine, dispose of trash promptly, and maintain gear regularly for reliable performance. Continue for more detailed tips.
TLDR
- Choose a heat source suited to your trip (propane stove for car camping, lightweight backpacking stove, or liquid‑fuel stove for high altitude).
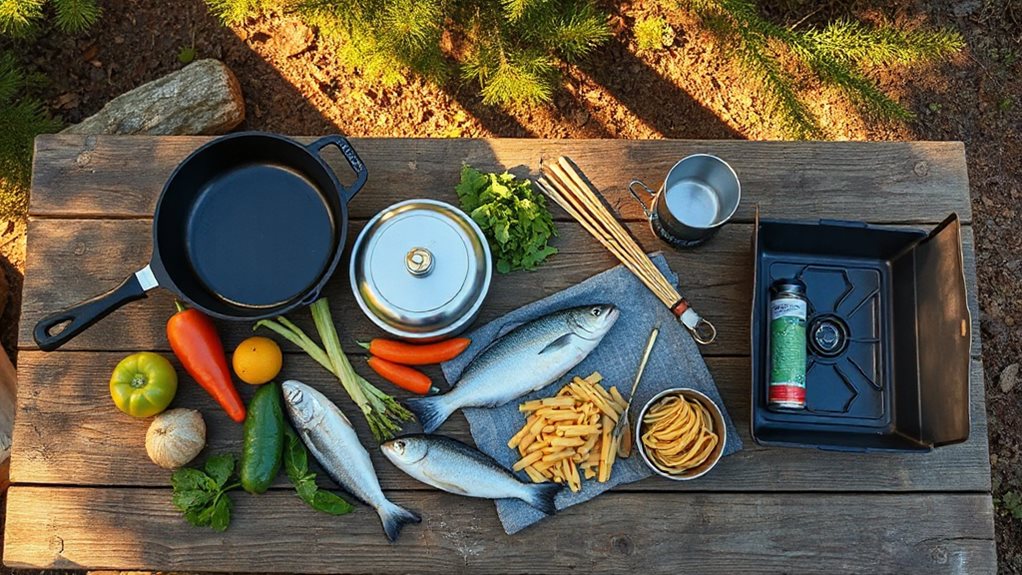
- Pair the stove with essential cookware: a skillet or Dutch oven, nesting pots, a sharp knife, and a collapsible cutting board.
- Pre‑prepare meals: marinate meat, pre‑cook proteins, portion rice/pasta/veggies, and label bags by day to reduce on‑site cooking time.
- Store food securely in bear‑proof containers or odor‑proof bags, and hang leftovers 12–15 ft off the ground.
- Follow fire‑safety protocols: clear a 10‑ft radius, use a fire pit or designated area, keep water or an extinguisher nearby, and separate cooking and sleeping zones.
Essential Gear for a Camping Cooking Guide
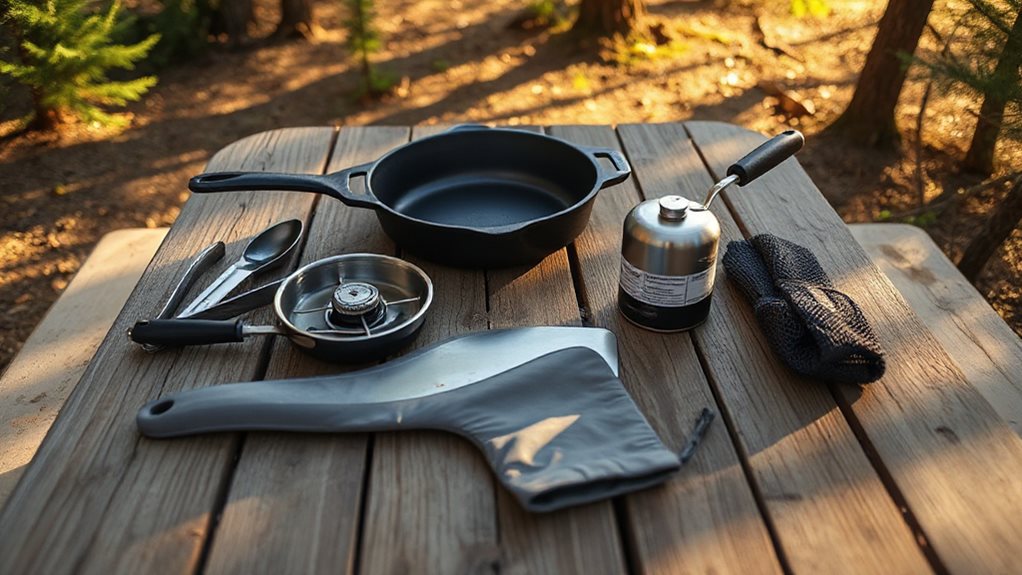
One of the first decisions you’ll make when planning a camp kitchen is choosing the right heat source and fuel. You’ll likely pick a two‑burner propane stove for car camping, a lightweight backpacking stove for minimal weight, or liquid fuel for high altitude. Consider your budget and ongoing costs when selecting gear and plan for campground fees and occasional repairs.
Pair it with nesting pots, a cast‑iron skillet, a sharp knife, a collapsible cutting board, and biodegradable soap to keep cooking efficient, clean, and free‑spirited. Remember to include a can opener for those canned meals that are easy to forget.
How to Light a Fire Safely and Quickly
Where should you set up your campfire? Choose an open spot away from low branches and flammable material, preferably a designated fire pit or stone ring, at least three metres from structures. Clear a ten‑foot radius of dry grass and twigs. Arrange kindling in a teepee over tinder, add starter wood in a log‑cabin shape, and keep gaps for airflow. Use newspaper or eco‑cubes for ignition, shield from wind, and keep water or an extinguisher within reach. Always move to a durable surface and keep pets leashed when preparing a fire to protect the land and other users durable surface.
Select the Best Camping Cookware for Each Dish
When you’re cooking breakfast, grab a lightweight skillet that heats evenly for eggs, pancakes, and bacon, and you’ll get a quick, mess‑free start to the day.
For hearty stews or braised meals, a Dutch oven’s deep, thick walls hold heat and moisture, letting flavors meld while you simmer over a campfire.
Choosing the right piece for each dish saves fuel, reduces cooking time, and keeps your outdoor kitchen organized.
Also consider carrying a 32 oz bottle for consistent hydration on outings, since it’s the standard Nalgene wide‑mouth capacity.
Skillet For Breakfast Dishes
Which skillet should you grab for a hearty camp‑breakfast, and why does size matter? A 12‑inch Lodge cast‑iron skillet radiates heat, cooking potatoes, sausage, and eggs for four‑to‑six people in one pan, while a 10‑inch works for two‑to‑four.
Pre‑seasoned iron holds heat evenly, crisping hash browns and frittatas; a lid prevents runny eggs.
Use butter or bacon drippings, preheat ten minutes, and nestle the pan in coals for controlled, flavorful results.
Dutch Oven For Stews
What makes a Dutch oven the go‑to pot for campfire stews? Its 12‑inch cast‑iron body holds heat evenly, letting you sear beef, then simmer broth, potatoes, carrots, and herbs for hours while the lid traps moisture. Place coals under and on the lid, rotate for even heat, and you’ll get tender meat, rich gravy, and minimal cleanup—perfect freedom for outdoor cooking.
Pre‑Trip Food Prep Hacks to Save Time & Space
Ever wondered how a simple kitchen routine can shave hours off your campsite setup and free up precious space in your pack?
Marinate chicken or pork in zip‑lock bags, freeze patties, and pre‑cook taco meat or pulled pork for instant reheating.
Portion rice, pasta, and veggies, label bags by day, and ditch bulky store packaging.
Use freeze‑dried meals, pre‑mixed seasonings, and snack kits to stay organized, light, and ready for freedom on the trail.
Bring reusable containers and utensils to minimize disposable waste and cut packaging while camping by reducing single‑use items and trash (reusable containers).
Beginner‑Friendly Foil‑Packet Meals
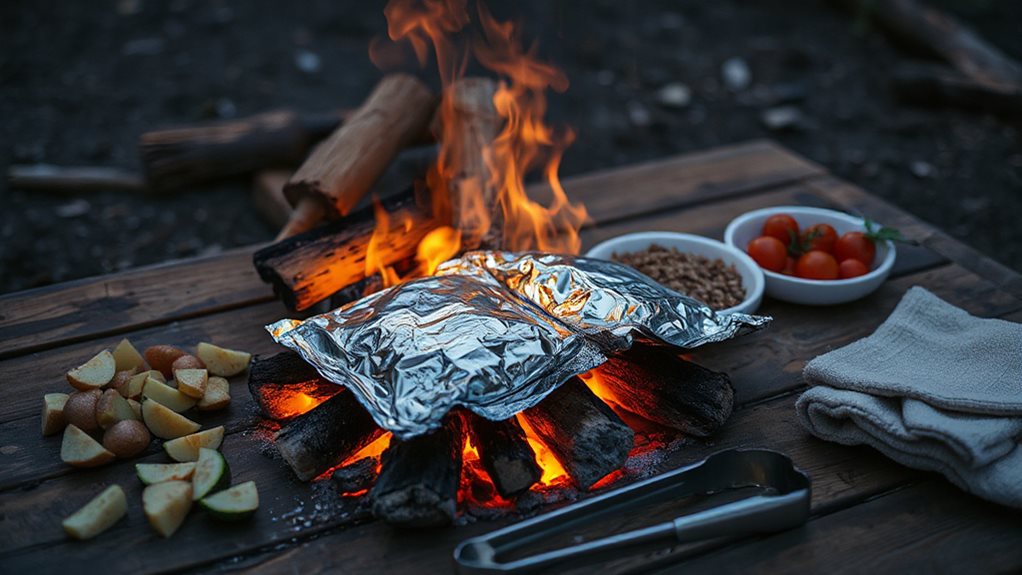
You’ll find that prepping ingredients is as simple as chopping uniform pieces, seasoning them, and tossing them onto a sheet of heavy‑duty foil, which creates a fire‑proof packet that locks in heat and moisture.
By folding the foil tightly and double‑layering when needed, you protect the food from direct flames while letting it steam to tender perfection.
After the cook, just discard the foil and you’ve got a quick cleanup with no pots, pans, or lingering mess.
Many outdoor cooks enjoy preparing foil packets on trips to parks with scenic trails like Gorman Falls and riverside views.
Easy Ingredient Prep
How can you streamline the prep for foil‑packet meals so they’re ready in minutes? Cut meat and veggies to uniform pieces, using smaller cuts for potatoes and carrots so they cook evenly.
Pre‑cook sausage, potatoes, or rice, then store in a cooler.
Layer vegetables first, protein on top, and keep everything on non‑stick, heavy‑duty foil for quick, mess‑free assembly.
Vers Fire‑Proof Packets
What makes a fire‑proof packet truly reliable is the combination of sturdy foil, careful layering, and strategic placement over coals, not over open flames. Use heavy‑duty foil, double or triple it, and line with baking paper to keep food from sticking. Wrap vegetables and proteins tightly, seal edges like a zipper, and set packets on hot coals, flipping with tongs every ten minutes. This method delivers flavorful, mess‑free meals while you enjoy unrestricted outdoor freedom.
Quick Cleanup Tips
Ever wondered how a foil‑packet dinner can leave you with almost nothing to wash? You’ll love the single‑vessel approach: just pack, seal, and cook.
Pre‑marinate and pre‑cut at home, then toss everything into double‑layer foil, fold tight, and let the fire or oven do the work.
When you’re done, discard the packets, and you’ve avoided pots, pans, and lingering grease.
One‑Pan Breakfast Skillet Ideas on the Trail
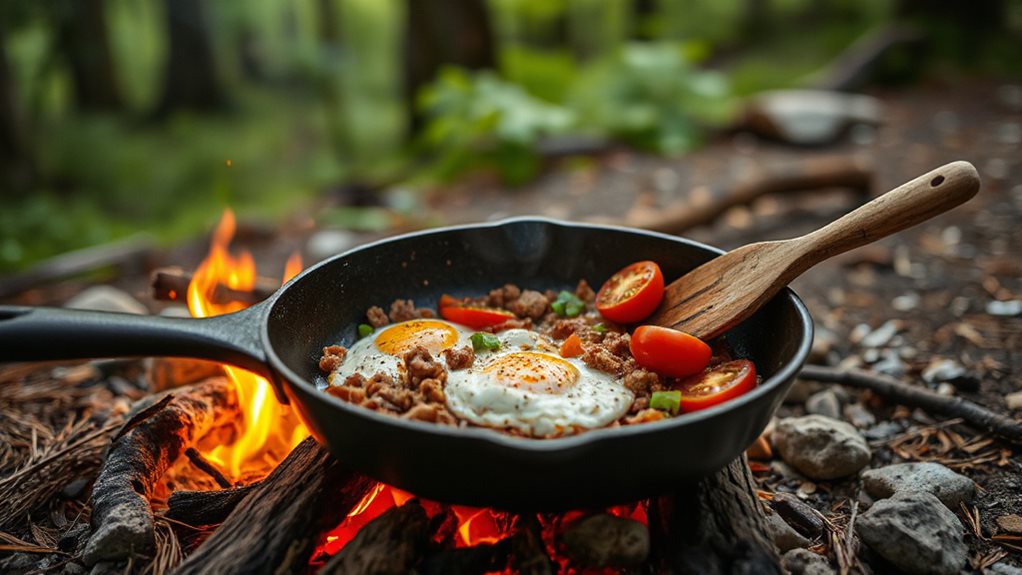
Ever wondered how to turn a simple cast‑iron skillet into a hearty, one‑pan breakfast on the trail?
Preheat it over medium coals, sauté sausage or bacon until browned, then add cubed Yukon gold potatoes, diced onion, and green pepper; stir for ten minutes until soft and colored.
Crack eggs on top, cover, and cook three to five minutes.
Sprinkle cheddar, let melt, and enjoy freedom‑filled mornings.
Cook Dutch Oven Stews and Bread on the Trail
How can you turn a simple cast‑iron Dutch oven into a reliable kitchen for both hearty stews and crusty trail bread? Preheat the 12‑inch pot over medium coals, melt a splash of oil, dust cubed beef with flour‑paprika, brown it, then sauté onions, garlic, and peppers. Add broth, wine, herbs, and simmer 1‑2 hours, stirring occasionally. Toss veggies last, cook until tender. For bread, mix flour, yeast, salt, sugar, warm water, and oil; let rise an hour, place dough on parchment inside the hot oven, and bake 45‑60 minutes, rotating coals for even heat. Enjoy a rugged, self‑sufficient feast.
Cleaning Up Without Leaving a Trace
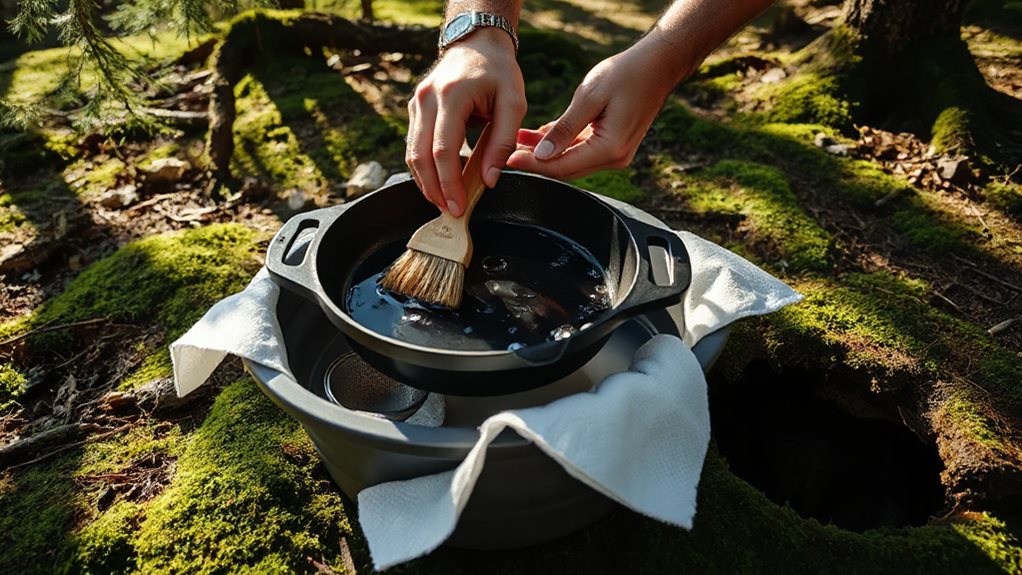
Where does the line between a tidy campsite and a littered trail begin? You pack disposable towels, trash bags, and a weather‑proof supply kit before you cook; set up a trash station, line drip trays with foil, and keep microfiber cloths handy. After meals, wipe countertops, scrub stubborn stains with baking soda, rinse with vinegar, and run a two‑bin dishwash routine—hot soapy water first, then a cold rinse. Boil utensils, empty trash promptly, and finish with a ten‑minute clean‑up to leave nothing behind.
Bear‑Proof Food Storage & First‑Aid Essentials
A solid bear‑proof plan starts with the right containers and a clear first‑aid kit, so you’ll stay safe and keep the wilderness pristine.
Use an IGBC‑certified canister, pack food in odor‑proof bags, and hang leftovers 12‑15 feet up, away from trees.
Keep scented items far from tent, store spray and flashlights in the shelter, and separate sleeping and cooking zones for freedom‑focused, low‑impact adventures.
Final Note
Now you’ve got the gear, fire‑lighting tricks, cookware choices, and meal ideas to cook confidently in the wild. Pack smart, prep ahead, and use foil packets or a Dutch oven for hassle‑free meals. Keep your site clean, store food bear‑proof, and carry basic first‑aid. Follow these steps, and you’ll enjoy tasty, safe, and low‑impact cooking on every excursion.


