Choose a lightweight, weather‑sealed mirrorless camera like the Sony a6000 or Panasonic G85, pair it with a versatile 24‑105 mm zoom, a sturdy tripod, and a circular polarizer to tame glare. Pack rain covers, dry bags, silica packs, and layered UPF‑rated clothing to stay safe and dry. Set ISO 100, shoot at f/8‑f/16 for depth, and use a 1/60 s shutter on a tripod for low‑light stability; review histograms in RAW. Select wide‑angle lenses for landscape, telephotos for wildlife, and organize files with a clear folder hierarchy and backup routine. Continue for deeper tips.
TLDR
- Choose lightweight, weather‑sealed mirrorless cameras (e.g., Sony a6000 or Panasonic G85) with versatile zoom lenses for flexibility in outdoor settings.
- Scout beginner‑friendly locations like Big Bend National Park, aligning terrain with gear capabilities and safety considerations.
- Prioritize safety gear: rain covers, dry bags with silica packs, layered UPF clothing, and navigation tools to protect equipment and yourself.
- Master the exposure triangle: use ISO 100, aperture f/8‑f/16 for depth, and steady tripod shots (e.g., 1/60 s at f/16) while reviewing histograms.
- Organize workflow: ingest images, cull, edit, export, and back up to both external drives and cloud storage.
Outdoor Camera Gear: Pick the Ideal Beginner System
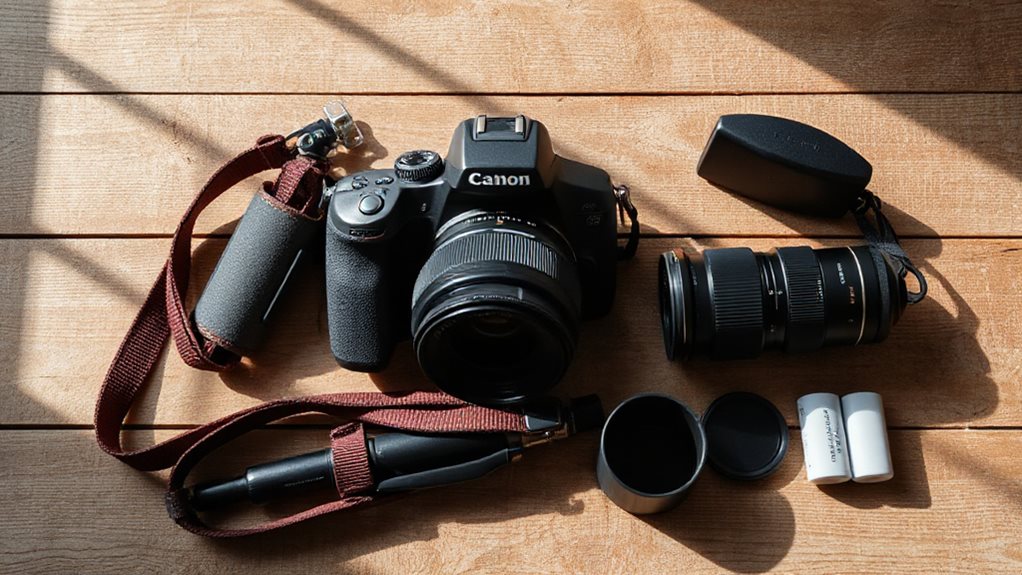
Where should you start when building a beginner’s outdoor camera system? Choose a lightweight mirrorless body like the Sony a6000 or Panasonic G85, both weather‑sealed and offering high dynamic range. Pair it with a versatile 24‑105mm zoom for flexibility, a circular polarizer to tame glare, and a sturdy tripod for stability. Pack a padded bag with rain cover, extra batteries, and a remote shutter for hassle‑free shooting. Consider a full‑frame sensor for superior detail and depth. For scouting locations that offer diverse scenery and beginner‑friendly trails, consider places like Big Bend National Park when planning shoots.
Essential Safety Gear & Field Prep for Remote Shoots
How can you stay safe and keep your gear ready when you’re far from civilization? Pack rain covers and neoprene lens shields to block moisture and bumps, store everything in dry bags with silica packs, and use waterproof car covers for transport. Dress in layered, UPF‑rated clothing, hybrid mittens, and waterproof pants. Carry a head torch, multi‑tool, and phone for navigation, and keep batteries warm in jacket pockets. Secure your tripod with hooks or bean bags, and protect lenses with UV filters and microfiber cloths. After any accident in the field, get your equipment professionally inspected for hidden damage, especially if you suspect a structural failure.
Master Core Exposure Settings for Outdoor Light

When you’re out in the field, mastering the exposure triangle—shutter speed, aperture, and ISO—lets you capture nature’s light exactly as you see it. Use ISO 100 for clean images, bump it only when you need a faster shutter. Choose f/8‑f/16 for sharp depth, start at f/11 for landscapes, and keep shutter speeds steady on a tripod—1/60 s at f/16, ISO 100 works well in low light. Adjust via exposure compensation, shoot RAW, and check the histogram to avoid blown highlights. Paddling engages most upper body muscles, making paddling exercise a good cross-training option for photographers who want to stay fit.
Select Lenses for Landscape, Wildlife, and Macro
You’ll want a wide‑angle lens, such as a 16‑35mm on full‑frame, to capture sweeping terrains and give a sense of place. For wildlife, a telephoto zoom around 200‑400mm, or even 600mm if you can handle the weight, lets you fill the frame with distant animals while keeping a safe distance. And when you shift to macro, a lens with a short minimum focusing distance and a moderate focal length—like a 90‑105mm—provides the 1:1 magnification you need without getting too close to skittish subjects.
Wide‑Angle Landscape Choice
Which lens should you reach for when you want to capture sweeping vistas, dramatic skies, and immersive foregrounds in a single frame?
Choose a 24 mm or shorter wide‑angle for full‑frame, like Canon’s 11‑24 mm f/4L, which offers deep depth of field and scale.
For APS‑C, consider Canon EF‑S 10‑22 mm, and for ultra‑wide, Sony FE 12‑24 mm f/2.8 GM excels in dramatic horizons and leading lines.
Telephoto Wildlife Lens Selection
What distance do you need to fill the frame with a distant animal while keeping the background crisp? Choose at least 200‑300 mm, but 400‑600 mm gives versatile reach; 500‑800 mm works for birds. Prime options like Canon RF 600 mm f/4 or Sony 400 mm f/2.8 deliver speed, while zooms such as Canon RF 100‑500 mm f/4.5‑7.1 cover many scenarios. Crop sensors extend reach, and lightweight lenses reduce fatigue for free‑moving shoots.
Set Up a Stable Tripod and Use Filters for Creative Control

You’ll want to pick a sturdy tripod head that supports your camera’s weight and lets you pan and tilt smoothly, then attach it securely before you start shooting.
Adding a polarizing filter to your lens will cut glare, enhance colors, and enhance contrast, which is especially useful for foliage and water scenes.
With the head locked in place and the filter screwed on, you can fine‑tune composition and exposure while keeping the camera perfectly steady.
Choose Tripod Head
Ever wondered which tripod head will keep your camera steady while letting you compose shots with confidence? Choose a ball head for quick, adjustments—Arca Swiss Monoball Z1 delivers top quality, Sirui K‑40X offers value, and Acratech GXP balances capacity and weight.
If you need precise control, a pan‑tilt head like Manfrotto X Pro 3‑way works, though it’s bulkier and slower. For long lenses, consider a gimbal head such as Acratech Long Lens Head, which balances heavy optics and enables smooth panning.
Geared heads, like Manfrotto 405 Pro, give microscopic tweaks, while fluid heads—Leofoto BV‑20—provide dampening for panoramas and video.
Apply Polarizing Filter
How does a polarizing filter change a scenery shot? It cuts haze, glare and reflections, darkens skies, and enhances foliage color, giving you vivid, contrast‑rich landscapes. Mount the filter before attaching your camera to a sturdy tripod, then rotate it about 90° from the sun for maximum effect. Compensate the two‑stop light loss with a slower shutter or wider aperture, and enjoy precise, creative control.
Organize Memory, Backups & Workflow
Where does your memory start when you unload a shoot? You label drives, create a date‑based folder hierarchy, and split raw, edit, and export subfolders, preventing mass dumping. Follow ingest‑cull‑edit‑export phases, using acronyms or flowcharts for muscle memory.
Back up instantly to multiple external drives and cloud, keep cards organized, and track them in a spreadsheet. This streamlined workflow frees you to shoot, not worry.
Final Note
By mastering gear selection, safety prep, exposure basics, lens choices, tripod stability, and data management, you’ll capture sharper, more compelling outdoor photos. Keep your settings adaptable, protect your equipment, and stay organized, and the results will reflect your growing confidence and skill. With these fundamentals in place, you’re ready to explore nature confidently and consistently produce high‑quality images.


