Pick a high, fast‑draining spot at least 200 ft from water, avoid low depressions, and set up your pre‑assembled tent with the rainfly first, staking it under a tarp or canopy. Seal all seams with silicone or PU sealant, then clip the tarp over the vestibule and run guy‑lines to divert runoff. Pack gear in roll‑top dry bags, wear a waterproof hardshell and gaiters, and sleep on a raised, insulated pad inside a sealed bivy. Follow these steps and you’ll stay dry while the storm passes, and the next section shows even more tricks.
TLDR
- Choose high, well‑draining ground at least 200 ft from water sources; avoid low‑lying depressions, dead trees, and mud‑slide slopes.
- Pre‑assemble tent poles and clip the rainfly to the inner tent before arriving, then stake the fly under a tarp to create a dry shelter.
- Seal all seams with silicone (silnylon) or polyurethane (PU) sealant, let cure 2–12 hours, and apply a tarp over the vestibule for runoff control.
- Pack gear in roll‑top dry bags (IPX7/IPX8) and wear waterproof, taped‑seam outer layers with gaiters; keep extra socks in a dry pocket.
- Set up a three‑layer sleeping system—waterproof bag, insulated pad, and bivy enclosure—under a tarp to stay dry and warm throughout the night.
Rain‑Ready Site Selection
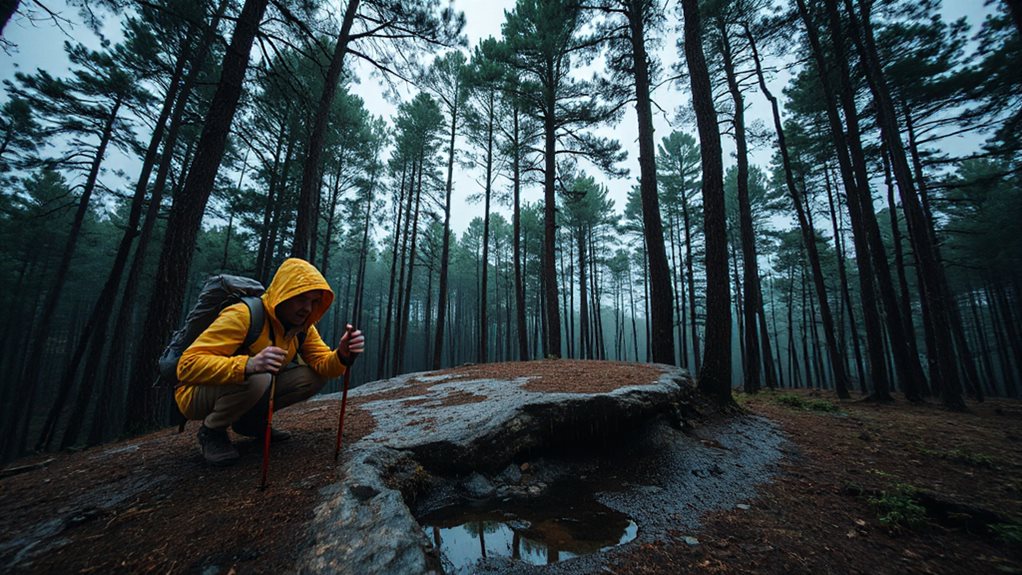
Where should you set up your tent when rain’s coming? Choose high, level ground that drains quickly, far from low‑lying pools or depressions that collect water. Aim for flat sand, dry grass, or compacted dirt, avoiding sharp rocks or roots. Stay at least 200 feet from rivers, lakes, or tides, and keep clear of dead trees or mudslide‑prone slopes. Prioritize shelter from wind and splash, but maintain freedom to move. Proximity to amenities can be useful for quick bathroom breaks, but keep a reasonable distance to preserve privacy. Also consider how to prevent and recover from a capsize by keeping gear secured and dry bags accessible.
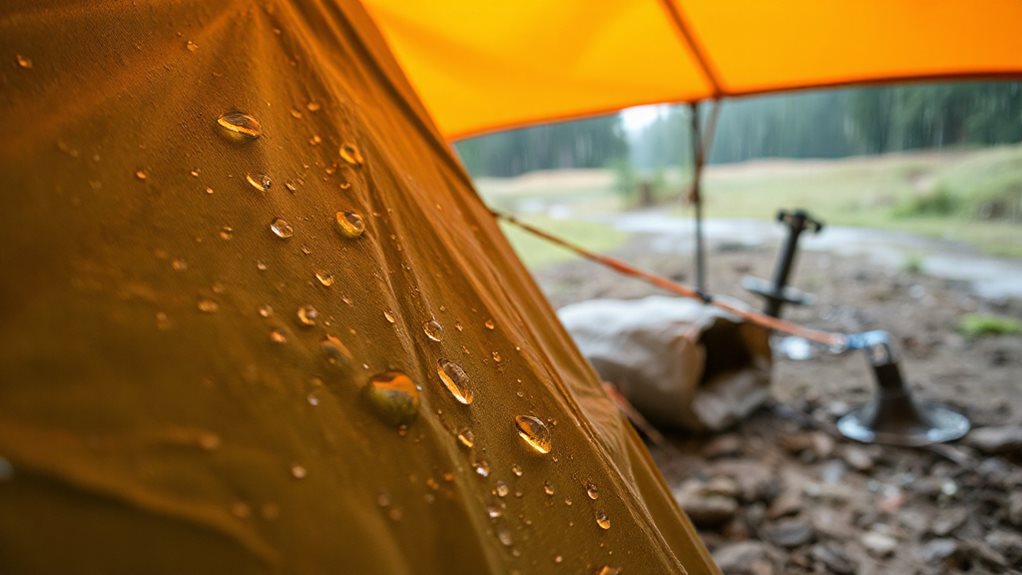
Rapid Tent Pitching in Wet Conditions
When rain starts to fall, you’ll want to get your tent up as quickly and securely as possible, and the key is to keep the inner shell protected while you assemble the frame. Pre‑assemble poles at home, clip the rainfly to the inner tent, then stake the fly first under a canopy or tarp.
Crawl beneath, insert poles, slide the inner in, tighten straps, and check tension—speedy, dry, and free. Dealers are often motivated to make sales in the mid-fall when timing can lead to substantial savings.
How to Seal Your Tent: Seams, Guy‑Lines, and Tarp Hacks
A solid seal starts with the seams, because water loves any stitched opening, and the right sealant can keep your interior dry even in a downpour. Clean seams with rubbing alcohol, brush on silicone‑based sealant for silnylon or polyurethane for PU fabrics, and let cure 2‑12 hours. Refresh fly and floor urethane coats, apply DWR after sealing, and tighten guy‑lines with waterproof tape to channel runoff. Use a tarp over the vestibule, overlapping edges, and secure with clips for extra protection.
Rain‑Ready Gear Choices
Ever wonder which gear will keep you dry without weighing you down? Choose a lightweight hardshell jacket like the Outdoor Research Helium II, packable with taped seams, and pair it with synthetic baselayers that wick moisture.
Slip on Frog Toggs rain pants, wear gaiters over quick‑dry trousers, and stash extra socks in a dry pocket.
Use a waterproof tarp over your tent and a floorless pyramid shelter for a dry, spacious campsite.
Water‑Proofing Your Gear: Dry Bags & Sprays
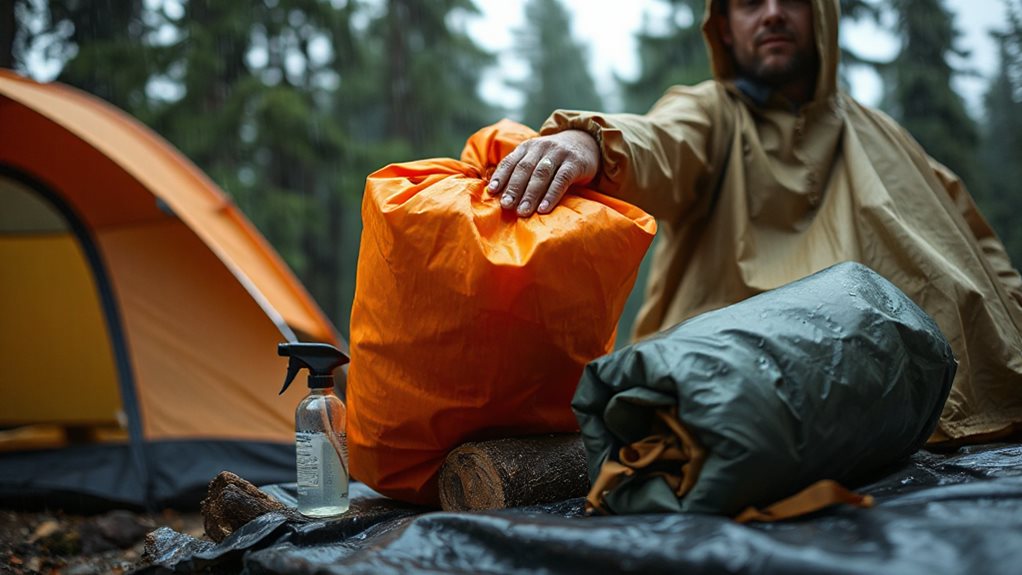
Where does your gear go when the rain turns into a downpour? Pack it in a roll‑top dry bag with IPX7 or IPX8 rating, like a 10‑L eVac for 10,000 mm hydrostatic head, or a 5‑L IP67 Sunrise for quick trips.
Choose TPU‑coated nylon for puncture resistance, seal the top with three rolls and a buckle, and add a purge valve for compression.
Sprays with silicone or polyurethane coatings boost seams, keeping everything dry while you stay free.
Plan kid-friendly activities like a scavenger hunt to keep children engaged while you set up in wet conditions, such as organizing a short nature scavenger hunt near the campsite.
Rain‑Ready Food & Cooking
Your dry‑bagged gear stays dry, but the food you’ll cook still needs protection from the downpour. Pack a liquid‑fuel or canister stove in a waterproof case, shield the burner with a pot cover and a foldable aluminum windshield, and ignite with a lighter, not matches. Use pre‑chopped, one‑pot meals or instant foods that cook in under ten minutes, and store everything—fuel, utensils, condiments—in sealed bags or containers. Set up a tarp shelter over the cooking area, and boil water quickly for safety and hydration. Choose lightweight gear to save energy on wet hikes and consider a mid-range waist ski for varied snow conditions.
Rain‑Ready Sleeping System
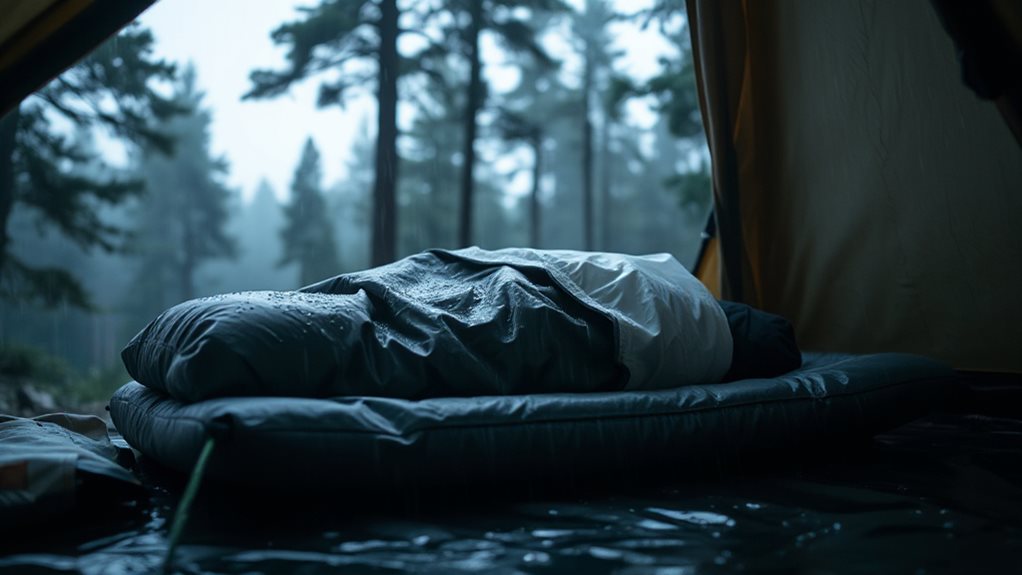
You’ll want a waterproof sleeping bag that keeps moisture out while still trapping heat, an elevated ground pad that adds insulation and prevents dampness from the earth, and a sealable sleeping enclosure like a bivy sack to create a full‑proof barrier against rain.
By stacking these three elements—bag, pad, and enclosure—you build a reliable rain‑ready system that stays dry and warm all night.
This combination lets you focus on rest instead of worrying about soggy gear.
Silver maple is a common, inexpensive firewood that seasons quickly compared with denser hardwoods and can be used as supplemental fuel when properly dried.
Waterproof Sleeping Bag
Comfort on a rainy night starts with a sleeping bag that balances insulation and moisture protection, and choosing the right combination of down, synthetic, or hybrid fill can make all the difference. Opt for a DWR‑coated nylon ripstop or polyester microfiber shell, add a draft collar and hood, and consider hybrid construction that places synthetic insulation in footboxes. This lets you stay warm, dry, and unrestricted, even when the sky pours.
Elevated Ground Pad
A solid, rain‑ready sleeping system starts with an elevated ground pad that keeps moisture away from your body while adding a layer of insulation between you and the cold earth. Choose an R‑value matching night temps—2 for 50 °F, 4–5.4 down to 15 °F, 5.5+ for near‑zero.
Self‑inflating pads offer reliable pressure‑tested support, while air pads with vertical I‑beams and laminated fabrics stay lightweight, durable, and slip‑free on damp terrain.
Sealable Sleeping Enclosure
How can you keep rain out while still breathing easily? Use a 210D polyester tarp with heat‑sealed seams, stake it tightly, and add a bivy that seals head‑foot gaps.
Slip silicone dabs on the bivy to stop pad movement, and weight corner pockets with rocks.
Treat fabric with Nikwax, use sealed rings, and enjoy airflow without sacrificing waterproof protection.
Rain‑Specific Quick Fixes
You’ll want to pitch your tent with a rain‑resistant fly and a ground tarp, making sure the seams are sealed and the stakes are tight so water runs off instead of pooling.
When the downpour hits, swap your wet layers for quick‑dry clothing and keep extra dry socks in a waterproof pocket, which prevents you from staying chilled.
Finally, store your gear in sealed bags or a garbage‑bag‑lined backpack, and consider a small trench around the base to divert runoff and keep everything dry.
Rain‑Resistant Tent Pitch
Ever wondered how to keep your tent dry without turning your campsite into a swamp? Choose a flat, slightly downhill spot, clear debris, and face the narrow end into the wind.
Erect the tent taut, tension guy ropes evenly, and fold excess groundsheet under edges.
Anchor a slanted tarp or rainfly, ensuring full coverage and proper drainage away from the tent.
Quick‑Dry Clothing Swaps
After securing a dry, well‑drained tent site, the next step is to keep your body dry without sacrificing comfort, and that’s where quick‑dry clothing swaps come in.
Slip a breathable non‑woven jacket over a lightweight wool tee, zip on rain pants with side zippers, adjust cuffs and drawcords, then stash gear in side pockets.
When you warm up, shed mid‑layers or gloves, keep pit zips open, and stay mobile.
Water‑Proof Gear Storage
A reliable waterproof bag or dry sack is the cornerstone of rain‑specific gear protection, keeping clothing, food, and electronics safe from moisture while you move through a downpour. Pack wet items in a dedicated dry sack, seal it tightly, and stash it in a corner of the tent. Use lightweight waterproof boxes or IP65 cases for electronics, and line the ground with a tarp to keep everything dry and accessible.
Final Note
By picking a high‑ground spot, anchoring your tent securely, and sealing seams with tape or waterproof sealant, you’ll keep water out before it even starts to drip. Pack gear in dry bags, use a rain‑cover tarp, and choose quick‑dry food and a stove that tolerates moisture. Sleep on a insulated pad and a waterproof sack to stay warm. With these steps, you’ll camp comfortably, stay dry, and enjoy the rain without getting soaked.


