Rest the ankle, avoid weight‑bearing, and start RICES: ice the injury in a towel‑wrapped bag for 10‑20 minutes three times daily, wrap a snug but not tight compression bandage, and elevate the foot above heart level with pillows or a sturdy support. Check toe color for circulation, take ibuprofen 400‑600 mg with food if needed, and use trekking poles to keep a slow, steady pace with frequent breaks. Stay hydrated, consume electrolytes and protein‑rich foods, and monitor swelling; if you keep going, you’ll uncover more on progression and self‑splinting.
TLDR
- Rest and avoid weight‑bearing; apply RICES (Rest, Ice, Compression, Elevation) every 2‑3 hours for the first 48‑72 hours.
- Ice the ankle for 10‑20 minutes with a towel‑wrapped bag; keep the compression bandage snug but not tight, checking toe color.
- Elevate the ankle above heart level using pillows or a sturdy support, especially while sleeping or resting.
- Take ibuprofen 400‑600 mg with food as needed for pain and inflammation; stay hydrated and maintain electrolyte balance.
- After swelling subsides, begin gentle ROM and strengthening exercises (ankle circles, alphabet drills, light heel raises) before resuming hiking.
Stop Swelling With the Ankle RICES Protocol
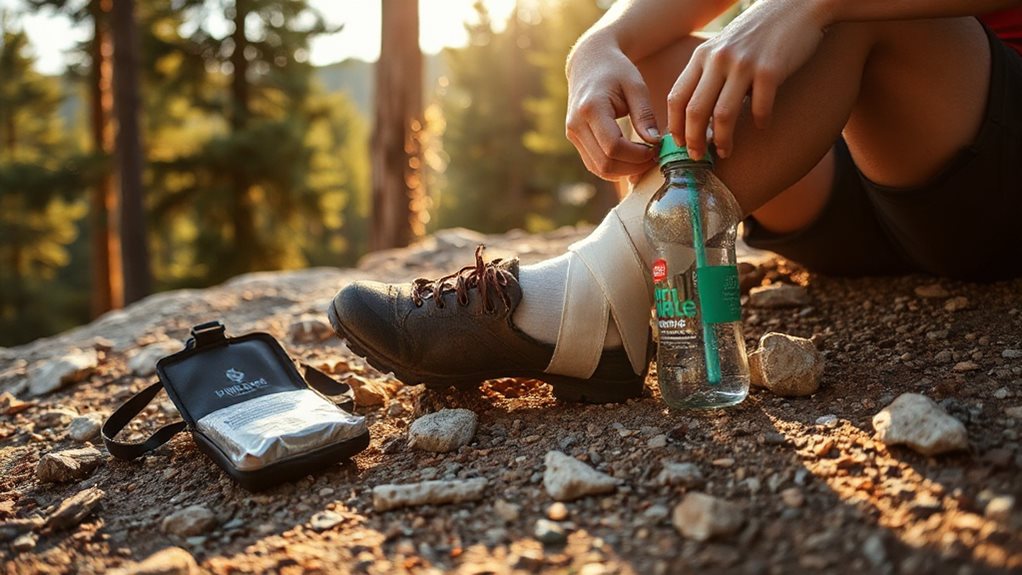
When you first notice the swelling after a hike, start the RICES protocol right away to keep the inflammation in check. Rest your ankle, avoid weight‑bearing, and pause painful activities. Ice with a towel‑wrapped bag for ten to twenty minutes, three times daily. Wrap snugly but not too tight, then raise above heart level using pillows. Repeat for the first 48‑72 hours. Compression helps guide fluids out of the injured area to prevent pooling. Consider using a removable battery powered ice pack or heated device cautiously to extend cooling or comfort during long outings.
How to Gauge Ankle Injury Severity on the Trail?
How can you quickly tell whether your ankle injury is minor enough to keep hiking or serious enough to seek professional help? Check if you can stand and take four steps unaided; if you can, range of motion is likely intact and the sprain is stable. Notice swelling, bruising, or a popping sound—significant swelling or a pop suggests higher severity. Sharp pain, limp, or inability to bear weight signals an unstable injury that needs professional evaluation. Also consider your equipment and preparedness—if you’re far from help or lack proper gear, evacuate or immobilize and seek professional evaluation.
Relieve Pain Quickly While Hiking

Typically, you’ll start by applying the RICE protocol—rest, ice, compression, and elevation—to curb pain and swelling before you even think about moving again. Ice packs or snow every few hours, then wrap an ACE bandage loosely, checking toes for color. Take ibuprofen if needed, lean on trekking poles, and keep a slow, steady pace with frequent breaks. Kids can learn patience and focus through simple outdoor skills like fishing basics to help keep them occupied while you rest.
Hydration, Nutrition, and Medication That Support Ankle‑Sprain Healing
After easing the pain with RICE, the next step is to fuel your body so the ankle can heal while you stay on the trail. Drink 8‑12 cups water daily, add fruit‑rich foods, balance electrolytes, and eat vitamin C, zinc, calcium, protein, and omega‑3 sources.
Take ibuprofen 400‑600 mg with food three times a day, avoid alcohol, and consider vitamin D supplements if needed. For extended outdoor recovery, choose a shelter with good ventilation to reduce humidity and keep the injured area comfortable.
Elevate and Compress to Curb Throbbing

Ever notice how a swollen ankle feels like a throbbing drum after a long hike? Lift it above heart level—place a sturdy object under your foot at night or prop a leg on pillows while resting—to let gravity drain fluid.
Then wrap a 3‑inch elastic bandage from toes to below the knee, snug but not tight, keeping it on between icing sessions.
This combo cuts throbbing, speeds drainage, and supports freedom on the trail. Be sure to check forecasts and avoid camping near low spots where sudden storms could complicate evacuation.
How to Apply a DIY Ankle Splint With Trail Gear?
A swollen, throbbing ankle can be tamed with elevation and compression, but when you need to keep moving on the trail, a DIY splint becomes your next line of defense. First, test circulation with a toe wiggle; if toes stay pink, gather soft padding—shirts, foam, bubble wrap, or even leaves. Find rigid supports like a tent pole or sturdy stick, roll it in a tarp, and pad under the knee. Position the padded stick along the leg, wrap it snugly with cord or bandanas, create a stirrup under the heel, and secure a figure‑eight wrap. Tighten until the ankle is immobilized, then re‑check circulation frequently.
Self‑Evacuate or Call for Help

Is the ankle still usable enough to keep moving, or do you need external assistance? If you can bear weight with modest pain, grab a trekking pole, brace the ankle, and redistribute pack weight; self‑evacuation is quicker than signaling. If you can’t stand, splint, check circulation, and call for help—pain, swelling, or instability dictate professional evacuation. Use NSAIDs, elevate, and ice while you move.
Continue RICES After the Hike and Prevent Re‑Injury
Even after you’ve finished the hike, the ankle still needs consistent care to keep swelling down and prevent a setback, so continue the RICE routine—ice for 15 minutes on, 15 minutes off, multiple times a day, a compression sleeve or brace, and elevate above heart level whenever possible—while you gradually reintroduce movement, and pair this with gentle range‑of‑motion and strengthening exercises to restore stability before you tackle another trail.
Keep walking short, use a supportive brace, do ankle circles, alphabet drills, and light heel raises; elevate whenever you can, and listen to pain signals to stay on track.
Second‑Degree Sprain Timeline & Red‑Flag Signs
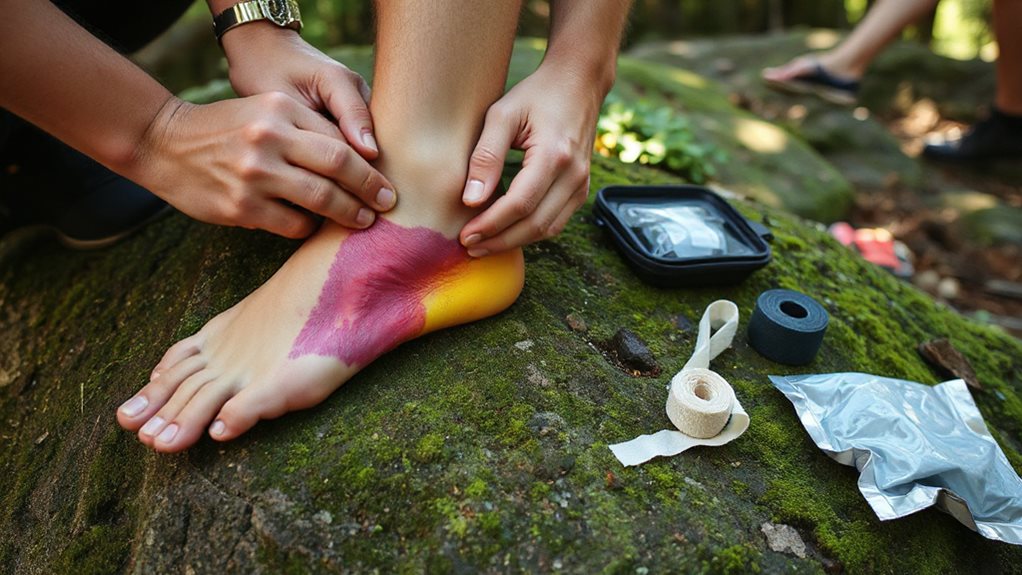
In the first week you’ll notice swelling that peaks around day three, then gradually eases as the ligaments start to knit back together.
Keep an eye on red‑flag signs like intense pain that worsens instead of improves, persistent numbness, or an inability to bear weight without sharp discomfort.
If any of these symptoms appear, stop hiking and seek medical evaluation right away.
First‑Week Swelling Progression
Where does the swelling go after the first 48‑72 hours, and how can you keep it from lingering?
By day four the fluid starts draining, so keep compressing and elevating, and add gentle range‑of‑motion moves.
Ice every few hours, wear a supportive brace, and stay off hard ground.
This steady care shrinks puffiness, restores mobility, and preserves your freedom to hike.
Red‑Flag Signs to Watch
What should you watch for when a second‑degree ankle sprain doesn’t improve as expected?
Persistent pain beyond three days, swelling that won’t subside after a week, or worsening swelling are red flags.
Inability to bear weight after 48‑72 hours, numbness, tingling, or a feeling the ankle gives out signals deeper injury.
Seek professional evaluation promptly to avoid complications.
Final Note
By staying calm and following the RICES steps—rest, ice, compression, elevation, and gentle movement—you’ll limit swelling, ease pain, and set the stage for faster healing. Keep hydrated, fuel your body, and use trail‑friendly splints or wraps if needed, but know when to evacuate or call for help. Continue the protocol after the hike, monitor for red‑flag signs, and protect the ankle to avoid re‑injury. With these practical measures, you can safely manage a sprain and get back on the trail.


