Pick a short, low‑elevation trail like Point of Arches or Lake Blanche, pack a lightweight tent or tarp, a compact quilt and inflatable pad, plus a stove, fuel, and water filter. Choose a 45‑55 liter pack that fits your torso, load heavier gear close to your spine, and keep daily items on top for easy access. Dress in moisture‑wicking layers, a rain jacket, and a hat, and carry a map, compass, and backup GPS. Follow Leave‑No‑Trace rules, set up camp on flat, dry ground away from water, and avoid common beginner mistakes such as overpacking or forgetting water. Continue and’ll discover more details.
TLDR
- Choose short, low‑elevation hikes (e.g., 3–5 mi one‑way) to build confidence and limit fatigue.
- Pack lightweight shelter, sleeping system, and essential gear within a 45–55 L pack, distributing weight close to the spine.
- Follow Leave‑No‑Trace rules: camp ≥200 ft from water, use established sites, and store food in bear‑proof containers.
- Master basic navigation: read topographic maps, use a compass with declination, and carry a GPS backup.
- Plan meals and water carefully: use reusable containers, keep food sealed, and carry at least 2 L water per day.
Pick an Easy Overnight Backpacking Destination
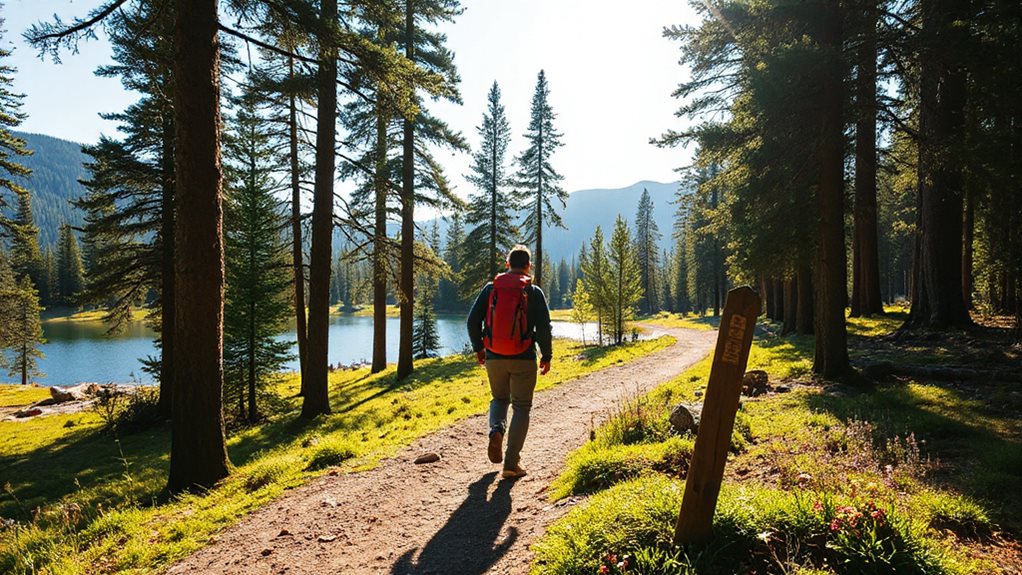
Where should you start when choosing an easy overnight backpacking spot? Consider Point of Arches in Olympic National Park—3.5 miles one‑way, sea stacks, tidepools, and forest sounds, plus wave‑lapped campsites and sunset views.
Lake Blanche, Utah offers a similar distance, low elevation gain, water access, and a friendly crowd. Both give freedom, manageable effort, and memorable scenery. Make sure you pack a suitable backpack (60-70L) to carry shelter, food, and safety essentials.
Create a Minimalist Backpacking Gear List
What’ll fit in your pack without sacrificing comfort? Choose a lightweight tent or tarp, a 1.6‑oz groundsheet, and a compact quilt or sleeping bag. Pack a 9‑oz inflatable pad, a stove, fuel, a collapsible bowl, and a water filter. Bring moisture‑wicking layers, a rain jacket, shoes, and a hat. Include a compass, headlamp, whistle, first‑aid kit, and maps—all stored in compression sacks. Bring reusable utensils and containers to cut packaging waste and reduce trash at camp, including a lightweight reusable water bottle to avoid single-use plastic.
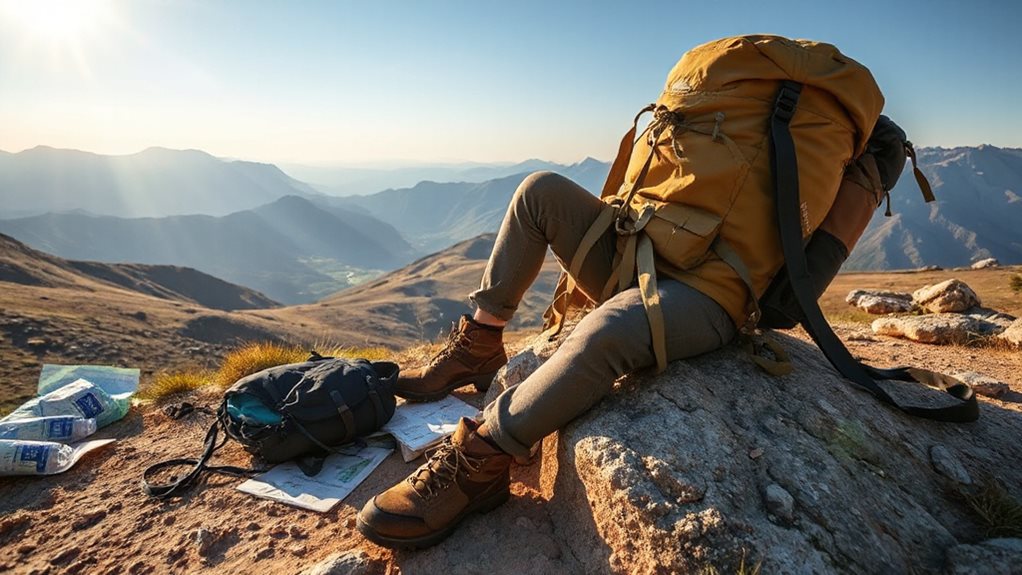
Select the Right Backpack and Balance Weight for Backpacking
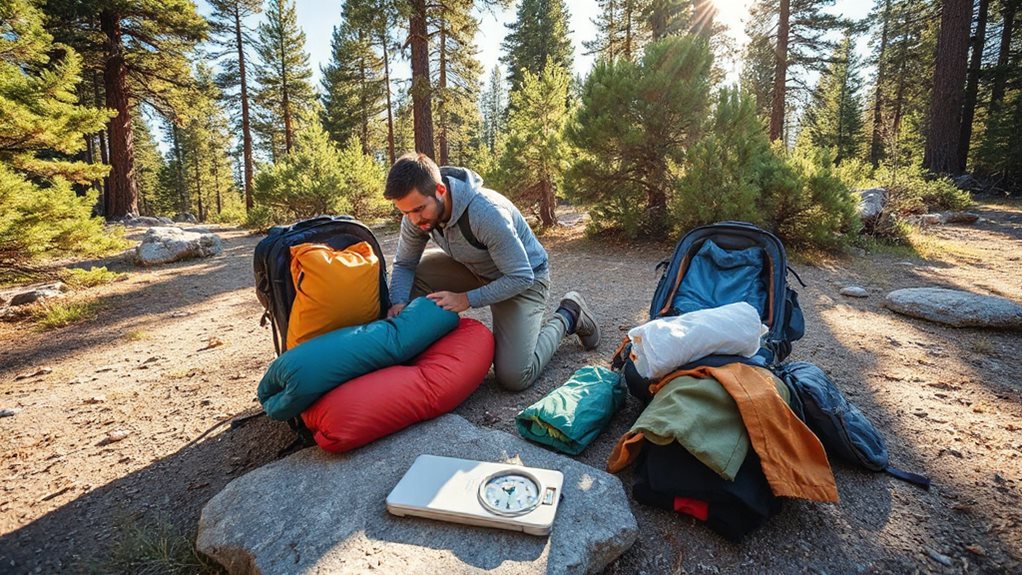
You’ll want a pack whose capacity matches your trip length and terrain, so a 55‑65 liter model works for most multi‑day outings while smaller 45‑48 liter bags suit short, technical hikes.
Adjust the torso length, hip‑belt size, and shoulder straps to fit your body, then load heavier items close to your spine and keep lighter gear toward the top for balanced weight distribution.
Crash pads protect climbers by using smart foam layers and can be crucial when bouldering close to the ground; consider placement as an essential safety practice.
Fit Capacity & Adjustability
How much gear you need and how it fits your body determine whether a hike feels effortless or exhausting. Choose a pack whose liter range matches your trip length—15‑35 L for day hikes, 40‑50 L for weekends, 50‑70 L for a week, and 80 L+ for expeditions. Measure torso length from C7 to thumbs, select the size that covers your range, and ensure the hipbelt supports 20‑40 in waist circumferences, transferring most weight to your hips. Use expandable sections, roll‑tops, or removable daypacks to fine‑tune volume without sacrificing comfort.
Weight Distribution Strategies
Ever wondered why some packs feel like a natural extension of your body while others drag you down? Choose an ultralight, internal‑frame pack, then nest densest gear—tent, stove, food, full bottle—against your back at shoulder‑blade level, centering it between straps and hip belt.
Place lighter sleeping bag at the bottom, keep frequently used items on top, and counterbalance side‑to‑side with a bottle on one side and first‑aid kit on the other.
Test balance by tilting; adjust until it feels even.
Master the Big Three: Shelter, Sleep System, and Pack for Backpacking
Where does the biggest impact on your backpacking experience come from?
Your shelter, sleep system, and pack dictate comfort, safety, and freedom. Choose a pyramid or A‑frame tent for wind resistance and headroom, or a single‑wall tarp for ultra‑light weight.
Pair it with a compact sleeping bag and insulated pad, and pack strategically—keep essentials accessible, distribute weight evenly, and trim excess to stay nimble on the trail. Smart chargers designed for specific chemistries, like LiFePO4 charging, ensure safe, long-lasting power for electronic gear.
Layer Clothing for Comfort and Weather Protection
Comfort starts with a smart layering system, and mastering the three‑layer approach—baselayer, midlayer, and outer shell—keeps you dry, warm, and protected no matter the trail conditions. Choose a moisture‑wicking polyester or merino baselayer, add a lightweight fleece and a synthetic puffy jacket for insulation, then zip on a breathable waterproof shell with pit zips. Adjust weight and ventilation to match temperature, staying free and comfortable. For multi-day trips, consider carrying an aeration system to help preserve any live bait you might pack for fishing on the trail.
Budget Food, Water, and Hygiene for Your First Trip
Layering keeps you dry and warm; now you need food, water, and hygiene that won’t break the bank or weigh you down. Pack DIY dehydrated meals—chili mac, risotto, Thai peanut noodles—using instant rice, couscous, or pasta for under $1 per serving; add tuna packets, tortillas, and peanut‑butter powder for protein. Boil once in a Mylar bag, or cold‑soak couscous to save fuel. Use single‑pot cooking, no‑cook tuna, and soft cheeses to limit dishes, and organize meals in a bear‑barrel system to keep everything clean and lightweight.
Navigate With Map, Compass, and Backup Electronics
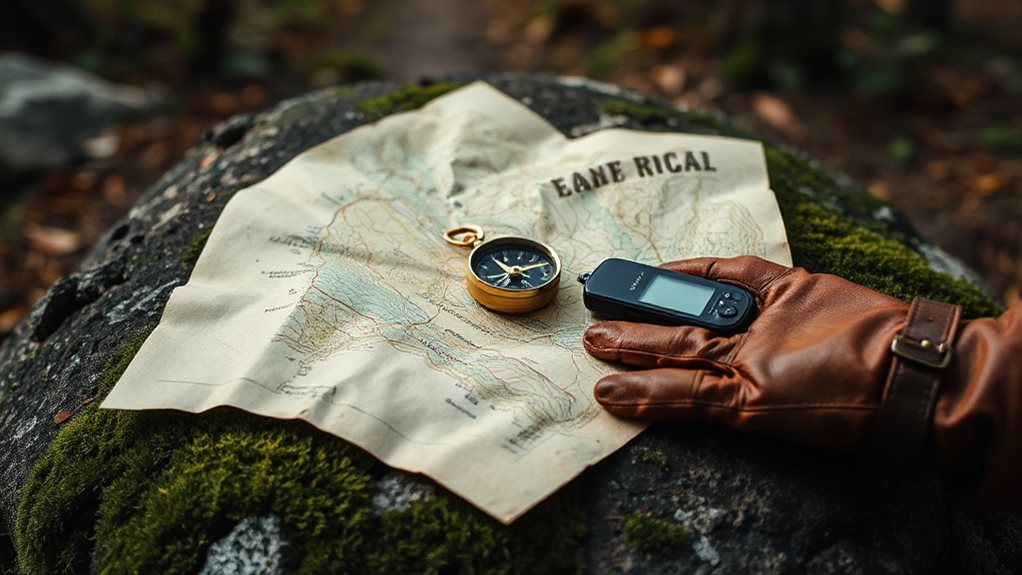
You’ll start by learning the map’s basic symbols and scale, then move on to using a compass for accurate bearings and triangulation. Mastering these techniques lets you orient yourself without relying on electronics, while still understanding how to read contours, trails, and landmarks. Finally, you’ll see how a GPS watch or smartphone can serve as a reliable backup, giving you extra confidence when the terrain gets tricky.
Map Basics & Symbols
Where can a map become your most reliable teammate on the trail? You read contour lines—brown lines showing elevation, closer lines meaning steeper slopes—then check the legend for symbols: black dashes for switchbacks, blue for water, green for forest, red for roads. Use the scale to gauge distance, match north with your compass, and identify landmarks to stay free and confident.
Compass Techniques & Accuracy
Understanding how to turn a map into a reliable navigation tool starts with mastering compass techniques, because the compass translates the static symbols on the page into real‑world directions. Align the orienting arrow with the magnetic needle, adjust for declination, then take a bearing by pointing the travel arrow at a landmark and rotating the bezel. Triangulate with two or more points, keep your map oriented to true north, and back up with a GPS watch or smartphone for redundancy.
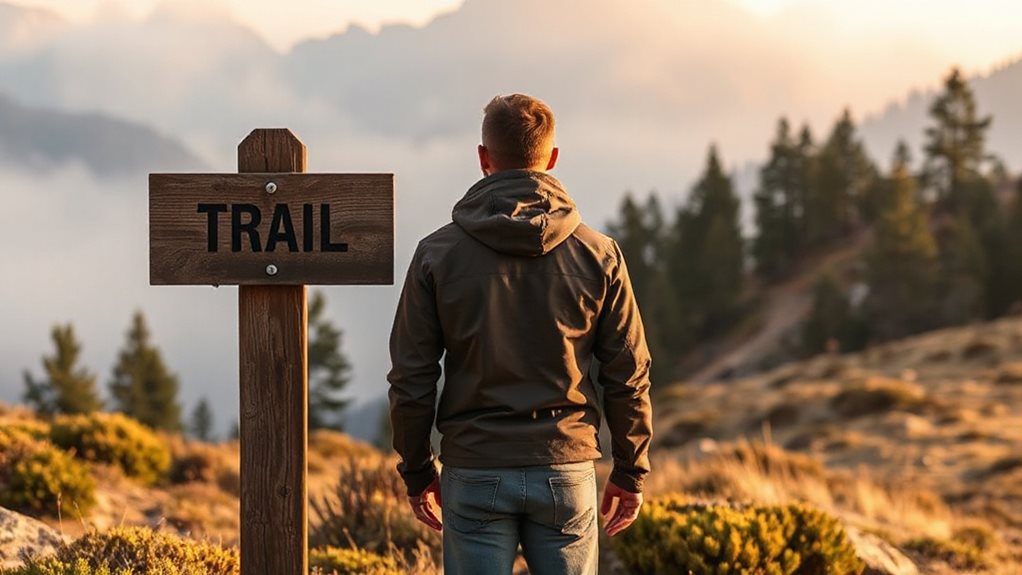
Practice Leave‑No‑Trace While Backpacking
A solid Leave‑No‑Trace plan starts before you even step onto the trail, and the best way to protect the wilderness is to think ahead about regulations, packaging, and group size. Research permits, repack food, travel small groups, and stick to marked paths or durable surfaces. Pack out trash, dig catholes, avoid burning waste, and leave natural objects untouched, ensuring you and others enjoy a pristine, free‑spirit backcountry.
Set Up Camp Safely and Efficiently
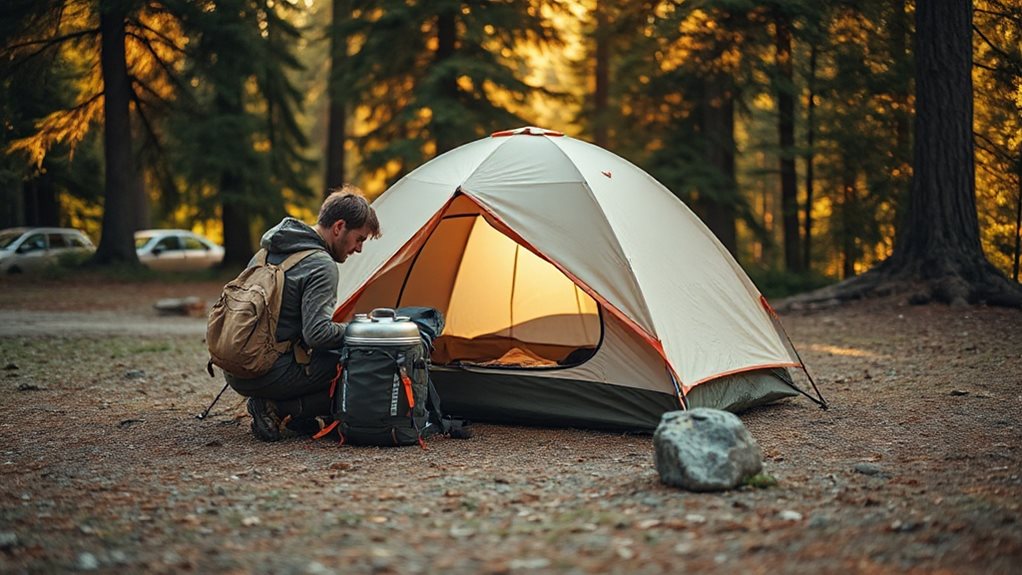
Pick a flat, dry spot away from low‑lying areas and set up your freestanding tent in just a few minutes, using the vestibule for gear storage; practice the layout at home so you can pitch it efficiently even in windy conditions.
Secure your food with a bear‑proof bag or canister, hanging it from a tree branch or storing it in a dedicated container to keep wildlife away.
Keep a water reservoir, headlamp, and essential tools within easy reach, and you’ll have a safe, organized base camp ready for the night.
Choose Flat Site
Choosing a flat site is the foundation of a safe, comfortable camp, and it starts with spotting a level, stable surface—rock, sand, dry grass, or compacted dirt—that’s free of stones, broken branches, and roots.
Lay down to test levelness, avoid depressions that hold water, and pick a slightly elevated spot with good drainage.
Keep at least 200 feet from water, stay away from hazardous trees or wind‑exposed ridges, and respect regulations by using established or low‑impact areas.
This ensures freedom to relax without compromising safety.
Set Up Tent Quickly
Quickly setting up your tent starts with a well‑organized kit, so lay out the poles, stakes, guylines, and footprint in a clear area before you begin. Align the groundsheet with the tent corners, then stake two opposite corners at a 45‑degree angle, pushing stakes fully in. Assemble poles into the X, slide them through sleeves, lift, attach the rainfly, tighten guylines, and test stability before you relax.
Secure Food Properly
Ever wonder how to keep your meals safe from wildlife, spoilage, and accidental spills while you’re out in the backcountry? Pack reusable silicone bags for dry staples, sealed plastic or screw‑top containers for liquids, and crush‑proof cases for delicate foods. Store everything in a bear‑approved canister or Ursack, 100 feet from camp, and hang food on a sturdy branch if needed. Keep coolers shaded, use a 2:1 ice‑to‑food ratio, and place frequently used items on top to limit cold‑air loss. Clean up crumbs, seal waste, and broadcast wash water far from the site.
Avoid Common Beginner Mistakes and How to Fix Them
What trips most new backpackers isn’t the trail itself but the small, avoid that pile up before the first step, from overpacking a 30‑pound sack to forgetting a reliable water source. Lighten your pack by laying out everything, cutting excess clothing, food, and gear, and using a checklist. Test your tent, pad, and boots at home; carry at least two liters of water, plan sources, and bring layered, quick‑dry clothing plus waterproof liners. Use offline maps, a compass, and research trail conditions before you go.
Final Note
By mastering the basics—choosing an easy overnight spot, packing light, balancing your load, and mastering shelter, sleep system, and pack—you set a solid foundation for safe, enjoyable backpacking. Layer your clothing wisely, navigate with map and compass, and respect Leave‑No‑Trace principles to protect the trail. Avoid common rookie errors by planning ahead and adjusting as you learn. With these skills, you’ll confidently explore new terrain, gain confidence, and keep every adventure both rewarding and responsible.


