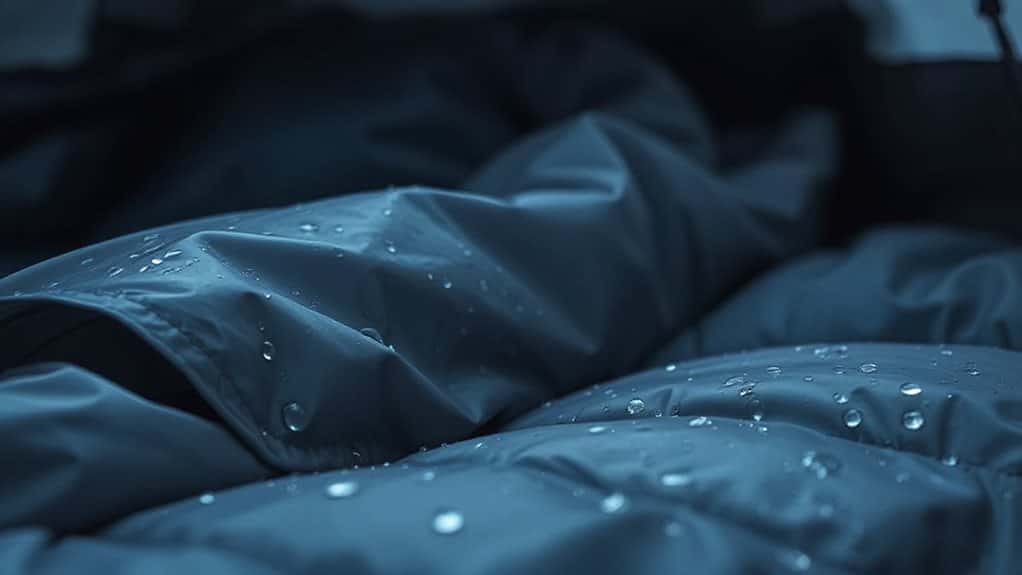
You wake up with a damp bag because warm, moist air from your breath and sweat meets the cooler shell and insulation, causing condensation that can form on the interior fabric, inside the loft, and even on the outer surface when the surrounding air is humid and the bag’s temperature drops below the dew point. The shell gets wet when humid air around the bag cools to saturation, especially on clear, still nights, while interior moisture builds from exhaled vapor and sweat that condenses on cool fabric. A steep temperature gradient through the loft can push the dew point deeper, freezing moisture and reducing loft, and a cold ground or low‑R pad draws heat away, creating cold spots that encourage condensation. Using a breathable liner, improving tent ventilation, and choosing a high‑R pad help keep the bag dry, and a quick‑dry silk or vapor‑barrier liner can further reduce moisture buildup. If you keep exploring, you’ll uncover more ways to prevent dampness.
TLDR
- Warm breath and sweat vapor exceed the bag’s dew point, condensing on cool interior surfaces and making the liner wet.
- Cold ground and low‑R pads draw heat away, lowering the temperature of lower layers and causing moisture to condense inside the insulation.
- Stagnant, humid air inside a non‑breathable shell or tent raises interior humidity, so vapor cannot escape and accumulates.
- Using a breathable shell, venting the bag, and creating cross‑draft airflow in the shelter keep the outer fabric above the dew point.
- Selecting a quick‑dry liner (silk or vapor‑barrier) and fully drying the bag before storage prevent moisture retention for the next night.
What Causes Sleeping‑Bag Condensation?
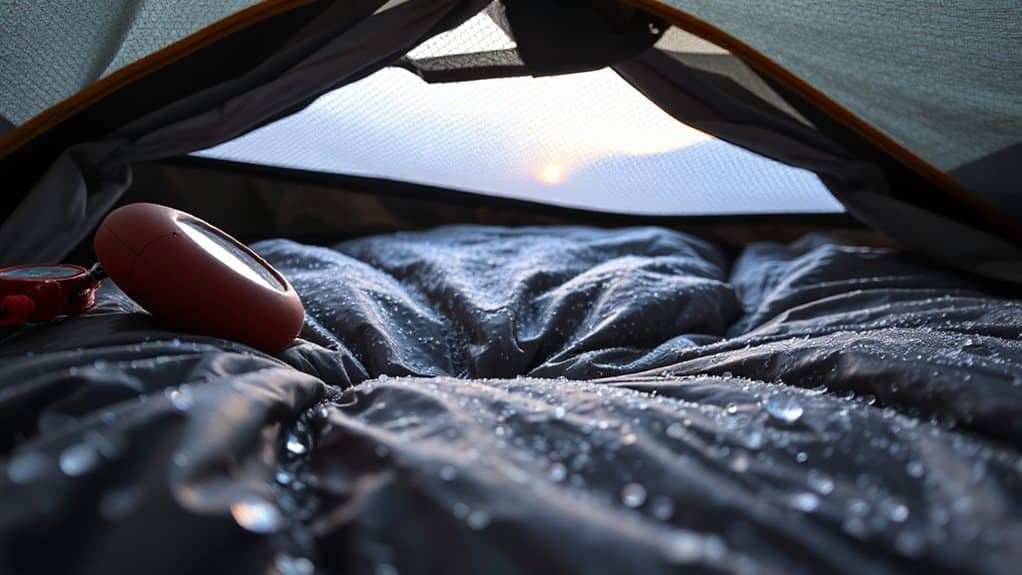
When you set up a sleeping bag for the night, condensation usually starts because warm, moist air from your body meets a colder surface inside the bag. Your breath, sweat, and skin vapor rise, hit the shell or insulation, and cool to the dew point, turning into liquid. Cold ground, tent walls, and limited airflow trap humidity, while damp gear and low‑lying sites add extra moisture, increasing the chance that the bag will feel damp. Condensation can also form on the inside of the bag shell when breath vapor contacts the relatively cold material. Wool retains insulating properties even when wet, so using wool layers next to your skin can help manage moisture and warmth.
Why Humid Air Makes the Bag’s Shell Wet?
If the air around your sleeping bag is humid, the shell can become wet because the moist air loses its ability to hold water vapor once it contacts a colder surface.
Warm air holds more vapor, so when it cools on the shell it reaches saturation, condenses, and drips onto the fabric.
Clear skies, radiative cooling, and stagnant air intensify this, while breezes, tarps, and breathable shells keep the shell above the dew point, preserving your freedom to stay dry.
True waterproof shells with sealed seams and membranes resist this by preventing liquid water ingress and reducing condensation risk.
How Your Breath and Sweat Add Interior Moisture?
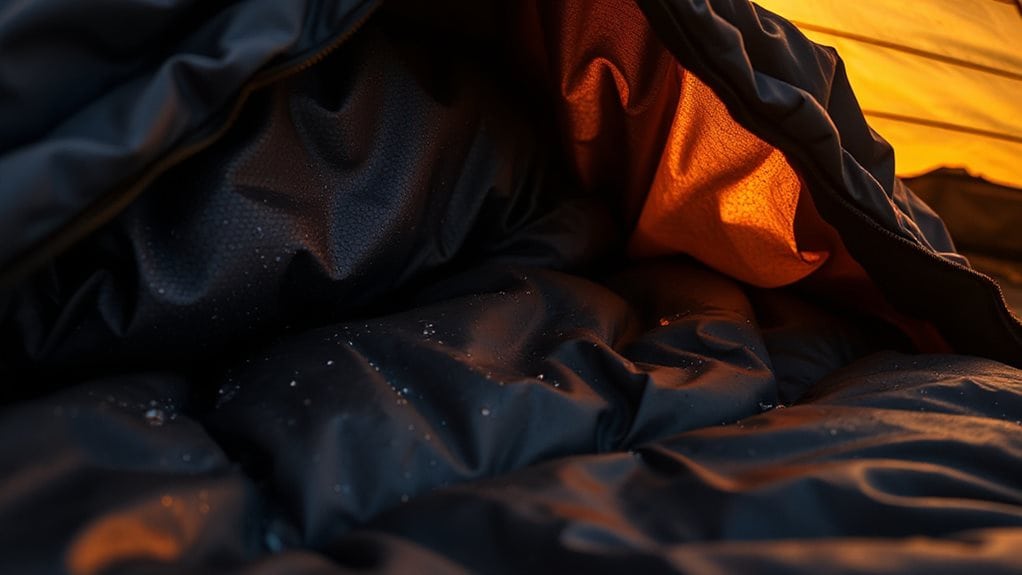
Even after you’ve kept the shell dry from humid air, the inside of the bag can still get wet because your own breath and sweat constantly add moisture.
Your exhaled vapor condenses on cool fabric, especially near the hood, and builds humidity that seeps into insulation, while imperceptible sweat—up to a third of a liter overnight—soaks the liner.
Venting, breathing outside the bag, and choosing breathable layers keep interior dampness at bay.
Proper care like regular cleaning with a down-specific cleaner helps remove trapped moisture and restore loft.
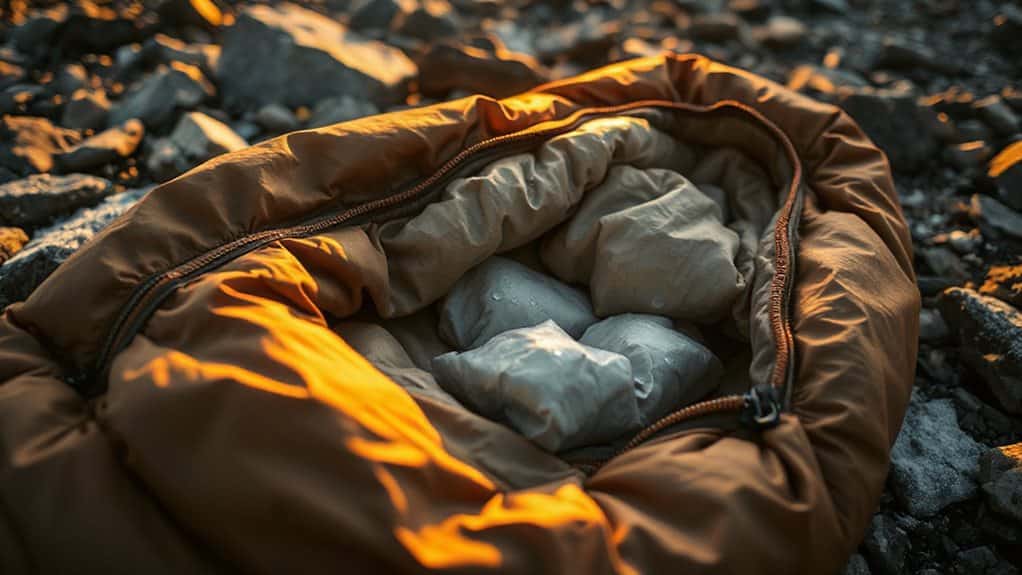
When the Dew Point Occurs Inside the Loft?
Because the temperature inside a sleeping bag drops from the warm body core to the chilly outer shell, a gradient forms through the loft that can bring the dew point into the insulation itself.
When outside air is frigid, the gradient steepens, pushing the dew point deeper into the fill; moisture condenses, clumps, and freezes, reducing loft and warmth.
Adding an outer quilt or synthetic layer shifts condensation outward, preserving inner down.
PrimaLoft, being moisture-resistant, retains insulating performance better than traditional down when some condensation occurs.
How Cold Ground and Pads Trigger Bag Dampness?
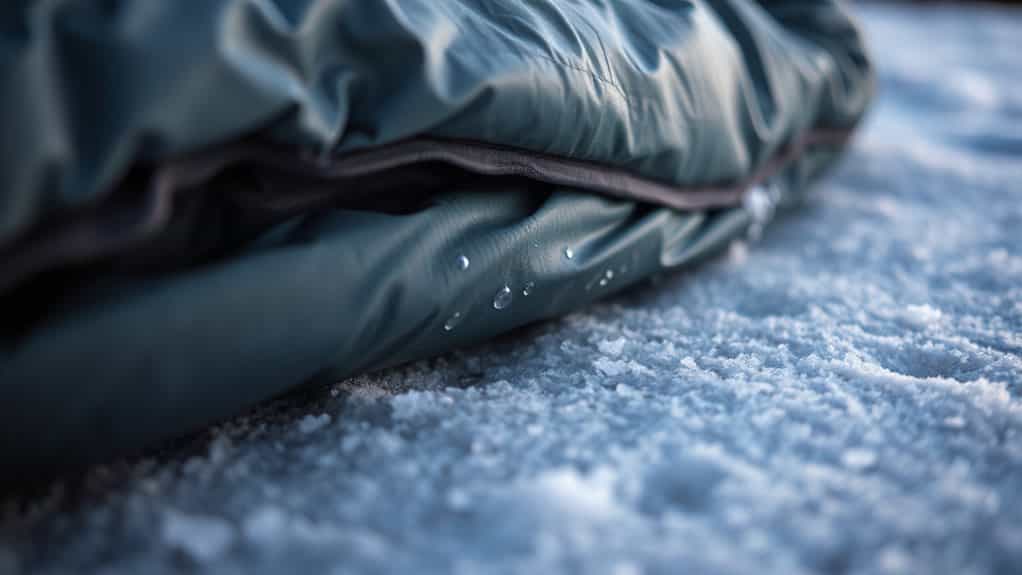
When you set your sleeping bag on cold ground, the soil, snow, or stone acts like a heat sink, pulling warmth away from the bag’s lower layers through the pad. The ground’s conductive chill drains heat, especially where your weight compresses insulation, dropping temperature and causing vapor to condense.
A high‑R pad blocks this loss, while low‑R or under‑inflated pads let cold seep in, creating damp spots at hips, heels, and footbox. Use a well‑insulated, appropriately sized pad to keep the bag’s underside warm and dry. Check your pad’s R-value and condition before a trip to prevent this issue and reduce heat loss during cold nights.
Best Site and Shelter Airflow to Cut Humidity
You’ll notice that raising your sleeping bag a few inches off the ground, using a foam pad or a hanging hammock, cuts the moisture that would otherwise seep up from damp soil.
Position your tent’s vents high and opposite each other, so fresh air rushes in while humid air exits, creating a natural cross‑draft.
Elevate Bag From Ground
If you lift your sleeping bag off the cold, damp ground, you cut off the biggest source of nighttime humidity, because moisture from soil and grass can seep directly into the fabric.
Use a closed‑cell foam pad or inflatable mattress for a 2‑3‑inch gap, or go higher with a cot for 8‑12 inches.
Choose a mid‑slope site, avoid dense understory, and let breezes flow beneath, keeping warm air and moisture away from your bag.
Open Tent Vents Strategically
Lifting your bag off the damp ground already cuts a major source of moisture, but the next step is to let the tent breathe.
Face the door toward the prevailing wind, open all mesh vents and windows, and keep roof vents at the peak for stack‑effect airflow.
Use dual doors for cross‑ventilation, and raise the rainfly just enough to create a chimney effect, letting humid air escape while you stay dry.
Pick the Right Temperature Rating to Limit Loft
You’ll want to pick a bag whose temperature rating sits about 10–20 °F below the lowest night‑time temperature you expect, because that extra margin lets the insulation stay loftier and less compressed. A higher loft means more trapped air, better warmth, and less moisture buildup from perspiration, especially when you pair the bag with an appropriate insulating pad.
Rated Bag Selection
When you pick a sleeping‑bag rating that matches the expected nighttime low, you let the bag’s loft do the heavy lifting—trapping insulating air without forcing you to over‑vent or overdress, both of which raise internal humidity and invite condensation.
Choose an ISO/EN‑rated model, compare its loft‑to‑temperature correlation, and match the comfort or lower‑limit rating to the coldest forecast, ensuring steady warmth without sweating or excessive layering.
Optimal Loft Management
If you keep the loft’s temperature within a narrow band—ideally no more than a 5 °C swing over 24 hours—you’ll limit the moisture‑driven condensation that makes sleeping bags feel damp.
Aim for at least 70 °F (21 °C) with humidity below 60 %, seal gaps, add R‑14‑plus insulation, and use modest ventilation;
this stable, moderate climate keeps the loft dry, preserves comfort, and lets you enjoy unrestricted sleep.
Moisture‑Wicking Sleep Layers That Keep the Bag Dry
A moisture‑wicking sleep layer is the key to keeping your bag’s insulation dry overnight, because it pulls sweat away from your skin and lets it evaporate before it can soak the inner fabric.
Choose thin synthetics or Merino wool base layers that dry fast, avoid cotton, and add a breathable liner or silk liner for extra protection.
These choices keep moisture off insulation, preserve loft, and let you move freely without soggy sleep.
Ventilation Tricks for Tents and Bivy Sacks
Because moisture builds up inside a shelter from breath, sweat, and wet gear, proper ventilation is essential to prevent a damp sleeping bag by morning.
Open vents, doors, and mesh as weather permits, orient your tent 45° to prevailing wind, and keep a gap under the fly for airflow.
In a bivy, unzip the full‑length zipper partially, use head‑mesh panels, and vent the foot box if possible.
Avoid blocking vents with packs or gear, and choose breathable fabrics for extra freedom.
Morning Routine to Dry and Store the Bag
When you wake up, unzip the sleeping bag right away so the trapped moisture can escape, then give it a gentle shake to redistribute loft and push humid air out of the insulation.
Lay it flat or hang in a breezy spot, turn midway, and fluff any clumps.
Use a fan or low‑heat dryer if needed, then store loose in a breathable sack once completely dry.
When to Use a Liner or Vapor Barrier

After you’ve dried and stored the bag, consider whether a liner or vapor barrier will keep it dry next time you head out.
Use a silk liner for light warmth and quick drying in humid nights, or a fleece liner when you need heavy insulation despite extra weight.
A vapor‑barrier liner traps body heat, deflects ground moisture, and preserves down loft, letting you stay comfortable and free of dampness.
And Finally
By managing moisture before it builds up, you’ll keep your sleeping bag dry and comfortable all night. Control the tent’s ventilation, choose breathable layers, and use a liner or vapor barrier when conditions demand it. Warm the ground with a proper pad, and let your bag air out each morning before storing it. These simple, practical steps prevent condensation, extend your gear’s life, and make certain you wake up rested and ready for the next journey.


