Form a small “rabbit‑hole” loop a the rope’s end, then pass the working tag through that loop, wrap it clockwise around the standing part, and bring the tag back through the loop’s opening; pull the standing part opposite the loop to tighten, dress the knot so the parts lie parallel, and trim the tail to about a foot, adding a double overhand safety knot if you like. This quick‑release hitch is reliable for everyday use, and the next steps will show you how to choose variations for specific ropes and conditions.
TLDR
- Form a small loop near the rope’s end, with the standing part on the left and the working end on top.
- Pass the working (tag) end up through the loop, then around the standing part clockwise.
- Bring the working end back down through the original loop, keeping the “rabbit” returning the same “hole.”
- Pull the standing part and the loop in opposite directions to tighten, ensuring the knot is dressed and the loop remains flat.
- Trim the tail to about a foot, add a safety double‑overhand or Yosemite knot if desired, and verify the knot’s security.
How to Tie a Bowline Step‑by‑Step
Understanding the basics of a bowline starts with visualizing the rope as a rabbit that must hop into a hole, loop around a tree, and return home.
Form a small initial loop near the rope’s end, then pass the tag end through it, like a rabbit emerging.
Wrap the tag end around the standing part, bring it back through the loop, and pull all ends to tighten, adding a safety knot if desired. The bowline can be undone even under pressure, making it a reliable quick‑release knot. It’s simple to inspect for correct form and use, making it a dependable choice for everyday use.
How to Choose a Bowline for Camping or Climbing
Where should you start when picking a bowline for your next outdoor excursion?
Consider load type: camping knots need easy‑release for tents, tarps, and bear bags, while climbing knots must hold dynamic forces and often include a backup overhand.
Choose a standard bowline for soft soil stakes, a double bowline for quad anchors, and a water‑bowline when wet or icy synthetics are present.
Use a short tail, keep it managed, and avoid slippery synthetic ropes.
Start with a consistent tension when preparing ropes and splices to ensure secure, tangle‑free joins.
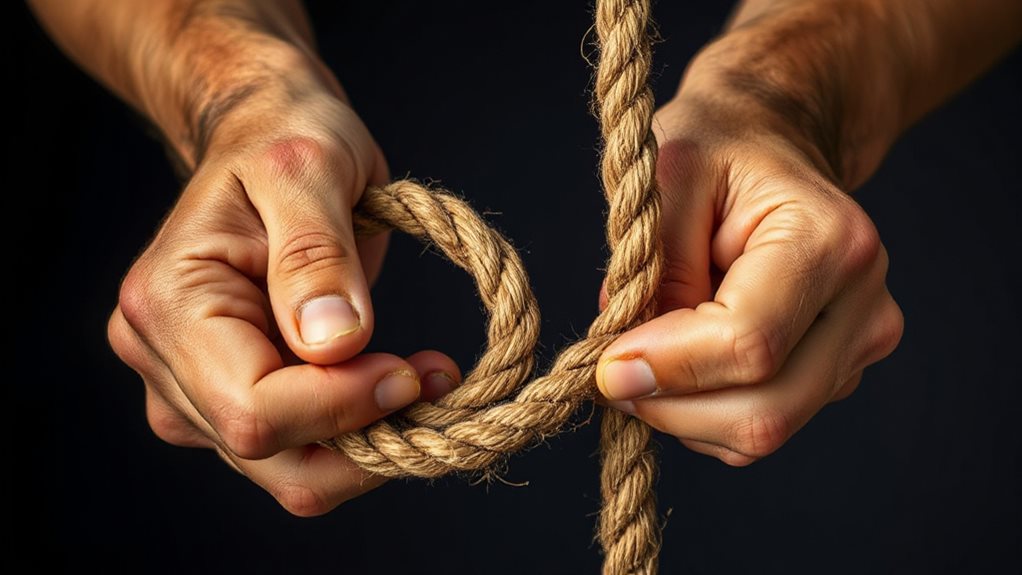
How to Form the Rabbit‑Hole Loop Correctly
You’ll want the rabbit‑hole loop just big enough to let the working end pass smoothly, but not so large that it loosens under load; a loop roughly the size of a quarter‑inch to a half‑inch works well for most rope diameters.
Make sure the standing part of the rope lies clockwise, with the short end on top, because this orientation keeps the loop’s “tree” correctly positioned and prevents the rabbit from emerging the wrong way.
If you keep the loop tight and the rope oriented as described, the rest of the bowline will form reliably and stay strong.
Also, when navigating while wearing ropes or gear, continually check your orientation using a compass to ensure you maintain the correct heading and avoid drift magnetic declination.
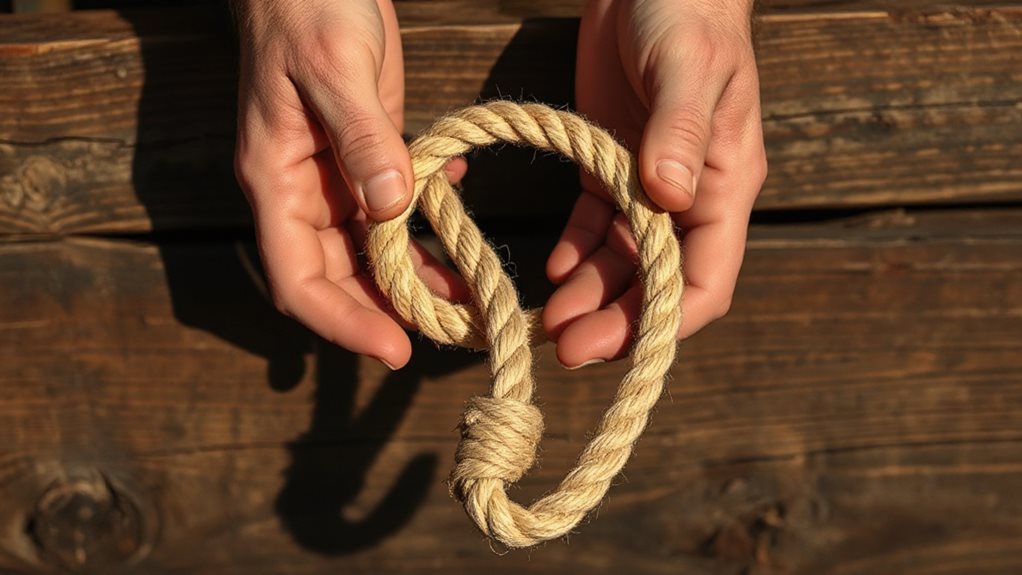
Right Loop Size
How big should the rabbit‑hole loop be when you start a bowline? Aim for a medium‑sized loop: big enough for the working end to slip through from the bottom without strain, yet small enough to stay tight when you pull. Check that the standing end passes under, over, and around the loop, and that the rabbit head sticks out clearly. This balance gives you freedom of movement while keeping the knot secure.
Proper Rope Orientation
Ever wonder why the rabbit‑hole loop matters so much? You form a small loop near the rope’s end, letting the standing part act as the tree. Position the free end on top, then guide it up through the loop from below, circling the standing part’s backside right‑to‑left. Keep the loop facing upward, avoid overhand capsizing, and ensure the rabbit returns down the same hole for a secure, slip‑free bowline.
How to Wrap the Working End Around the Standing Part
Ever wondered why the working end must encircle the standing part cleanly? You form a small loop in the standing part, then bring the working end over it, passing it completely around the back. Keep tension, avoid twists, and wrap clockwise if you’re right‑handed. A smooth, full encirclement guarantees a secure bowline that slides freely when you need it. Measure your feet in the evening to ensure an accurate fit, especially since many running shoes are true to size.
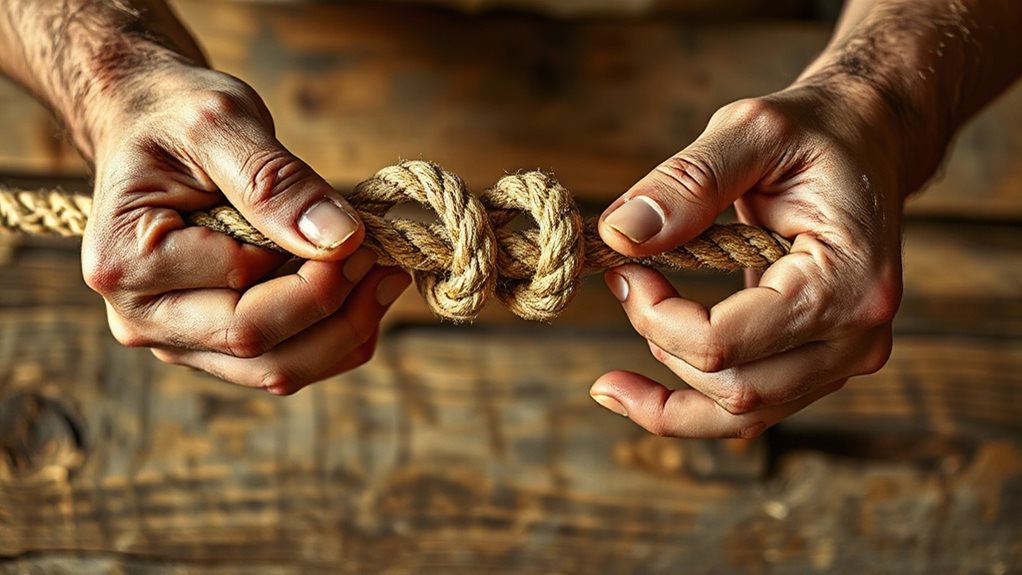
How to Finish the Knot by Pulling the Tail Through
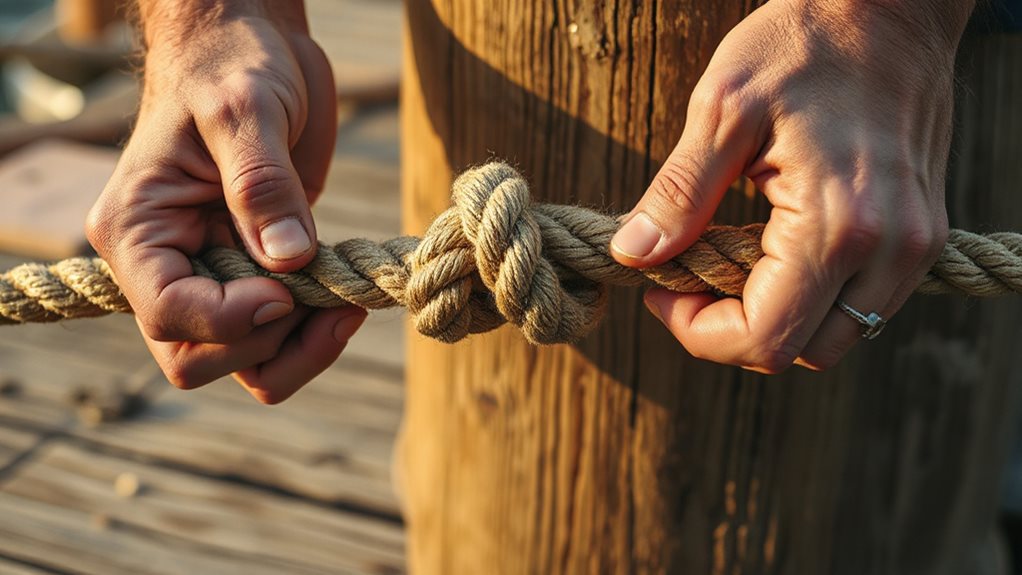
Now pull the tail through the nipping loop, making sure it emerges from inside the final bowline loop, then secure it with a double overhand knot for extra safety.
Check that the knot is tight by tugging both the standing part and the tail in opposite directions, and verify the tail is long enough—about a foot—to serve as a reliable backup.
Finally, give the knot a quick dress, aligning the parallel parts neatly so the whole assembly sits firmly and looks clean.
For added reliability in corrosive or dirty environments, apply a light lubricant to moving parts like pivots and hinges to prevent binding and corrosion prevent corrosion.
Pull Tail Through Loop
How do you finish a bowline once the working end has looped around the standing part? Pull the tail straight through the small loop you created, keeping the strand on top for a standard right‑handed knot. Maintain the clockwise direction, let the tail emerge centrally, then gently tighten by pulling the standing part opposite the loop. Dress the knot, align all parts, and confirm the loop stays clean and secure.
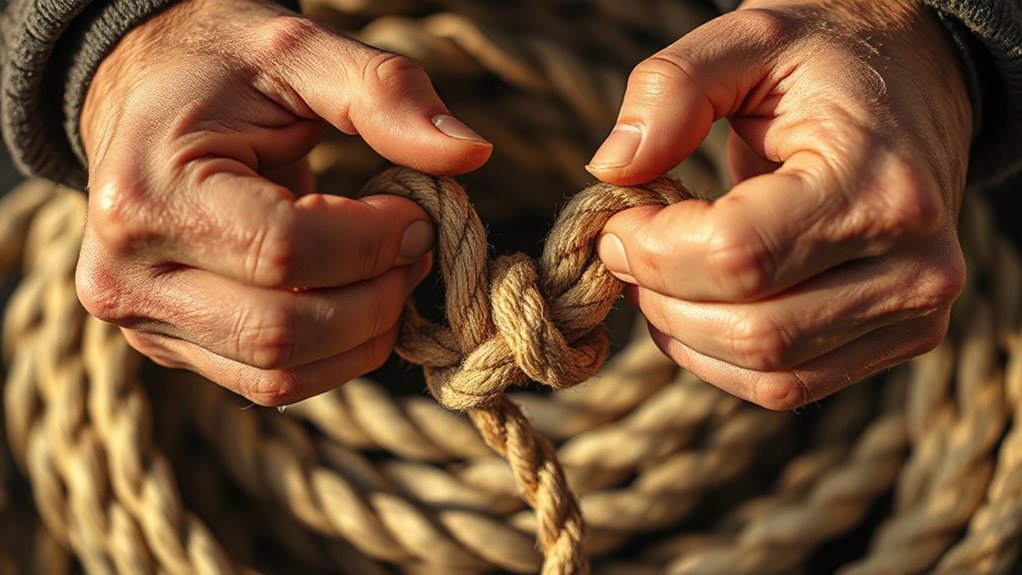
Secure Tail With Double Overhand
A double‑overhand stopper is the final safeguard that locks the bowline’s tail in place, and you’ll form it by feeding the working end through the two coils you just created.
Pull the tail through once more, then roll it while tightening so the X crossing appears on top and the bottom line runs parallel.
This creates a chunky, reliable stopper that resists slippage, keeps the loop secure, and preserves rope strength for adventurous climbs.
Verify Knot Tightness and Tail Length
Ever wondered how to lock the bowline in place and make sure the tail is the? Pull the standing part opposite the parallel sections, cinch the nipping loop tight, and tug the tail outward while holding the loop. Verify the tail sits inside (or outside for a cowboy style) and measures at least a foot. Test by pulling—no slippage, no back‑track—then dress and seat the knot securely.
How to Tighten and Dress the Bowline for Security
First, make sure the rope ends are free and the knot’s u‑shaped wrap is clearly visible before you start pulling.
Pull both ends together, keep the standing line at the loop’s bottom, and guide the tag end around it, then back through the loop.
Dress the knot so all sections lie flat, parallel, and twist‑free.
Verify the shape, then test with gentle tension.
How to Add a Safety Knot or Yosemite Tie‑Off
Why add a safety knot or Yosemite tie‑off to your bowline? First, form a standard bowline, then pass the tag end through the loop, behind the standing part, and out of the loop. Thread it through the big loop, then the smaller top loop. Pull part A, then part B, tightening the loop and pig tail. Finish with a double overhand stopper knot on the tail for extra security.
How to Spot and Fix Common Bowline Mistakes
After adding a safety knot, the next step is to make sure the bowline itself is tied correctly, because even a well‑placed stopper won’t help if the primary knot is flawed. Check that the loop is fully dressed, the tail snug inside the nipping loop, and the knot is tightened before loading. Spot a loose tail, uneven load on one arm, or a misplaced stopper—then re‑tighten, reposition the tail, and ensure even loading to prevent slip.
How to Select the Right Bowline Variation for Rope Type
Choosing the right bowline variation starts with understanding the rope’s material and the environment where you’ll use it; nylon, polyester, and HMPE each react differently to moisture, load, and friction, so the knot you pick must match those properties.
In wet settings, favor the Water Bowline; for extra security, try Double or Birmingham Bowline.
For mid‑rope loops, use Bowline on Bight or Spanish Bowline.
Match loop count to anchor needs, and consider rope diameter when selecting adjustable or woven options.
Final Note
Now you’ve mastered the bowline, you can trust it for camping, climbing, or any rope work. Remember to form the rabbit‑hole correctly, wrap the working end snugly, and finish by pulling the tail through. Dress the knot, add a safety tie‑off if needed, and double‑check for common mistakes. Choose the right variation for your rope type, and you’ll have a reliable, secure loop every time.


