First locate the leak by removing the insoles, filling the boot with water, and watching for drips at the foot opening, cracked coating, or clogged Gore‑Tex pores. Clean the boot thoroughly, brush off dirt, scrub with neutral soap, rinse, and let it air‑dry completely. Choose a product that matches the material—wax for leather, DWR spray for synthetics, silicone‑based treatment for mesh—and apply a thin, even coat, avoiding the membrane. Let it dry 24 hours, then repeat the spray test to confirm the barrier, and you’ll be ready for the next trek.
TLDR
- Diagnose leaks by removing insoles, filling boots with water, and observing drips to locate faulty seams, pores, or coatings.
- Clean boots thoroughly: brush off dirt, scrub with neutral soap, rinse, and air‑dry completely before any treatment.
- Apply the appropriate waterproofing product for the boot material—wax for leather, DWR spray for synthetics, membrane‑compatible treatment for Gore‑Tex.
- After treatment, let boots air‑dry for 24 hours, then perform a spray test and a 15‑minute submersion test to verify interior stays bone‑dry.
- Re‑treat regularly: after each wet trek, every season, or when beading stops, ensuring seams are sealed and interior linings are refreshed.
Why Boots Leak and How to Diagnose the Problem (Waterproofing Hiking Boots)

Why do your boots let water in? Because many hiking boots have imperfect design seals, material limitations, and membrane issues that let moisture slip past. You’ll see leaks at the foot opening, through cracked polyurethane coatings, or when Gore‑Tex pores clog with sweat. Test by removing insoles, filling boots with water, and watching for drips; a clean interior after a tech wash often reveals hidden membrane failure. Even high‑end boots can become wet over time due to prolonged exposure. Maintain stable environmental conditions and check seals regularly to reduce the risk of leaks.
Choose the Right Waterproofing Product for Your Boot Material
After you’ve identified where the water’s getting in, the next step is picking a waterproofing product that matches the boot’s material.
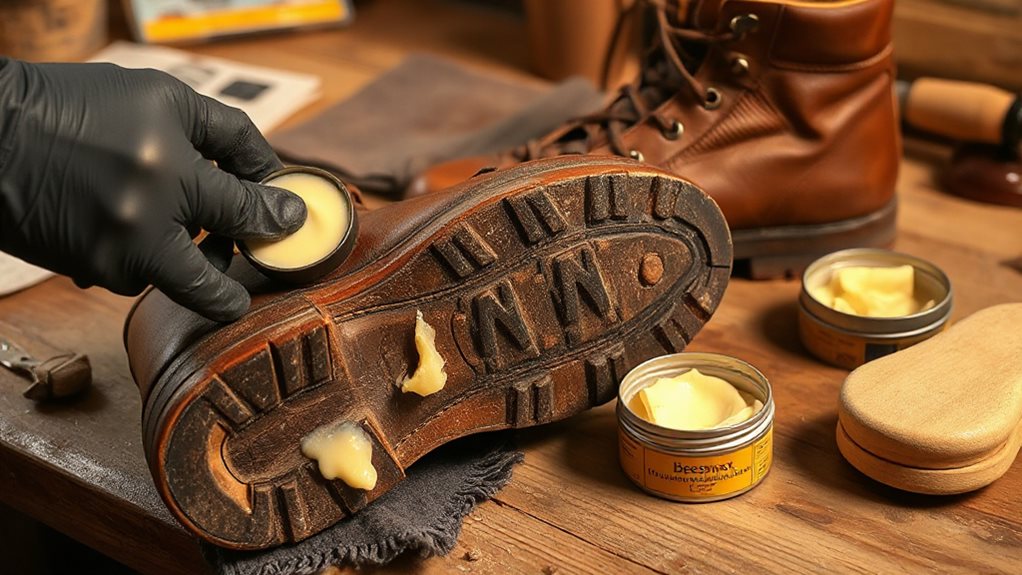
For leather, choose wax‑based formulas with beeswax, pine resin, cod oil, and beef tallow to seal pores and prevent cracking.
Suede needs a high‑quality repellent wax that respects its velvety texture.
Synthetic shells benefit from DWR sprays or membrane‑compatible treatments like Gear Aid, while GORE‑TEX or ePTFE boots require a product that refreshes the built‑in barrier.
Prepare Your Boots: Clean, Dry, and Mask Before Treatment
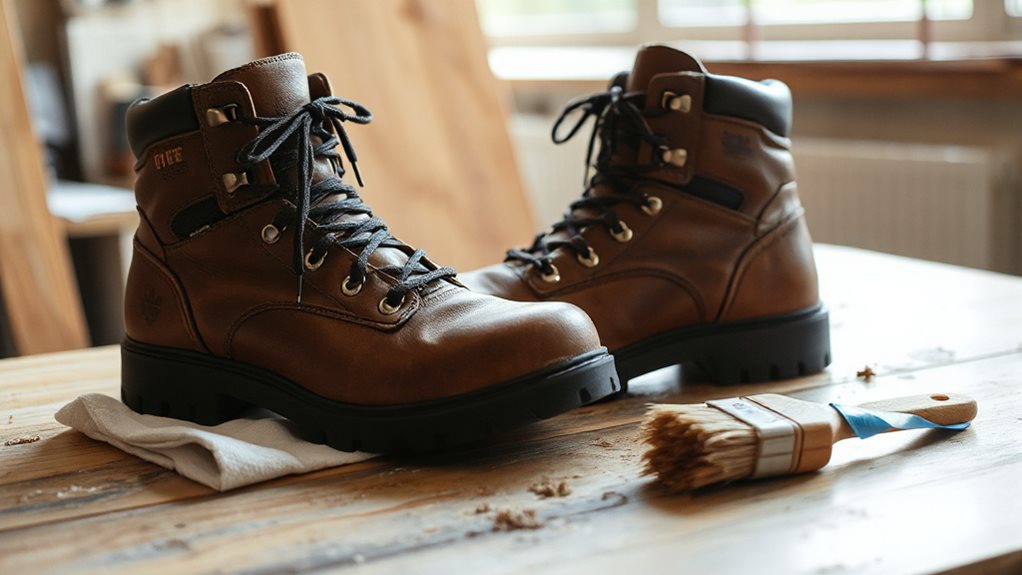
Ever wonder how a clean, dry boot prepares the canvas for a lasting waterproof barrier? Remove laces and insoles, then brush off loose dirt with a soft or stiff bristled brush, tackling seams and eyelets.
Wipe with a damp cloth, scrub with neutral soap or a cleaning gel, and rinse thoroughly.
Stuff boots with towels, let them air‑dry completely in a ventilated spot, and mask any areas you don’t want treated.
Apply a Silicone‑Based Treatment to Synthetic Leather and Mesh
You’ll want to spray a silicone‑based product onto damp synthetic leather or mesh, letting it soak in before you rub it in for even coverage; this ensures the formula penetrates the fibers and creates a durable water‑repellent layer.
Keep an eye on mesh compatibility—most synthetics take the treatment well, but you should avoid Gore‑Tex membranes and test a hidden spot if the fabric is unusually delicate.
Remember to apply a thin, uniform coat, let it dry fully, and repeat only if the surface looks uneven or the protection feels thin.
Silicone Application Tips
Where can you make the most of a silicone‑based treatment on synthetic leather and mesh? Start with clean, damp boots, remove laces, and brush off dirt. Apply a soft dauber or spray evenly, letting the liquid concentrate soak the material. Allow it to dry fully before wearing; the scent‑free barrier will repel water, dirt, and oil while preserving breathability and freedom on the trail.
Mesh Compatibility Considerations
How can you guarantee a silicone‑based treatment works on the mesh sections of your boots without compromising breathability? Test a spray‑on silicone on a hidden mesh patch, then choose a fabric‑specific formula that penetrates open weave without clogging pores. Avoid Gore‑Tex panels, use a pump sprayer for even coverage, and let it dry completely before hiking.
Use Nikwax Fabric & Leather Proof on Mixed‑Material Boots
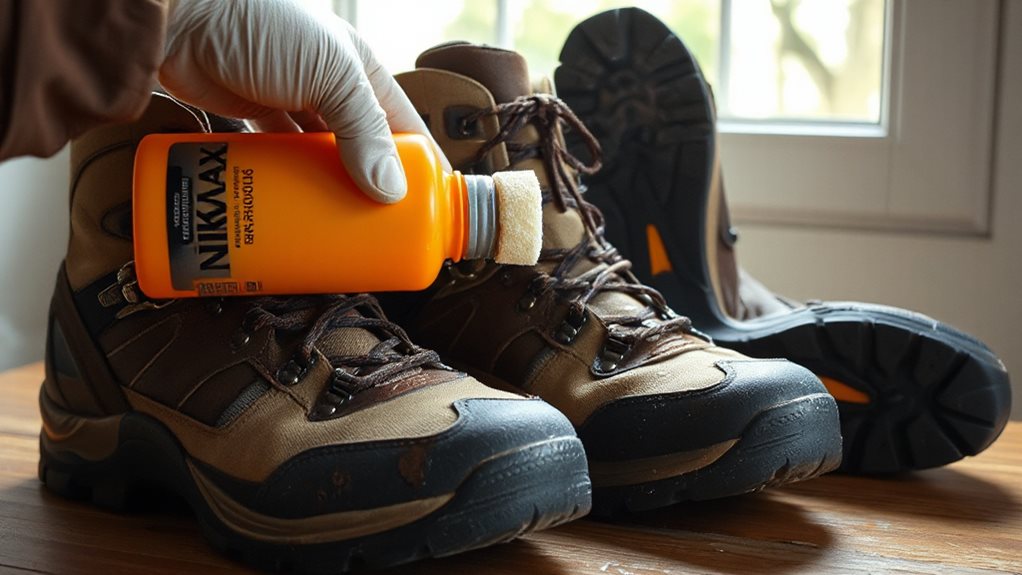
Applying Nikwax Fabric & Leather Proof to mixed‑material hiking boots is straightforward once the boots are clean and still damp, because the water‑based formula penetrates both fabric and leather without compromising flexibility. Remove laces, saturate, brush off dirt, then scrub with Nikwax cleaning gel. Rinse, let dry, spray or sponge the wet boots, focusing on seams and eyelets. Wipe excess, air‑dry naturally, and enjoy flexible, breathable waterproofing that lets you move freely. Kayak fishing combines paddling and angling for an exciting, healthy outdoor activity that is suitable for all ages and can enhance your time on the water.
Seal Seams and Stitching With a DWR Spray for Extra Protection
You’ll want to target the seams directly, spraying the DWR evenly over each stitch line so the coating fills the tiny gaps without clogging the membrane.
After the boots dry, give the seams a quick wipe to remove excess, then heat‑set the treatment if the product calls for it.
Reapply the spray after a few months of wear or whenever water stops beading, and your boots stay protected.
Target Seams Properly
A solid waterproofing routine starts with sealing the seams and stitching before you even think about a DWR spray, because any water that slips through tiny stitch holes will bypass the surface treatment entirely.
Target high‑stress corners, flat‑felled seams, and sole seams with a urethane‑based gel or brush‑on silicone, using a tiny brush to coat each needle hole.
Apply multiple layers, letting each dry 30 minutes, then press PU seam tape with a low‑heat iron for extra protection.
Spray Evenly Over Stitching
After sealing the seams with urethane gel, the next step is to protect the stitching itself by spraying a DWR coating directly onto it. Hold the can 6‑8 inches away, mist lightly over each seam, and use water‑based Nikwax for fabric‑leather combos.
Apply multiple thin coats in a ventilated space, let it dry naturally, and watch water bead on the stitching for proof of protection.
Reapply After Wear
When water starts to bead unevenly on your boots or you notice pooling on the surface, it’s a clear sign the DWR layer has worn thin and needs a fresh coat.
Clean the boots thoroughly, then spray the seams and stitching evenly, allowing three‑four hours between coats.
Choose a fluorocarbon DWR for durability, heat‑set as directed, and let it cure fully—up to 48 hours—before hitting the trail.
Re‑Treat the Insole and Interior Lining for Full‑Boot Waterproofing
If you want your boots to stay dry from the inside out, start by taking out the insoles and giving the interior lining a thorough clean before you apply any waterproofing product. Scrub with a stiff brush, wipe with mild detergent, then spray a silicone‑based treatment onto damp surfaces, wiping excess. Air‑dry in shade for ten hours, keeping them upside‑down for drainage, and never use heat. Note that wind and wet conditions can greatly increase heat loss and should be considered when planning cold‑weather outings to prevent frostbite risk.
Test Your Boots for Leaks After Treatment

After the treatment, fill each boot with a couple of inches of water and watch for any drips that escape the membrane, using a sink or bucket to keep the mess contained.
Next, give the waterproof a quick spray test, flexing the toe and heel while the water runs over critical seams to spot any penetration that mightn’t appear in a static test.
Finally, let the boots dry for a few days, then check the interior for lingering moisture; if no droplets remain after the 10‑15‑minute observation, you’ve confirmed the waterproofing is solid.
Leak Test Method
Ever wondered how to confirm your waterproofing actually works? First, dry the boots completely, strip laces, and pull out insoles. Brush off dirt, then set the boots over a sink. Fill them with one to two inches of room‑temperature water, keeping below the membrane. Let sit ten to fifteen minutes, flex the toe repeatedly, and watch for any drops on the outside. If none appear after an hour, the seal holds.
Water Spray Test
Wondering whether your waterproofing treatment actually repels water? Fill a spray bottle, hold it six to eight inches from the boot, and mist a circular, even coat. Watch for beaded droplets that roll off—especially on seams, creases, and the toe box.
If water sheets or soaks, re‑apply, let the boot air‑dry 24 hours, then repeat the spray test to confirm full coverage.
Drying Observation Check
The spray test shows whether the treatment repels water on the surface, but the real proof comes when the boots dry after being exposed to moisture.
Submerge them, focus on seams, zippers, laces, then dry thoroughly.
After 15‑20 minutes, lift the toe, check for damp spots, and ensure the interior stays bone‑dry.
This confirms the waterproof barrier holds, letting you roam free.
Maintenance Routine: When and How to Reapply Waterproofing
When you finish a hike in rain or thick mud, it’s time to check whether your boots still repel water, because a single wet trek can strip the protective layer.
Reapply after any bad‑weather trek, after two or three full‑grain leather trips, and at least once each season.
Clean, dry, then spray or wax as appropriate, let them air‑dry 24 hours, and test before the next expedition.
For extra protection in wet conditions, consider products with water-resistant formulations designed to prevent washout.
Avoid These Common Mistakes When Waterproofing Your Hiking Boots
Why do so many hikers end up with soggy feet despite waterproofing?
You over‑apply wax, creating a hard, non‑breathable shell that traps sweat and stiffens soles, and you ignore proper cleaning, using dish soap or generic cleaners that strip oils and clog pores. Don’t spray DWR on Gore‑Tex, nor treat damp boots; prep, clean, and use compatible products sparingly. Many popular trails in Georgia, like the Yonah Mountain Trail, demand careful boot care because their sharp drop‑offs and rough terrain can quickly expose footwear weaknesses.
Final Note
By cleaning, drying, and properly treating each material, you’ll keep your hiking boots dry and durable for years. Choose a silicone‑based product for synthetic leather and mesh, Nikwax for mixed fabrics, and don’t forget the insole and lining. Test for leaks after each application, and reapply on a regular schedule to maintain protection. Avoid common mistakes—like skipping prep or using the wrong product—to ensure reliable, long‑lasting waterproofing on every trek.


