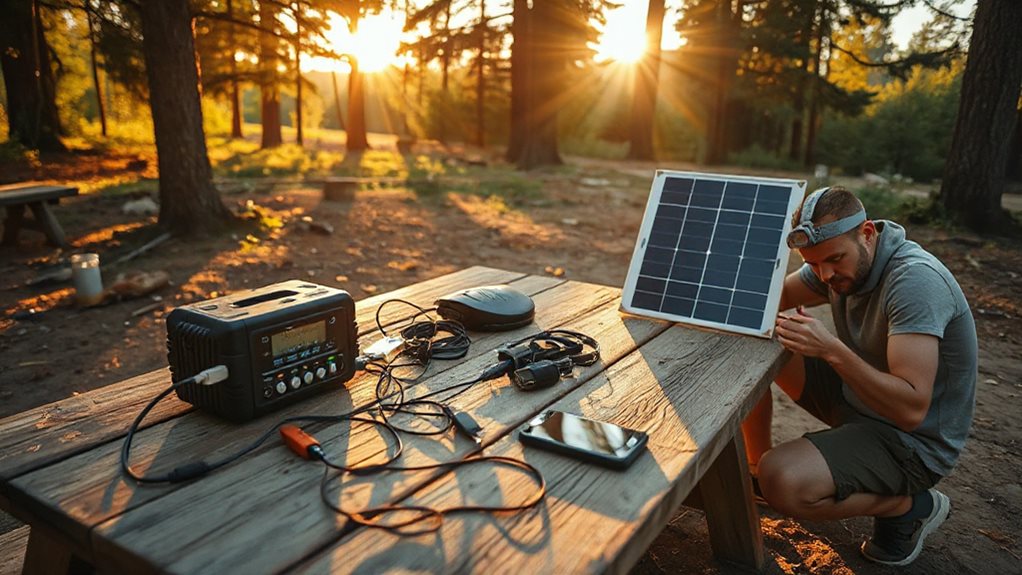
Pack a compact USB power bank for quick phone top‑ups, bring a higher‑capacity bank or portable power station for laptops and multiple gadgets, and add a lightweight solar panel to replenish them during daylight; store everything in a dry bag to keep moisture out, use short, durable cables to reduce loss, and dim screens or turn off unused electronics to conserve juice. Match each device’s watt‑hour needs to your bank’s capacity, check efficiency loss, and consider a car charger or inverter for extra redundancy. If you keep these steps in mind, you’ll discover even more ways to stay powered.
TLDR
- Pack a high‑capacity USB‑C power bank (20 000 mAh ≈ 60 Wh) and a solar panel with USB‑PD to recharge it during daylight.
- Match each device’s watt‑hour demand to your power source, adding ~20 % for conversion loss, and choose a bank that meets or exceeds the total.
- Use short, durable cables and keep devices in shade or low‑power mode to minimize consumption and heat buildup.
- Store all batteries and power stations in a dry, cool bag; disconnect leads during long storage and check charge every 30 days.
- Implement redundancy: solar panel as primary, power bank as backup, and a portable power station for high‑draw gear like laptops or small appliances.
Choose the Best Camping Power Strategy
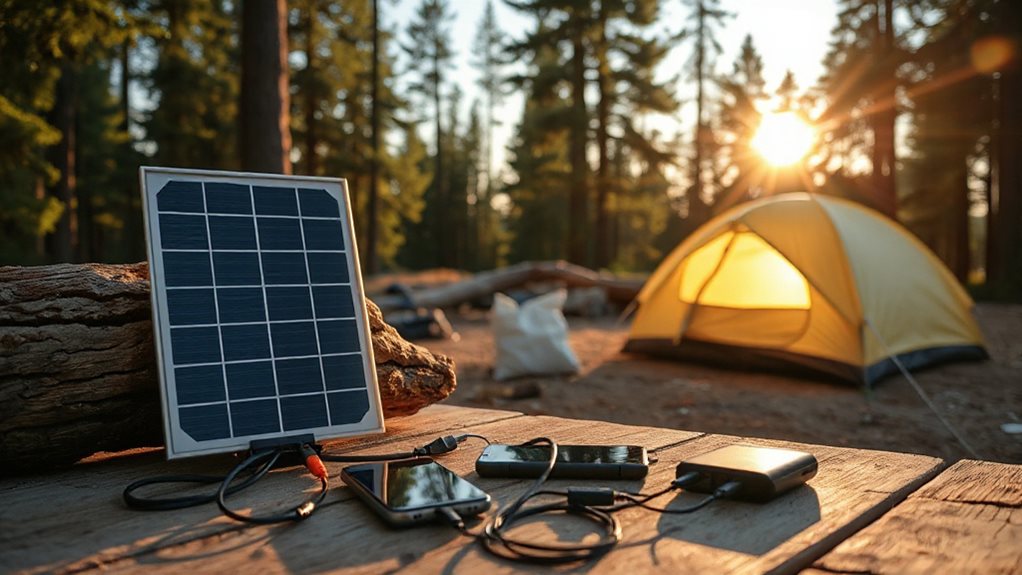
What’s the most reliable way to keep your devices alive on a weekend trek? Pack a compact USB power bank for phone charging, and bring a higher‑capacity bank or portable power station if you need longer runs or multiple devices. Match output (watt‑hours) to your gear, use short, durable cables, and keep screens dim, devices in shade, and unused electronics off to conserve power. Consider solar panels for eco‑friendly recharging when sunlight is available. For wet or rainy trips, store power banks and stations in a dry bag to protect them from moisture and accidental splashes.
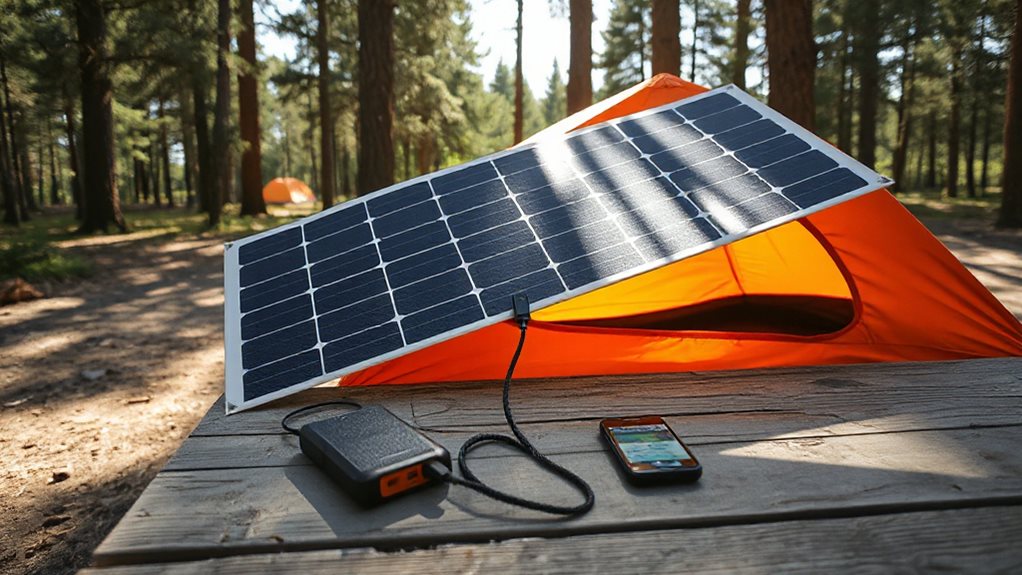
Pick the Right Portable Solar Panel for Your Trip
How do you choose a portable solar panel that fits your camping style? Match power to your gear: 10‑100W for phones and lights, 200‑350W for fridges or fans. Prioritize efficiency—monocrystalline panels hit 23‑25% and stay productive in partial sun. Balance weight and foldability; a 3‑lb panel folds into a compact box, while a 21‑lb unit offers sturdier mounts. Check ports—USB‑C PD, DC, Anderson—to pair with your power station, and verify IP ratings for weather protection. Choose a panel that delivers reliable juice without sacrificing mobility.
Size a Power Bank for Camping Devices
When you match a power bank’s capacity to the watt‑hours each device needs, you’ll avoid running out of juice mid‑trip while keeping the pack light enough to carry.
A 10,000‑mAh unit might handle a phone and a LED light for a weekend, but a 30,000‑mAh model is better for laptops, coolers, or multiple users on longer hikes.
Balance the amp‑hour rating with weight, port variety, and any solar‑charging features to pick a pack that fits both your energy demand and your backpack. A smart charger designed for the correct battery chemistry can improve safety and longevity by ensuring the proper charging profile for LiFePO4 batteries.
Capacity vs. Device Needs
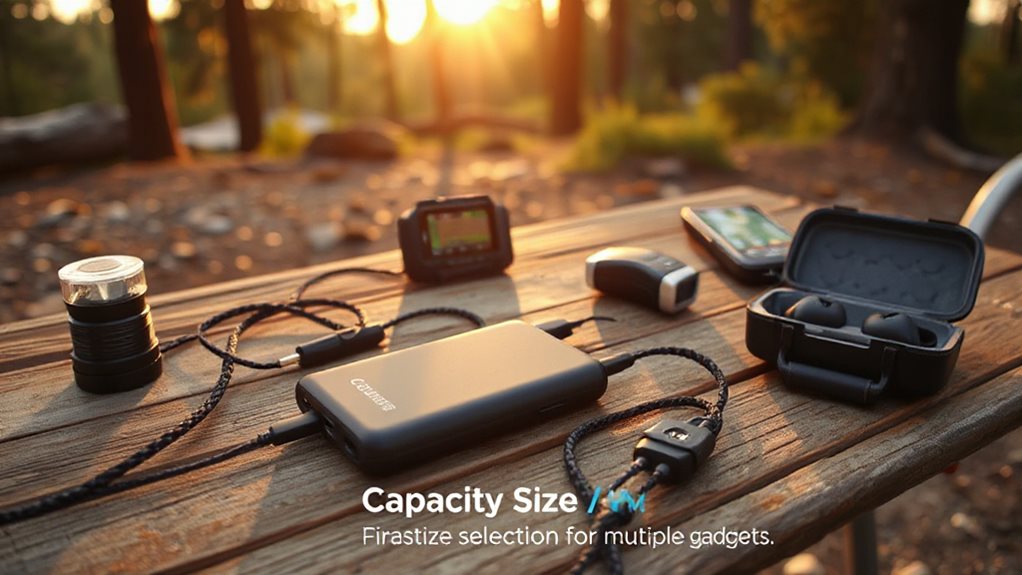
Ever wondered how to match a power bank’s capacity to the gadgets you’ll rely on around the campsite? First, list each device’s watt‑hour need—phones 10‑15 Wh, laptops 40‑60 Wh, CPAPs 40‑80 Wh per night, coolers 30‑50 Wh per hour, LED lights 5‑10 Wh per hour. Add them up, factor in efficiency loss, then choose a bank that meets or exceeds that total. A 10 000 mAh (≈ 30 Wh) unit covers phones, while 20 000 mAh (≈ 60 Wh) handles laptops and multiple gadgets. Scale up to 50 Wh+ for extended off‑grid adventures.
Weight and Portability Balance
Where does the sweet spot lie between a power bank that’s light enough to slip into a day‑hiker’s pack and one that can keep a laptop, LED light, and phone alive all night?
Aim for 10‑20 AhAh units like the INIU P50‑E1 (5.6 oz) or Anker 20 kAh (12.3 oz) for multi‑device freedom, while mid‑weight 30‑40 Ah options add AC outlets for longer stays without sacrificing mobility.
Run Laptops and Small Appliances With a Portable Power Station
A portable power station lets you keep your laptop, mini‑fridge, or small fan running all night without hunting for an outlet, and the key is matching the station’s capacity and output type to your gear’s needs.
Choose 700‑1000 Wh units for laptops and appliances, verify 110‑240 V AC ports, and prefer pure‑sine wave for sensitive electronics.
Use DC ports for efficient lighting, and watch built‑in safety features while monitoring runtime on the display.
Also consider the tradeoffs between weight, durability, and capacity when selecting a unit for backpacking or basecamp use, especially if you want to balance pack weight with portability and protection.
How to Power Gear With a Car Charger or Inverter

After you’ve set up a portable power station, the next step is to tap the vehicle’s own energy source. Connect a 12 V cigarette‑lighter adapter or dedicated outlet to run lights, fridges, or a laptop, but use a battery isolator or dual‑charger for newer cars to protect the starter.
For larger appliances, plug a properly sized inverter into the battery, ensuring the engine runs while drawing 240 V AC, and match inverter wattage to device needs.
Solar shower bags also offer an eco‑friendly way to heat water using sunlight, creating warm showers without using your vehicle’s power and reducing your carbon footprint.
Harvest Heat Energy From a Camp Stove for USB Power
Ever wondered how a simple camp stove can double as a USB charger? The BioLite CampStove’s thermoelectric generator captures flame heat, creates a temperature differential across a probe, and converts it to about 3 watts of power. That energy charges its 3,200 mAh internal battery or feeds a USB port directly, letting you power phones, GPS watches, or FlexLight while cooking. Kayak anglers often rely on similar portable power solutions for waterproof electronics during extended trips.
Layer Power Sources for Redundancy and Weather Resilience
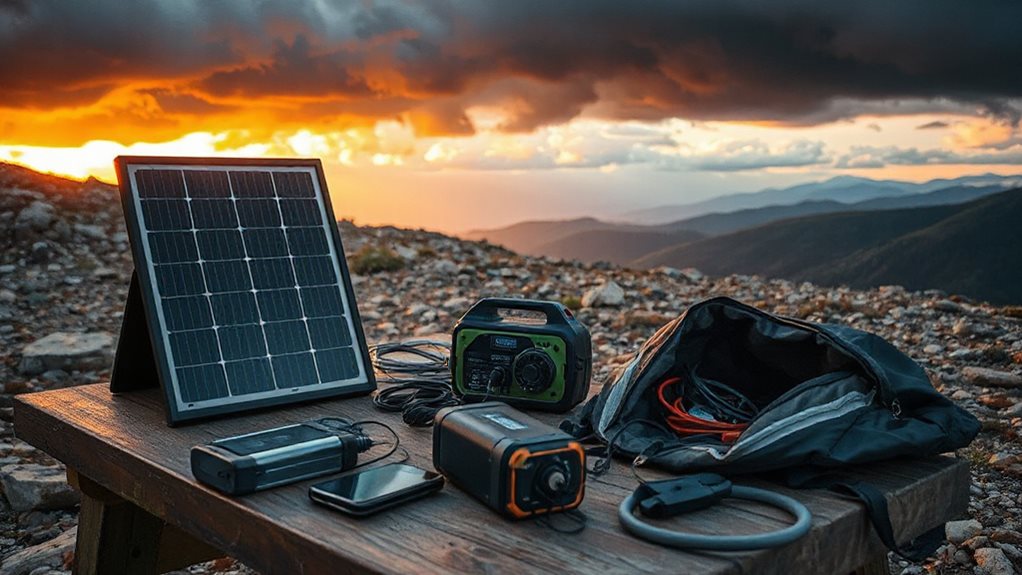
You’ll want a solar panel as a primary source, a battery bank as a backup, and weather‑proof management to keep everything running when conditions turn harsh.
By stacking these layers, you gain redundancy—if clouds cover the panels, the batteries kick in, and sealed enclosures protect ports from rain, dust, and mud.
This multi‑tiered setup lets you stay powered for days, regardless of weather or unexpected outages.
Solar Panel Redundancy
A solid solar‑panel redundancy plan starts with layering power sources so that you never rely on a single panel, especially when weather turns unpredictable. Combine a 320W roof panel with a 400W unit for 720W capacity, add portable 200W foldables on adjustable stands, and wire them in parallel‑series to keep voltage steady while increasing amperage.
Use MC4 connectors, fuses, and isolators for weatherproof safety, ensuring each array feeds the charge controller without overload. This layered setup lets you chase the sun, survive clouds, and keep devices alive on any campsite.
Battery Bank Backup
How can you keep your campsite powered when clouds roll in or a panel fails? Choose a lithium‑ion or LiFePO4 bank with an integrated BMS, size it for your load—say a 230 Ah LiFePO4 for a 2000 W inverter—and add modular chargers like Victron MPPT. Include fuses, bus bars, and a ventilated enclosure, then monitor capacity on the LCD or via app for reliable, redundant power.
Weather‑Proof Power Management
When clouds roll in or a solar panel falters, a layered power strategy keeps your campsite humming. Pair a Goal Zero Yeti 500 with waterproof cables, add a Jackery Explorer 2000 v2 for high‑capacity backup, and slot in an EcoFlow DELTA 2 Lite for redundancy. Use foldable, waterproof solar panels and IP‑rated connectors to stay powered, rain or shine.
Fast Setup Tricks for Solar Panels and Power Packs
Ever wonder how to get your solar panels and power packs up and running in minutes instead of hours? Choose flat, level ground, face panels toward the sun, and keep them away from shadows. Pre‑attach brackets, drill pilot holes, and secure with Velcro straps. Connect battery to charge controller (negative first), then panel, and route wires to the RV entry. Verify polarity, test in full sun, and confirm inverter output.
Battery Care: Charging, Discharging, and Storage
Where you’ll find the biggest impact on your RV’s battery lifespan is by mastering the basics of charging, discharging, and storage. Keep voltage above 10.5 V, avoid dropping below 40% charge, and stage‑charge with a solar controller to prevent over‑charging.
Store in a cool, dry spot, disconnect leads, and check every 30 days, topping up if under 75%.
Clean terminals regularly and use a maintainer for long trips.
Troubleshoot Common Camping Power Issues on the Fly
Can your RV’s power suddenly disappear at a campsite? First, verify shore power is stable, reset the outlet button, and inspect the cord for frays. Check voltage with a meter, ensuring 120 V AC and consistent battery readings.
Inspect breakers and fuses, reset or replace as needed, and confirm the converter switch is on. Tighten all connections, clean contacts, and you’ll keep the lights on.
Final Note
By planning ahead and layering your power options—solar panels, power banks, and a car charger—you’ll keep every device running, no matter the terrain or weather. Choose the right panel size, match it to a suitable battery, and protect your gear with proper charging and storage habits. When you set up quickly and troubleshoot on the fly, you’ll enjoy reliable electricity throughout your trip, staying connected and comfortable without hassle.


