Choose bindings that match your skiing style—alpine for resorts, tech for backcountry tours, and hybrids like the Salomon Shift for a mix. Pick boots first, since their sole type (ISO 5355, GripWalk, or ISO 9523) determines binding compatibility. Set your DIN based on weight, skill, and boot length, then match brake width to your ski’s waist—ideally 2–10mm wider. Opt for metal bindings for durability or plastic for lighter weight, and always have your bindings mounted by a pro. There’s more to get right for a safe, smooth ride.
TLDR
- Match your binding type to skiing style: alpine for resorts, tech for backcountry, hybrid for mixed use.
- Choose boots first—binding compatibility depends on boot sole standard like ISO 5355, GripWalk, or ISO 9523.
- Set DIN correctly using weight, height, ability, and boot length; always verify with a certified technician.
- Select brake width 2–10mm wider than ski waist to ensure proper function and avoid snagging.
- Prioritize construction: metal for durability and performance, plastic or tech for lightweight and touring efficiency.
Start Here: Match Ski Bindings to Your Skiing Style
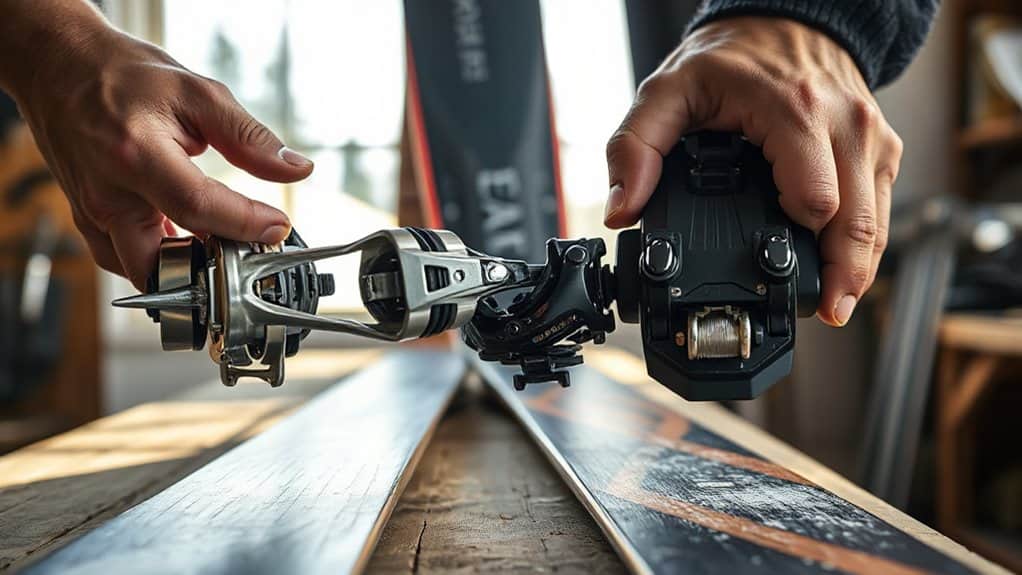
When it comes to choosing ski bindings, the first step is to match them to how and where you ski—because not all bindings are built for the same job.
If you stick to resorts, alpine bindings like the Marker Griffon offer reliability and ease.
For occasional backcountry, go with a frame or hybrid like the Salomon Shift.
Tech bindings, such as Dynafit Ridge, suit dedicated tourers seeking light weight and efficiency in soft snow.
Alpine bindings vary in feel and performance based on design, with heel spring placement influencing how easily you can step in, where lower placement means less effort—something seen in bindings like the Salomon/Atomic Strive with easier entry. A good match also considers your weight and skiing ability to set the correct release setting.
Choose the Right Ski Binding Type for Your Needs
You’ve already figured out that your skiing style shapes your binding choice, so now it’s time to get specific—matching the right binding type to your actual on-snow needs.
Choose alpine bindings for reliable downhill performance, tech bindings for ultralight touring, frame bindings when downhill control matters most, or hybrids like the Salomon Shift for versatile, go-anywhere freedom without major trade-offs.
Goggles are essential for protecting your eyes from UV rays and glare while you ski.
Pick Boots First : They Determine Binding Compatibility
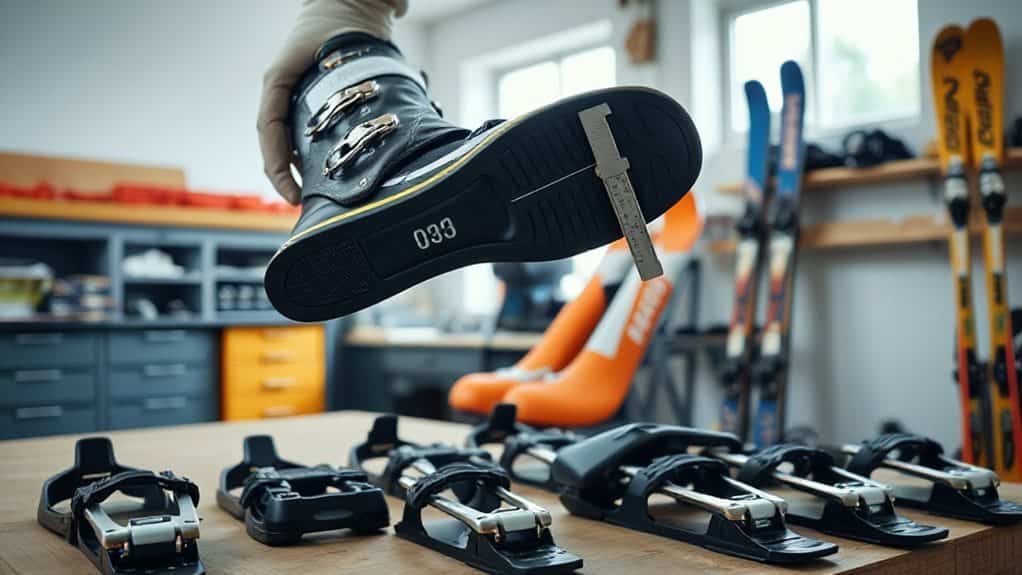
You should pick your ski boots first because their sole type decides which bindings will work safely and effectively.
Look for the ISO code on your boot sole—whether it’s flat (ISO 5355), rockered (ISO 23223/GripWalk), or touring (ISO 9523)—since not all bindings accept all soles.
Once you know your boot’s sole type, you can confidently choose a compatible binding that meets safety standards and suits your skiing style.
Boot Sole Type Matters
Before diving into binding options, it’s essential to recognize that your boot sole type is the foundation of compatibility—get this wrong, and you risk improper release, poor performance, or even injury.
Check your boot’s ISO label: Alpine (5355), GripWalk (23223), or Touring (9523). Each fits specific bindings, so match them carefully. Your freedom on the mountain starts with the right sole.
Bindings Match Boot Inserts
Boot sole type sets the stage, but once you’ve chosen your boots, the real compatibility work begins—because bindings must match not just the sole standard, but also the specific inserts and interface features built into your boot.
Check for tech fittings if you’re using pin bindings, and always verify GripWalk or ISO 9523 compatibility. Your boot’s design dictates safe, effective binding performance—so match them right.
Set the Correct DIN for Your Ski Bindings
While ski bindings might seem like simple attachments at first glance, setting the correct DIN—short for Deutsches Institut für Normung—is a precise process that directly affects your safety on the slopes.
You’ll need to take into account your weight, height, age, skiing ability, and boot sole length, as these all influence the force needed for release.
Use online tools or charts as a starting point, but always have a certified technician adjust your bindings—proper calibration prevents both early release and dangerous non-release, keeping you safe and in control.
Regular maintenance, including base waxing, helps ensure bindings and skis perform reliably.
Match Brake Width to Your Ski’s Waist
You’ve got to match your brake width to your ski’s waist for safety and performance. Choose brakes 2–10mm wider than the waist—too narrow and they won’t deploy, too wide and they’ll catch snow or each other.
Stick within 12mm max, since excessive overhang can cause problems on steep or tight terrain.
Also consider wearing a thin, moisture-wicking skull cap under your helmet to keep your head dry and maintain a proper fit.
Ski Waist Dictates Brake Size
When it comes to ski bindings, one rule stands out: match your brake width to your ski’s waist.
Your ski’s waist measurement—the middle number in its dimensions—directly determines the right brake size. Brakes sit slightly behind the waist, so choose a brake 2–10mm wider for full deployment.
Too narrow, and they’ll stick; too wide, and they’ll catch snow or gear. Pick the closest available size up for safety and smooth performance on the mountain.
Match Widths For Safety
Getting the right fit between your ski bindings and skis starts with one crucial step: matching brake width to your ski’s waist.
You need a brake 2–10mm wider than your ski’s waist, never narrower. Brakes stretch about 8mm, but going too wide—over 10–12mm—can snag on gear or terrain.
Check manufacturer charts, since measurement methods vary.
When in doubt, ask a pro.
Avoid Excessive Brake Overhang
Don’t let your ski bindings sabotage your run before you even hit the slope—excessive brake overhang is a common but avoidable issue that can lead to snags, falls, and equipment damage.
Match your brake width closely to your ski’s waist, allowing just 4–5mm max.
Overhanging brakes catch on pants, hook each other, or snap during spins—especially on narrow skis or hardpack.
Bend them inward with pliers if needed, or choose brakes within 10mm of your ski’s width for smooth, reliable performance.
Metal vs. Plastic: Which Ski Binding Build Is Right?
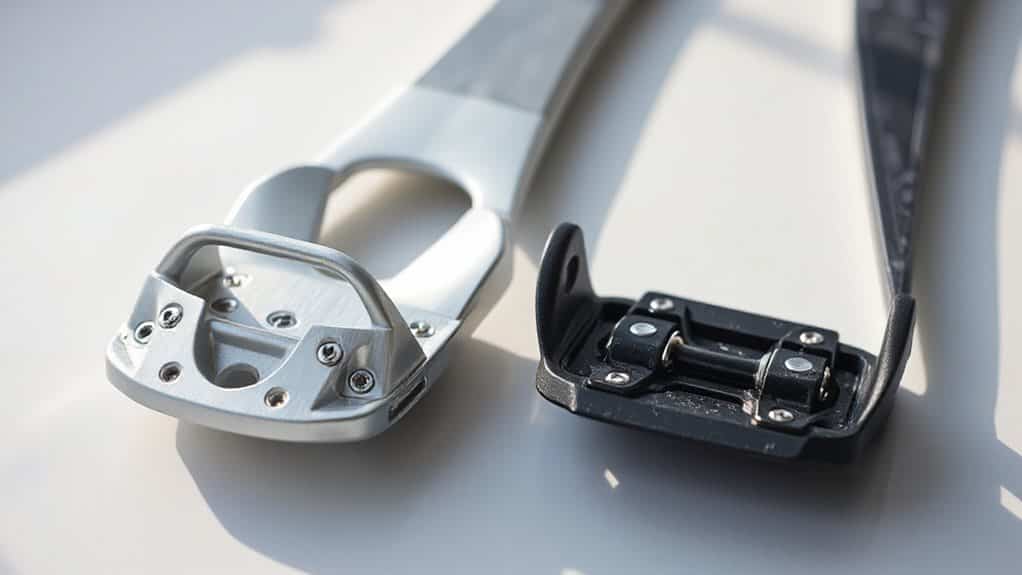
While your ski binding might seem like just a simple clamp between boot and board, the choice between metal and plastic construction plays a crucial role in how your gear performs, holds up, and feels on the mountain.
Choose metal for durability, higher DIN ratings, and better elasticity—ideal for aggressive skiing.
Opt for plastic if you prefer lighter weight and lower cost, but expect less longevity and performance precision. A well-maintained binding will last longer and perform reliably, so regular care and inspection help extend its lifespan and prevent cracks or separation.
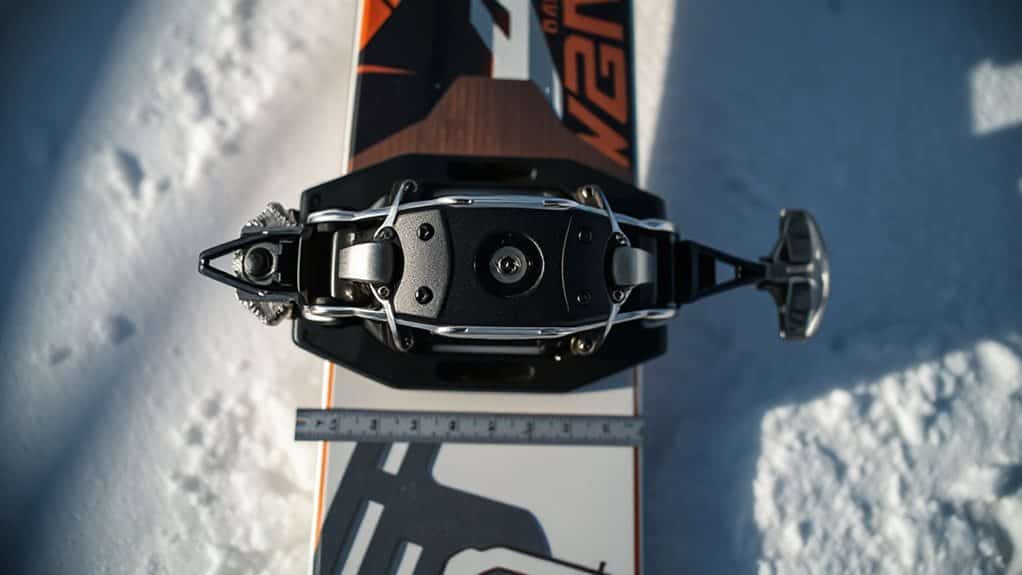
Backcountry? Choose Tech or Hybrid Ski Bindings
When venturing into the backcountry, your binding choice becomes a critical factor in how efficiently you climb and confidently you descend.
Choose tech bindings for the lightest setup, ideal for long tours where every ounce matters.
Opt for hybrids if you want better downhill control, added safety, and versatility—perfect when splitting time between resort and remote lines without sacrificing too much uphill ease.
Get Your Ski Bindings Professionally Mounted

Though mounting your ski bindings might seem like a straightforward task, getting it right demands precision, the right tools, and a solid understanding of your gear—so it’s no surprise that most skiers choose to have their bindings professionally mounted.
You’ll need a drill, jig, and measuring tools, plus expertise to align the bindings perfectly. Pros guarantee accurate positioning, proper drilling depth, and secure fastening, giving you confidence on every run—because freedom on the mountain starts with reliable, expert-mounted gear.
Final Note
You’ve got this—just match your bindings to your skiing style, boot type, and ski width. Set the right DIN based on your weight and skill, and never skip a pro mount. For backcountry excursions, go tech or hybrid. Whether you’re carving groomers or hiking peaks, the right binding keeps you safe and in control. A little homework now means better, safer days on snow.


