You’re probably forcing tent poles together or skipping zipper lubrication, which leads to cracks and stuck zippers. Don’t store damp gear—mildew ruins fabrics fast. Avoid cross-threading stove canisters by aligning them straight and turning gently. Skip shock cord checks or ignore small pole dents, and you’ll face failures when you need shelter most. Let adhesives cure fully, reapply DWR regularly, and inspect O-rings often. Small habits make a big difference in gear longevity—there’s more you can do to keep everything performing its best.
TLDR
- Forcing tent pole segments together can cause dents or cracks, leading to failures during use.
- Skipping zipper lubrication and cleaning accelerates wear, causing jams or zipper separation.
- Storing gear while damp promotes mildew, degrades fabrics, and shortens equipment lifespan.
- Ignoring small sleeping pad leaks results in insulation loss and eventual complete failure.
- Overlooking O-ring maintenance leads to fuel canister leaks and stove safety hazards.
Don’t Force Tent Poles During Setup
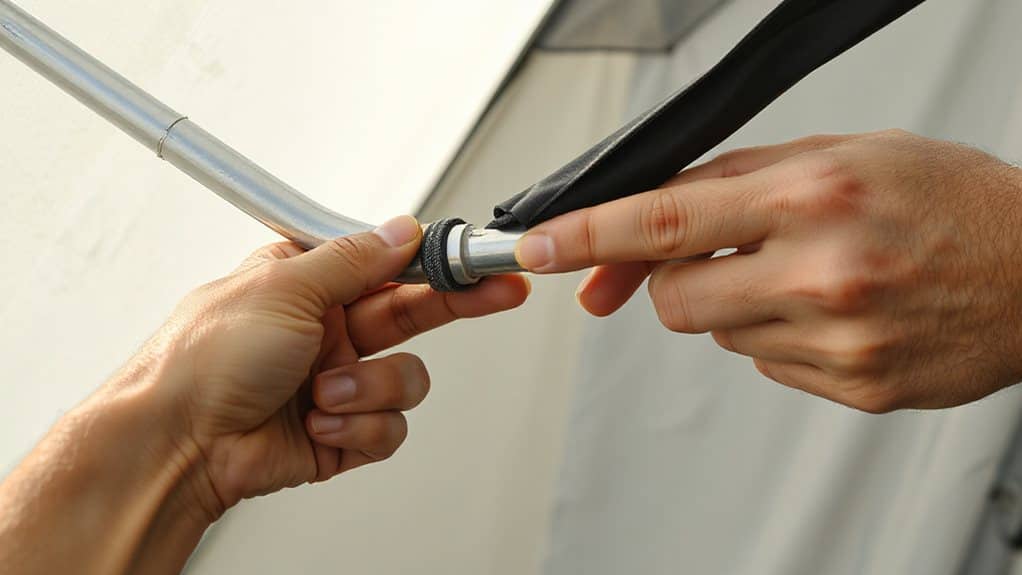
Don’t force your tent poles together when setting up—this common mistake can set you up for trouble before your trip even gets going.
Fully insert each segment before bending to prevent dents or cracks, especially in aluminum.
Avoid banging ends together, and never rush assembly.
Fiberglass shatters under stress, while aluminum bends, so handle both with care to make certain your shelter stays strong when you need it most.
Disassemble poles starting from the center and moving outwards to distribute shock cord tension evenly, helping prevent premature wear and breakage due to uneven shock cord tension.
Many modern tents use aluminum poles because they offer a good balance of strength and light weight.
Fix Tent Pole Breaks Before They Worsen
You should inspect your tent poles regularly, especially after tough trips, to catch cracks or bends early.
Replace any damaged segments right away—using mismatched or warped poles can lead to bigger issues later.
Always use proper assembly techniques, like aligning sections smoothly and not forcing them, to avoid unnecessary stress and extend your gear’s life.
Clean fabric and vinyl awnings annually and apply a water repellent after cleaning to help prevent mildew and prolong fabric life.
Inspect Poles Regularly
Regularly checking your tent poles isn’t just a good habit—it’s essential maintenance that keeps your shelter reliable when you need it most.
Inspect before and after each use, looking for dents, cracks, or rust.
Shake-test for wobble, check joint tightness, and store poles dry and clean.
Catching small issues early prevents failures, so you stay safe and keep adventuring without unexpected setbacks.
Replace Damaged Segments
Fix a broken tent pole the moment you spot it—because a small crack can quickly turn into a full snap, leaving your shelter unstable when you need it most.
Use a splint, sleeve, or tape to secure the break, then replace the segment as soon as possible.
Delaying repairs risks further damage, especially with ultralight poles.
Carry a repair sleeve and know how to rethread shock cords—it keeps your expeditions running smoothly, safely, and on your terms.
Use Proper Assembly Technique
A snapped tent pole mid-trip can turn a peaceful night under the stars into a stressful scramble, but many breaks start long before the trail—right at the moment you assemble your shelter.
You avoid damage by fully inserting each segment, never forcing bends, and checking for dings or misalignment. Korean-made aluminum, common and prone to dings, needs extra care.
Unfold one elasticized section at a time, test stability, and distribute stress evenly—small steps that keep your shelter strong and your trek free.
Lubricate Zippers to Prevent Jacket & Tent Failures
Lubricate your zippers before first use to guarantee smooth operation from the start, especially on new jackets or tents.
Clean out sand, salt, or grit regularly with a brush-top lubricant—this keeps debris from grinding down teeth over time.
And never force a stuck zipper; work it gently after cleaning and lubricating to avoid damage.
For extra protection, periodically rub the teeth with a graphite pencil to keep metal zippers sliding smoothly.
Lubricate Before First Use
You’d be surprised how quickly a brand-new zipper can grind to a halt if you skip one simple step—lubricating it before first use.
Factory residues cause sticking, while untreated metal zippers risk corrosion.
Apply the right lubricant—like TiZip paste or a wax stick—before your first outing.
Run the zipper open and closed several times, then wipe excess.
This small act guarantees smooth function, prevents early failure, and extends your gear’s life by years, keeping you free to investigate without unexpected breakdowns.
Clean Debris Regularly
That first swipe of lubricant on a new zipper sets you up for success, but keeping it running smoothly means staying on top of the gunk that builds up over time.
Dirt, sand, and salt cause sticking, corrosion, and tooth damage. Clean zippers regularly with soapy water and a toothbrush, dry thoroughly, then re-lubricate.
Quick post-trip maintenance prevents failures, extends gear life, and keeps you moving freely when it matters most.
Avoid Forceful Pulling
When zippers bind or stick, it’s tempting to yank harder, but forcing them only worsens the problem—especially on critical gear like jackets and tents.
Instead, lubricate regularly to reduce friction, prevent jams, and avoid damage.
A smooth glide means less wear, longer life, and reliable performance when you need it most—keeping your excursions hassle-free and your gear ready for anything.
Clean Gear After Every Trip: Here’s Why
Always cleaning your gear after every trip keeps it ready, reliable, and safe for your next excursion. You prevent mold, extend lifespan, and maintain waterproofing by removing dirt and moisture.
Damp gear breeds mildew, even if it looks dry. Sweat and debris degrade fabrics over time. Clean gear dries faster, resists bacteria, and performs better—so take a few minutes post-trip. Your future self will thank you. A proper wash using specialty down soap helps protect delicate insulation and maintain loft.
Dry Tents and Sleeping Bags Before Storing
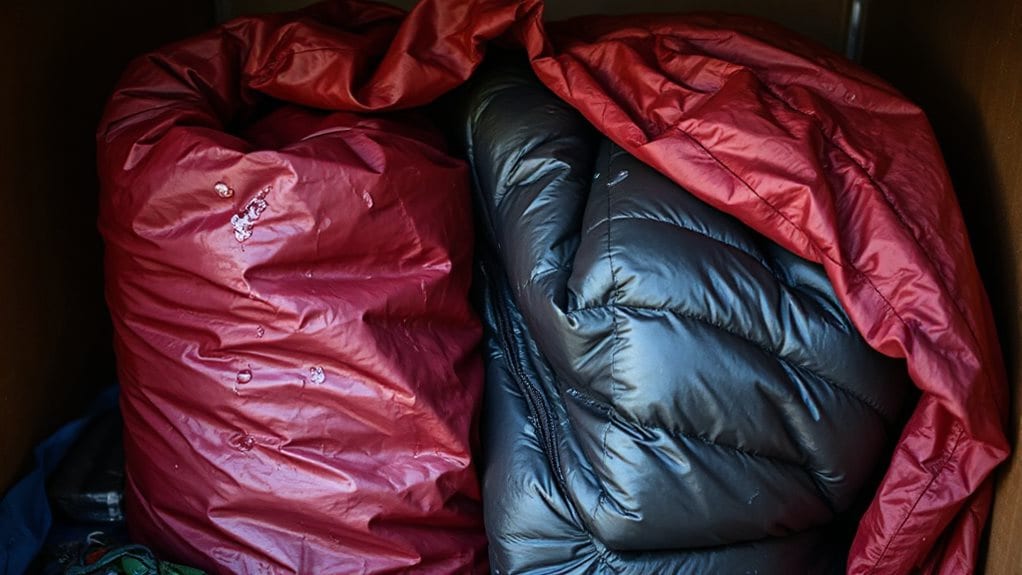
Even if your tent and sleeping bag seem dry after a trip, skipping a thorough drying process before storage can lead to long-term damage.
Hang your tent in a shady, well-ventilated spot and unzip sleeping bags fully, flipping them once or twice.
Avoid direct sun to protect fibers and water repellency.
Use fans or dehumidifiers to speed drying, and always confirm gear is bone dry—wait 12 extra hours if needed—before storing.
Also, if your gear will be stored in an RV, periodically sanitize and refill the freshwater system to prevent musty odors from contaminating stored items; check the freshwater tank regularly.
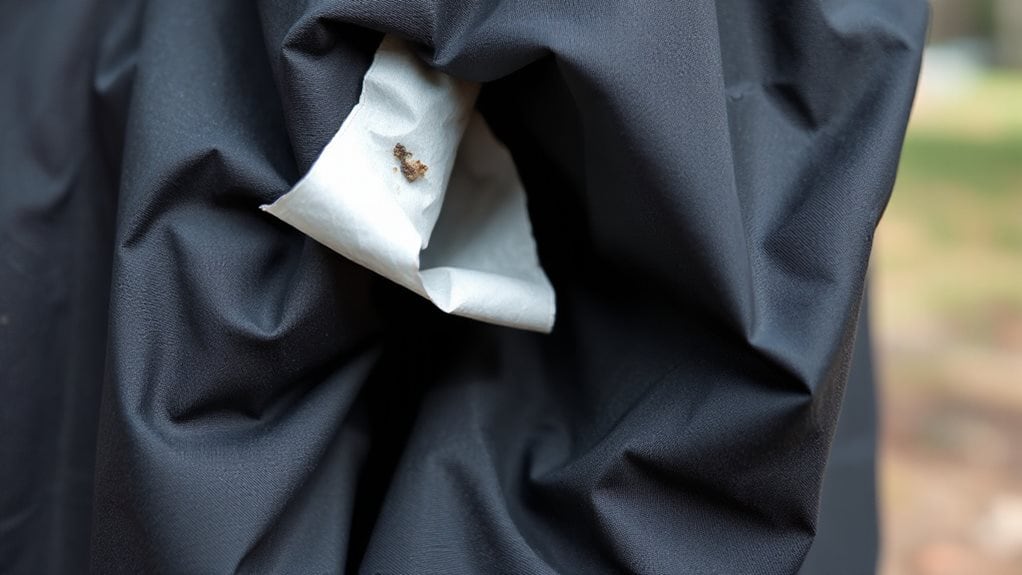
Check Sleeping Pads for Leaks Early
You can catch sleeping pad leaks early by using simple methods like soapy water sprays or submersion tests before they ruin your trip.
Check both sides, focus on valves, and don’t skip spots—small pinholes often hide where you least expect them.
Fixing leaks now saves time and keeps your pad reliable for years.
Leak Detection Techniques
Catch a leak early by giving your sleeping pad a quick check before it turns into a cold, uncomfortable surprise on your next trip.
Inflate it fully and listen closely for hissing, especially around the valve.
Submerge it in water or use soapy spray to spot bubbles—small pinholes might take time, so be patient.
Mark leaks with a Sharpie, then verify and clean with alcohol before patching.
Timely Repair Importance
When you make it a habit to check your sleeping pad for leaks before each trip, you’re not just avoiding a cold, restless night—you’re protecting your gear’s performance and lifespan.
Catching small leaks early prevents total failure, maintains insulation, and stops minor issues from becoming major problems.
Prompt repairs, proper storage, and seasonal checks keep your pad reliable, lightweight, and ready—so you stay comfortable, confident, and free to roam farther, longer.
Stop Seam Tape From Peeling on Rain Gear
Peeling seam tape doesn’t have to spell the end of your rain jacket’s waterproof performance—fixing it’s easier than you think.
Clean the area with alcohol or mineral spirits, then dry thoroughly.
Apply Seam Grip to the tape and jacket, let it get tacky, press together, and cure overnight.
Use an iron on damp seams for heat-activated tape, and dust cured seams with talc to prevent sticking.
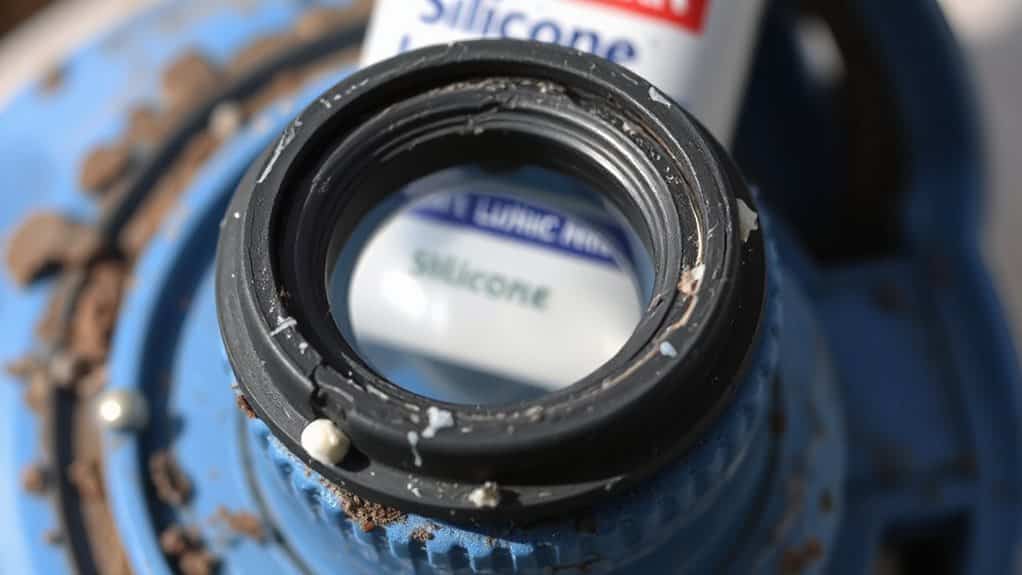
Avoid Cross-Threading Stove Canisters
Screwing in your stove to a fuel canister might seem straightforward, but getting it wrong can lead to serious issues down the trail.
Align it straight, turn gently, and stop if it binds—cross-threading damages threads permanently.
Check for dirt, sand, or rust, and clean threads with oil.
Never force it.
Inspect the O-ring, avoid over-tightening, and replace damaged parts to keep your setup safe, reliable, and ready for the open trail.
Reapply Waterproofing Every Few Months
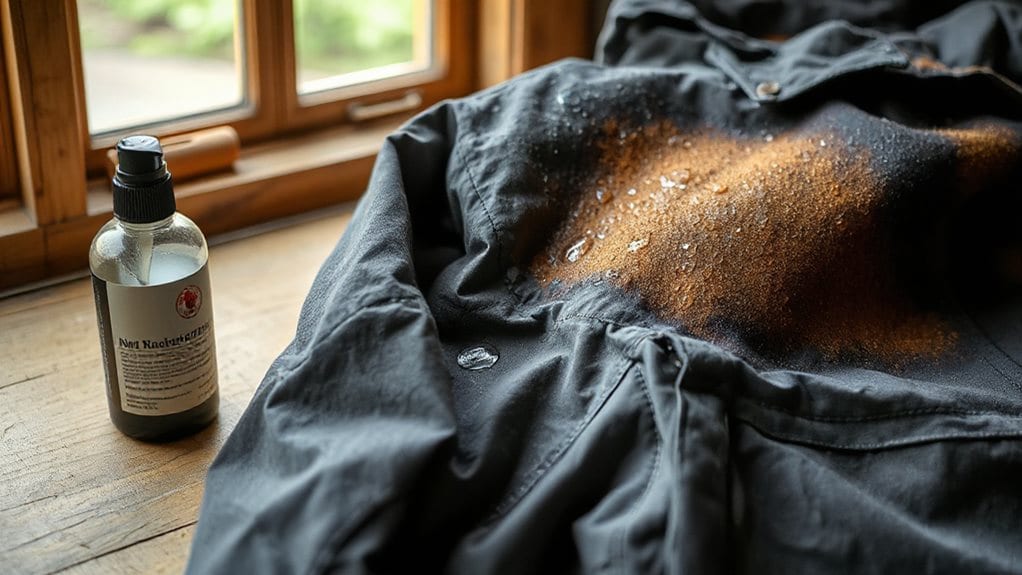
You’ve just made sure your stove and fuel canister thread together smoothly—now let’s talk about keeping the elements out of your gear.
Reapply DWR every few months to maintain water repellency, especially after washing or heavy use. Clean with a gear-specific wash, then spray or tumble-dry treatment. Reactivate with heat, and test by sprinkling water—beads mean you’re good. Stay dry, stay free.
Let Repairs Cure Fully Before Using Gear
While it might be tempting to head out right after patching a tear or sealing a seam, giving your repairs ample time to cure makes all the difference in durability and performance.
Let adhesives like Kenyon or Tenacious Tape set fully—usually 24 hours—before use.
Avoid rushing repairs, rotating gear evenly during drying, and never store damp items.
Fully cured fixes mean reliable, long-lasting gear ready for your next outing.
Inspect and Lube O-Rings on Water Filters
Regularly checking and lubricating the O-rings on your water filter keeps it running smoothly and prevents frustrating leaks in the field.
Inspect every 3–6 months, or monthly in tough conditions, and always when replacing cartridges.
Clean O-rings with mild soap, dry thoroughly, then apply a thin layer of food-grade silicone grease.
Replace yearly or if cracked, flattened, or misshapen—this guarantees reliable, leak-free performance when you need it most.
Final Note
You’ve got the know-how to keep your gear in top shape—now use it. By avoiding these common mistakes, you’ll extend the life of your equipment and stay safer outdoors. Remember, small steps like drying your tent, lubing zippers, and checking o-rings make a big difference over time. Stay consistent, follow these tips, and your gear will keep performing trip after trip.


