To spool a baitcaster with braid like a pro, you’ll need to secure the line properly to prevent slippage by threading it through spool holes or using electrical tape over your knot, then add monofilament backing to create friction against the arbor. Maintain steady tension of 7–10 pounds throughout spooling, fill to about 1/8 inch from the rim, and make test casts to adjust your brake system. The techniques below will help you command tension control and avoid the common mistakes that cause backlashes.
TLDR
- Use monofilament backing secured with a Double Uni or Albright knot to prevent braid from slipping on the spool arbor.
- Maintain steady 7–10 pound tension throughout spooling using a towel or glove to ensure tight, even wraps without gaps.
- Fill spool to 1/8 inch from the rim to maximize casting distance while preventing backlashes from overfilling.
- Thread braid through spool holes or secure with electrical tape over the arbor knot to anchor against spinning.
- Make practice casts and adjust brake system and spool tension to achieve smooth line lay and optimal performance.
Why Braid Line Requires Special Spooling Techniques
Because braid line doesn’t stretch like monofilament or fluorocarbon, it creates unique packing challenges on baitcaster spools that you’ll need to address from the start.
Its woven texture and thin diameter make it prone to slipping between layers, causing uneven packing and increased friction.
Without proper tension during spooling, you’ll experience backlashes and casting problems that wouldn’t occur with monofilament’s smooth, stretchy characteristics.
Monofilament backing grips the spool arbor better than braid alone, preventing the line from spinning freely on the reel during hard hooksets or long casts.
Consider using a hard tackle box to keep spools and spare backing organized and protected during travel.
Essential Tools and Equipment You’ll Need
While you can technically spool braid onto your baitcaster using just your hands and the bulk spool, investing in the right tools will convert a frustrating process into a quick, professional job.
A quality line spooler with adjustable clamps holds your bulk spool securely and rotates it properly to prevent twists. Add a tensioning device with friction pads or springs to maintain consistent pressure, ensuring your braid lays flat without loose spots or backlash issues. Look for spoolers that include multiple spool adapters to accommodate different bulk spool sizes, from narrow to wide center holes. A reliable setup also helps you maintain steady tension while spooling, which is essential to prevent line dig-in and ensure even distribution.
Preparing Your Baitcaster Reel and Rod Assembly
Before you even think about threading line through your guides, take a moment to set up your rod and reel properly—this foundation determines how smoothly the entire spooling process will go.
Assemble your rod sections by aligning the guides in a straight line, then slide the reel foot into the seat and tighten the locking ring securely. Double-check that everything sits flush and aligned before proceeding. Consider choosing a rod material like graphite and fiberglass for a balance of sensitivity and durability when setting up your outfit.
Choosing the Right Line Test for Your Fishing Style
Selecting the appropriate line test for your baitcaster isn’t just about matching numbers to fish sizes—it’s about understanding how line strength, diameter, and your specific fishing techniques work together to determine success on the water.
Lighter tests (4-20 lb) excel for finesse presentations and smaller species, while medium ranges (25-50 lb) handle larger gamefish and abrasive environments. Consider both target species and fishing conditions when choosing your pound test for peak performance. Crappies and other panfish often respond best to natural-appearing baits and color selection matched to water clarity and weather conditions for maximum effectiveness.
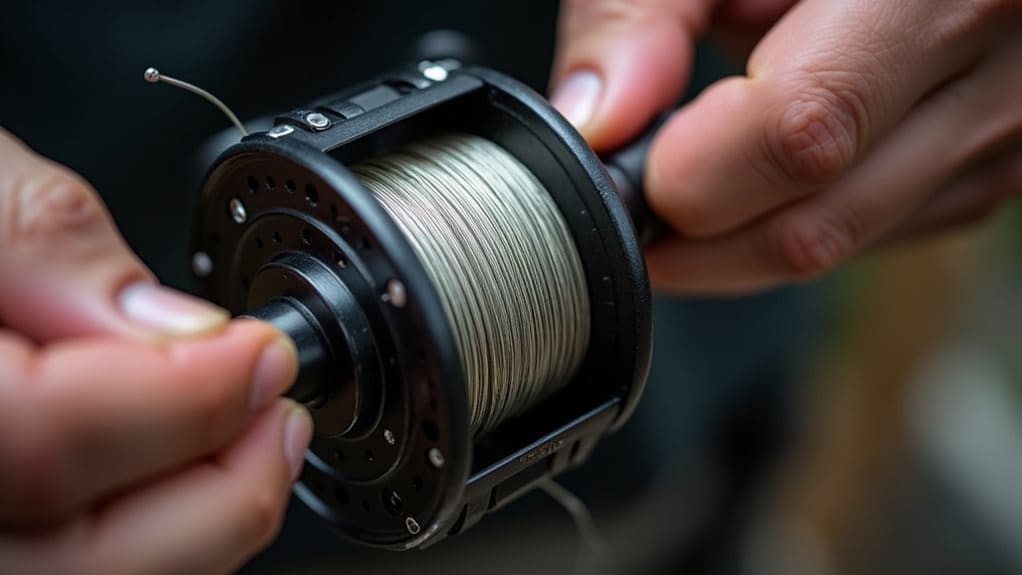
Securing Braid to the Spool Without Slippage
Once you’ve chosen your line test, the next step requires addressing one of braid’s most notorious challenges: its slick surface makes it prone to spinning freely around the spool if not properly secured.
You’ll need to create friction between braid and spool. The most reliable approach involves threading braid through small holes on the spool’s side, tying an overhand knot to anchor it physically before wrapping.
Using Backing Line for Better Grip and Capacity
You’ll find that adding backing line beneath your main braid offers two significant advantages: it creates a secure foundation that prevents the slippery braid from spinning freely on the spool arbor, and it efficiently fills the reel to peak capacity without wasting expensive line.
Braided backing works particularly well for this purpose because its textured surface grips both the spool and your mainline better than monofilament, while its lighter weight and zero memory keep your spool spinning freely for longer casts.
Let’s look at how to properly select and attach backing line to maximize these benefits.
Why Use Backing Line
When it comes to maximizing your baitcaster’s performance, backing line serves as the foundation for peak casting distance and line management.
A full spool reduces line twist and memory while increasing your casting distance by 10–20 feet. You’ll also save money by using less expensive main line, replacing only the top layer when respooling. Backing prevents performance drops when line depletes to the spool’s base.
Attaching Backing to Braid
Understanding the benefits of backing line naturally leads to the practical question of how to properly attach it to your braid.
The Double Uni knot is your best choice for connecting monofilament backing to braided mainline, offering excellent strength and reliability.
Alternatively, you can use the Albright knot with 7–12 wraps for joining different line diameters.
Always cinch knots tightly and trim tag ends close.
Threading the Line Through Rod Guides Correctly

Before you can begin winding braided line onto your baitcaster, you’ll need to thread it through each rod guide in the proper sequence, a step that seems straightforward but directly impacts your casting performance and line management.
Start at the tip guide and work toward the reel, passing through every guide without skipping any.
This guarantees proper alignment, even tension, and prevents backlashes during casting.
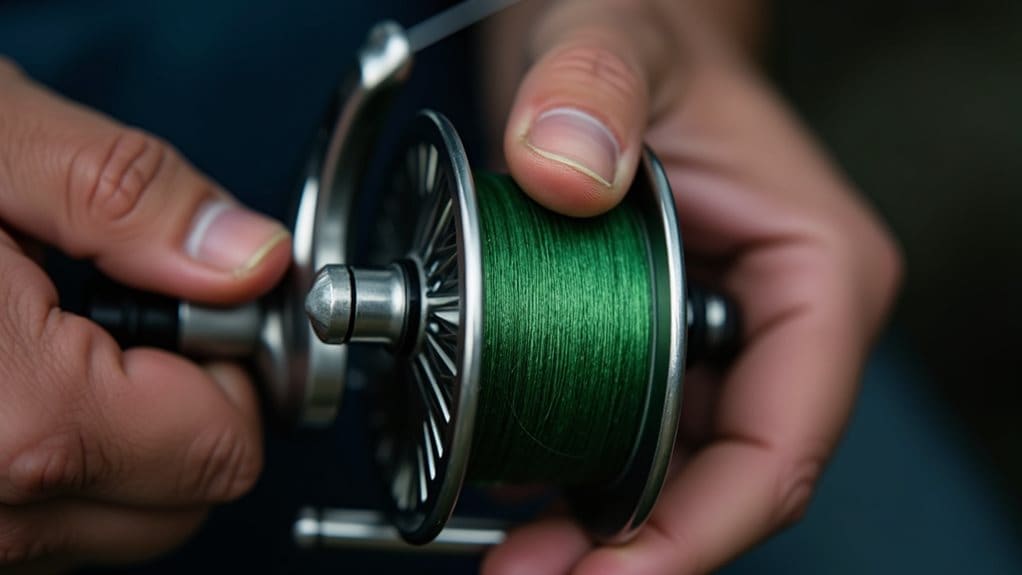
Maintaining Perfect Tension Throughout the Spooling Process
Tension isn’t just important when spooling braid—it’s the single most critical factor that determines whether you’ll enjoy smooth casts or spend your day picking out backlashes.
You’ll want to maintain steady pressure throughout the entire spooling process, targeting around 7-10 pounds of resistance to guarantee the line packs tightly without digging into itself.
Before you start, though, protect your hands with a towel or glove, because braid can slice into your skin surprisingly fast when you’re applying consistent tension for several minutes.
Why Tension Matters Most
When you’re spooling braid onto a baitcaster, maintaining consistent tension isn’t just a helpful tip—it’s the single most critical factor that determines whether your setup will perform flawlessly or frustrate you with constant backlashes.
Proper tension prevents loose, uneven line that digs into itself under load, causing knots, jams, and snapped line. It also guarantees flat, even wraps that improve casting distance, accuracy, and overall performance.
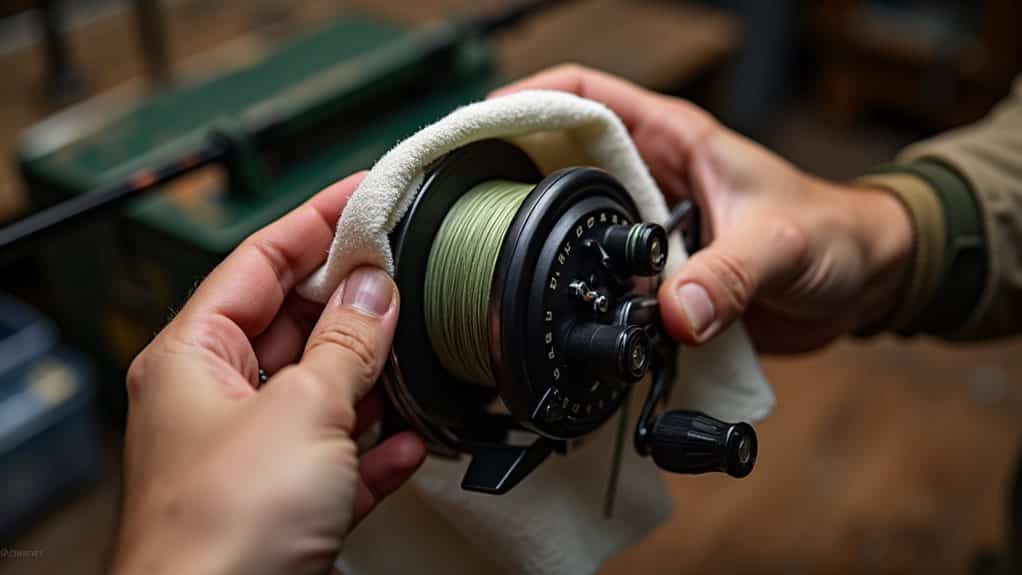
Hand Protection When Spooling
Your hands will take a beating during the spooling process if you don’t protect them properly, and that protection needs to work hand-in-hand with maintaining the steady tension you’ve just learned is so important.
A fishing glove or wrapped towel creates a buffer between your skin and the line, preventing painful burns while allowing you to maintain consistent pressure throughout the entire spool.
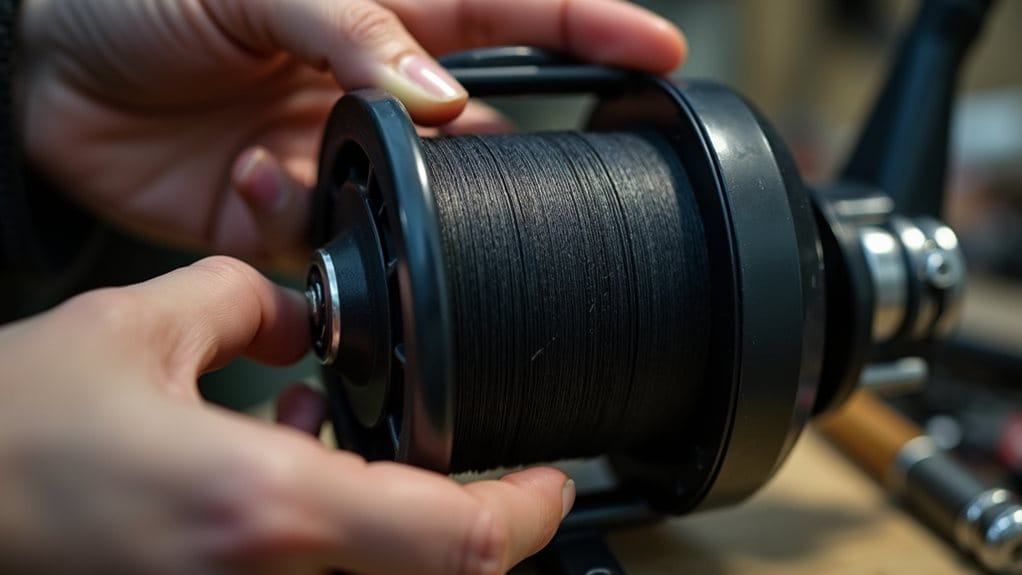
Filling the Spool to the Optimal Level
Achieving the right fill level on your baitcaster spool makes the difference between effortless casts and frustrating tangles.
You’ll want to fill your spool to about 1/8 inch from the edge, which maximizes casting distance while preventing backlashes.
Underfilling reduces performance, while overfilling invites line spills.
Experienced anglers can push closer to 1/16 inch, but beginners should maintain that 1/8-inch gap for better control.
Avoiding Common Spooling Mistakes and Backlash Issues
Even when you’ve carefully selected your braid and backing, poor spooling technique can quickly lead to frustrating backlashes and line management problems on the water.
The most common mistakes—allowing the line to spool loosely, overfilling the spool beyond the recommended capacity, and failing to secure the braid properly to prevent slippage—can turn an otherwise smooth casting experience into a tangled mess.
Prevent Line Slippage Issues
When braid spins freely on the spool during a hard hookset or battles with a strong fish, you’ll quickly understand why preventing line slippage ranks as one of the most critical steps in spooling a baitcaster.
Start by securing your knot with a one-inch piece of electrical tape pressed firmly over it, or run the braid through your spool holes if available.
Maintain Consistent Spooling Tension
Proper tension throughout the spooling process separates anglers who experience frequent backlashes from those who enjoy smooth, trouble-free casts.
Reel at a steady, moderate speed while applying uniform pressure to the line between your fingers and spool.
Avoid erratic reeling motions that create loose loops and uneven line lay.
Tighten the tension knob so the spool resists slightly, preventing free-spinning that dramatically increases backlash risk.
Avoid Overfilling the Spool
One of the most critical spooling errors you can make is overfilling your baitcaster spool, which creates a cascade of casting problems that’ll frustrate even experienced anglers.
Stop spooling when your line reaches approximately 1/8 inch from the spool rim.
Overfilled spools release excessive line during casting, inviting frequent backlashes, while underfilling reduces casting distance and retrieve speed, so finding this balance is essential.
Testing Your Newly Spooled Baitcaster Before Fishing
After you’ve finished spooling your baitcaster with braid, you’ll need to verify the setup works correctly before hitting the water.
Make several practice casts in an open area, observing how the line lays on the spool and checking for backlashes or wind knots. Adjust your brake system and spool tension accordingly, then simulate a hookset by reeling against resistance to confirm your knot holds securely.
Pro Tips for Long-Lasting Line Performance

Maintaining your braided line properly will dramatically extend its lifespan and keep your baitcaster performing at its peak.
Rinse your spool with fresh water after saltwater use, and inspect the braid regularly for frays or weak spots.
Store your reel in a cool, dry place away from UV light and extreme temperatures.
Replace your braid every one to two years, or sooner if you notice significant wear.
Final Note
You’ve now mastered the essential techniques for spooling braid onto your baitcaster, from securing the line properly to filling the spool at the ideal level. Remember, you’ll achieve the best casting performance by avoiding overfilling and ensuring consistent tension throughout the spooling process. Take time to test your setup before heading out, and you’ll enjoy smoother casts, fewer backlashes, and better line management on the water. Your properly spooled baitcaster is ready for action.


