Start by selecting a jig head shape that matches your target habitat—football heads for rocky bottoms, Arkie for brush, or Ned heads for finesse presentations. Pour lead or tungsten into metal molds using proper safety equipment, then attach razor-sharp hooks with secure knots or crimps. Create custom skirts by stacking silicone strands in color combinations suited to water clarity, and install trailer keepers to prevent soft plastics from sliding. Test your jigs in a water tank to observe swimming action and make adjustments to weight distribution or skirt trimming before heading to the lake.
TLDR
- Match jig head shape and weight to habitat and depth: football heads for rocky bottoms, lighter weights for shallow water.
- Secure razor-sharp hooks with proper orientation and add weed guards with thread wraps to prevent snagging in cover.
- Create custom skirts by stacking colored silicone strands and trimming to adjust action and vibration characteristics.
- Test jigs in a water tank to observe swimming action, sink rate, and balance before making final adjustments.
- Add rattles for murky water and choose colors matching prey and conditions: dark for muddy, natural for clear water.
Essential Tools and Materials for Jig Lure Construction

Before you can create effective jig lures, you’ll need to assemble a core collection of tools and materials that will serve as the foundation for your tackle-building projects.
Start with jig heads in various weights, quality hooks, and soft plastic baits or skirts. You’ll also need split ring pliers, long-nose pliers, and wire cutters for assembly, along with paints and sealants for finishing touches. For those looking to expand their component selection, Canada’s largest selection of lure-making supplies offers everything from walleye components to softbait molds and specialized wires. Additionally, consider incorporating high-resolution displays to enhance your fishing experience when using your jigs.
Selecting the Right Jig Head Shape for Your Target Species
When you’re selecting a jig head shape, you’ll need to take into account three critical factors that work together to determine your success on the water.
First, match the head design to the habitat you’re fishing—football heads excel in rocky terrain because their shape and eye placement prevent snagging, while round heads offer versatility across various bottom structures. Additionally, understanding how fish finders work can enhance your ability to locate the best habitats for your target species.
Second, choose a weight that achieves the right sink rate for your target depth and species, keeping in mind that lighter weights like 1/16 ounce work well for crappie in shallow areas, whereas heavier options are necessary for reaching bass holding in deeper water.
Third, consider specialized designs like swim jigs when you need a presentation that moves horizontally through the water column, as their stabilizing fins prevent rolling and create a natural gliding action that triggers strikes from suspended fish.
Match Head to Habitat
Selecting the right jig head shape makes the difference between a productive fishing day and constant frustration with snags, poor presentations, and missed strikes.
Match your jig to the environment you’re fishing. Football heads excel on rocky bottoms, while Arkie-style jigs negotiate brush piles and laydowns. Swim jigs work through sparse cover, and Ned heads stand upright for finesse presentations in clear water.
Weight and Sink Rate
Understanding how jig heads sink through the water column alters your ability to control presentation depth and trigger strikes.
Spherical heads sink fastest due to minimal drag, while flatter shapes descend slower with increased surface area.
A 4.67-gram spherical jig can match the sink rate of a 7.88-gram non-spherical head, proving shape efficiency matters as much as weight for reaching target depths quickly.
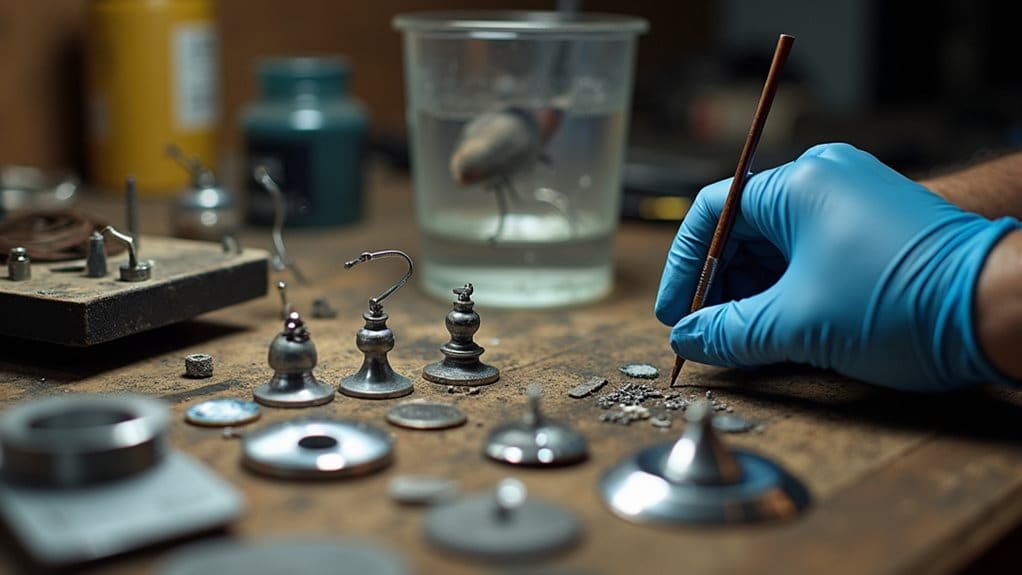
Pouring and Molding Lead or Tungsten Jig Heads

At the heart of jig lure construction lies the process of creating the weighted head, which gives the lure its characteristic action and determines how it moves through the water.
You’ll need metal molds, safety gear, and either lead or tungsten as your material. Lead requires melting in a dedicated pot, while tungsten involves mixing powder with binders, compressing it, and sintering at high temperatures. A well-constructed jig head is essential for effective lure action and can significantly improve your fishing success.
Choosing and Attaching Hooks to Your Jig Components
Once you’ve successfully poured your jig heads and allowed them to cool, the next step involves selecting the right hook and securing it properly to create a functional, fish-catching lure.
Choose your hook based on wire gauge, gap width, and target species. Match heavier gauges for larger fish like bass or pike, while lighter wire suits finesse applications. It’s also important to consider the strength of size swivels to ensure that your lure setup can handle the anticipated catch.
Secure hooks using reliable knots or crimps, ensuring proper orientation for peak lure action.
Creating Custom Skirts With Silicone and Soft Plastics

When you’re ready to add color, movement, and fish-attracting flair to your jig heads, creating custom skirts becomes the natural next step in lure-making.
You’ll find silicone skirts widely available in various colors and patterns, perfect for murky water visibility.
Soft plastic alternatives like living rubber maintain better flare in cold conditions.
Stack layers for multi-color effects, trim strands to adjust action, and use standard collars to secure everything.
Installing Weed Guards for Snag-Free Fishing
Your jig now sports an attractive custom skirt, but it won’t stay in the water long if you’re constantly snagging on vegetation and underwater obstacles.
Installing a weed guard solves this problem by deflecting debris away from the hook point.
You’ll need monofilament, wire, or nylon bristles, which you’ll secure to the hook shank with thread wraps and adhesive, angling the guard to balance snag protection with hookset efficiency.
Adding Trailer Keepers and Rattles for Enhanced Performance
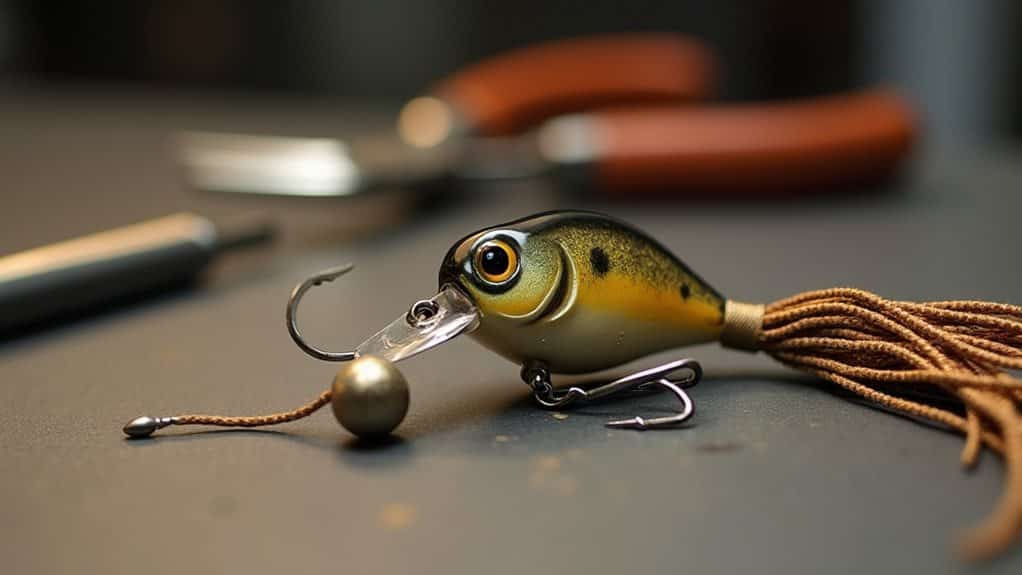
Once you’ve equipped your jig with a weed guard, it’s time to focus on two critical features that’ll keep your lure performing at its best: trailer keepers and rattles.
Installing a small barb or keeper on the hook shank prevents your soft plastic trailer from sliding out of position during aggressive casts or retrieves, maintaining the lure’s intended action and saving you time on constant readjustments.
Adding an internal rattle chamber during the molding process creates sound vibrations that attract fish in murky water or low-light conditions, giving your jig an extra sensory appeal that visual cues alone can’t provide.
Installing Trailer Keeper Barbs
Installing trailer keeper barbs comes down to creating a secure attachment point that holds your soft plastic trailer in place without tearing or damaging the bait.
Thread your trailer onto the jig hook shank until it seats firmly against the keeper.
For DIY wire barbs, use needle-nose pliers to bend wire at nearly 80 degrees, creating sharp angles that increase holding power without weakening the metal.
Adding Internal Rattle Chambers
Beyond securing your trailer, internal rattle chambers introduce sound-based attraction that can markedly improve your jig’s effectiveness in murky water or when fish are holding tight to structure.
Position chambers near the lure’s center of rotation to maintain balance, then seal them with UV epoxy to prevent water intrusion. The collision of metal or glass balls inside creates auditory cues that trigger strikes, especially when you employ jigging or shaking retrieves.
Color Patterns and Combinations That Attract Fish
When you’re selecting colors for jig lures, understanding how fish perceive and react to different color patterns can dramatically improve your catch rate.
High-contrast combinations like black and blue excel in muddy water, while natural tones such as green pumpkin work best in clear conditions.
Match local prey—crawfish colors for spring, shad patterns for baitfish—and add accent colors like chartreuse or orange to increase visibility and trigger strikes.
Testing and Adjusting Your Homemade Jigs
Once you’ve crafted your jig, you’ll need to test its performance in controlled conditions before hitting the water. Start with water tank action tests to observe how your jig falls, settles, and responds to different retrieves, then adjust weight and balance if it spins unnaturally or doesn’t sit horizontally as intended.
Finally, verify that your hook is razor-sharp and positioned correctly to make certain solid hooksets without interfering with the jig’s swimming action or causing it to snag unexpectedly.
Water Tank Action Tests
Testing your homemade jigs in a water tank provides priceless understanding that you simply can’t get from casting into open water, where visibility and control are limited.
You’ll observe how different trailers affect swimming action, evaluate sink rates and descent posture, and identify stability issues during pauses.
Experimenting with retrieve speeds reveals which techniques produce ideal vibration and movement, helping you refine your lure’s effectiveness before hitting the lake.
Adjusting Weight and Balance
After you’ve observed your jig’s basic action in the water tank, you’ll need to fine-tune its weight and balance to achieve the precise swimming behavior that triggers strikes.
Start by adding weight incrementally, testing after each adjustment. Position weight slightly behind the tie-on point for stability, and make certain equal distribution on both sides to prevent unwanted roll or tilt that’ll reduce effectiveness.
Hook Sharpness and Positioning
Weight distribution and balance mean nothing if your jig can’t convert strikes into hooked fish, and that’s where hook sharpness becomes the determining factor between a productive day and frustration.
Test sharpness using the thumbnail method: draw the point across your nail at 45 degrees—sharp hooks catch immediately. Sharpen dull points with a diamond stone using six forward strokes per side, then finish vertically down the tip for clean penetration.
Proper Storage and Maintenance of DIY Jig Lures
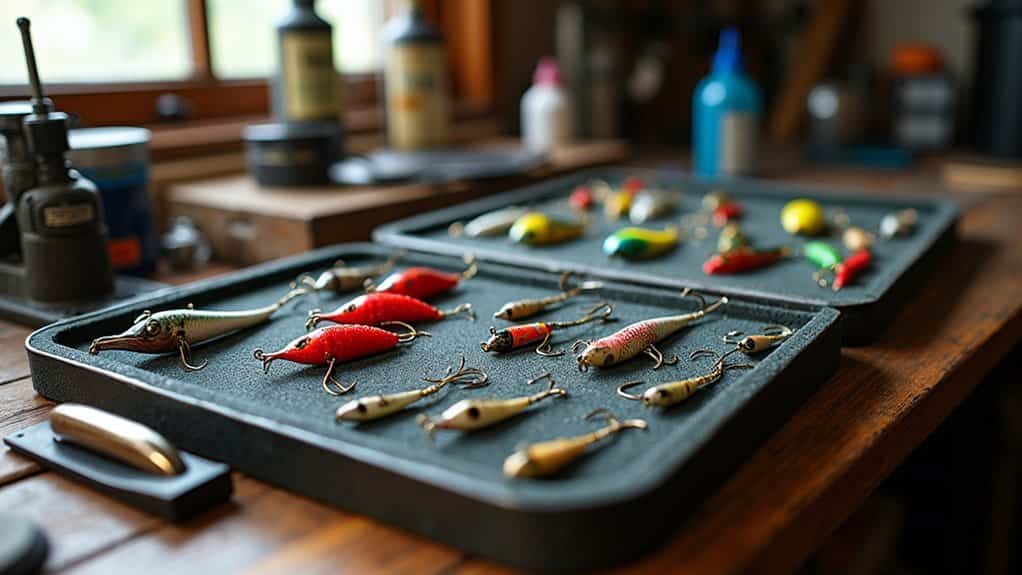
Once you’ve invested time and effort into crafting your own jig lures, protecting that investment becomes essential. Store your DIY jigs in foam-lined boxes with individual compartments to prevent hooks from dulling and damage during transport.
Rinse jigheads in fresh water after each session, then dry them thoroughly before storage. Use tackle boxes with O-ring seals and moisture-wicking packs to prevent rust and maintain hook sharpness for peak fishing performance.
Final Note
You’ve now got the knowledge to craft jigs that’ll outperform store-bought options. Start with simple designs, focusing on proper weight distribution and hook placement, then experiment with colors and features as you gain confidence. Remember, the best jig is one that matches your local conditions and target species. Don’t be afraid to test different combinations on the water—your homemade lures will improve with each fishing trip, and you’ll develop patterns that consistently produce results.


