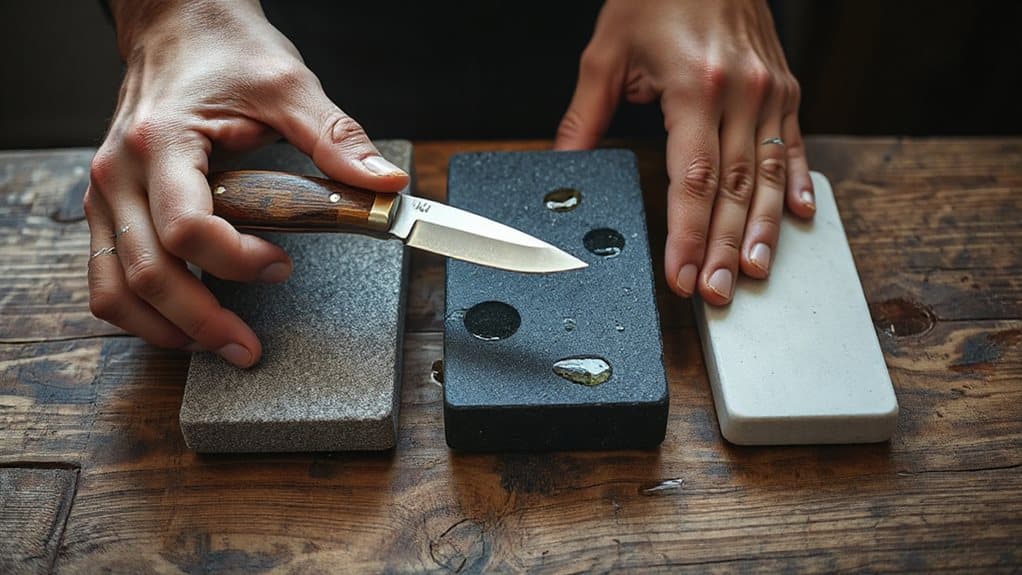
Start by picking the right stone—use a 1000–3000 grit water stone for regular sharpening or a 400 grit diamond stone for damaged edges. Soak water stones, then set them on a damp towel to prevent slipping. Hold your knife at 17°–20°, using a Sharpie on the bevel to check your angle. Stroke steadily from heel to tip, alternating sides until a burr forms. Then switch to a fine grit stone to polish the edge. Test sharpness on paper or wood, and keep your stone flat and clean. There’s more to mastering your technique with a few extra tips.
TLDR
- Choose the right stone: use 1000–3000 grit water or ceramic stones for regular sharpening and 400 grit diamond stones for damaged edges.
- Prepare the stone and workspace: soak water stones, use oil on oil stones, and secure the stone on a non-slip surface with proper lighting.
- Maintain a consistent angle: sharpen at 17°–20°, using an angle guide or Sharpie-marked bevel to match the factory edge.
- Rebuild and refine the edge: start with coarse grit to reshape, then alternate sides evenly, finishing with fine grit for a polished, sharp edge.
- Test sharpness and care for tools: check with paper or hair cuts, keep the stone flat, and clean, dry, and store tools properly after use.
Choose the Right Sharpening Stone for Your Knife
Getting the right sharpening stone for your pocket knife can make all the difference in how well it cuts—and how easy it’s to keep it that way.
Choose a 1000–3000 grit water or ceramic stone for everyday maintenance; they’re fast, effective, and easy to use.
If your edge is damaged, start with a 400 grit diamond stone to reshape it.
Natural stones like Arkansas novaculite work well for fine sharpening but cut slowly.
For portability, grab a 2–3 inch pocket stone—perfect for on-the-go touch-ups.
Water stones use a softer binder that allows abrasives to shed and expose fresh cutting surfaces, enhancing their cutting speed over time.
After any heavy use or impact, always inspect the blade for hidden damage before sharpening to avoid making cracks or chips worse.
Prepare Your Whetstone and Work Area
First, pick the right stone for your knife—water stones need soaking, while oil stones require a few drops of oil.
Set up your station on a steady, non-slip surface with good lighting, and keep a towel and lubricant close by.
This simple prep keeps your sharpening smooth, safe, and effective. Apply a protective coating like a water repellent to nearby fabric or vinyl surfaces to prevent damage during cleaning.
Choose The Right Stone
When it comes to sharpening your pocket knife, picking the right stone makes all the difference—think of it as laying the foundation for a sharp, durable edge.
Choose water, oil, or diamond stones based on your needs. For quick fixes, go coarse (400–1000 grit); for refined edges, pick fine (1000–3000).
Combo stones save time and space—perfect for on-the-go sharpening.
Set Up Your Station
With your whetstone in hand and your knife ready, it’s time to set up a solid sharpening station—this step keeps everything safe, stable, and efficient.
Soak the stone in cold water for 5–10 minutes, then add a drop of mineral oil or soapy water.
Place it on a damp towel to prevent slipping, secure it on a flat surface, and gather your tools—marker, cloth, water, and angle guide if using.
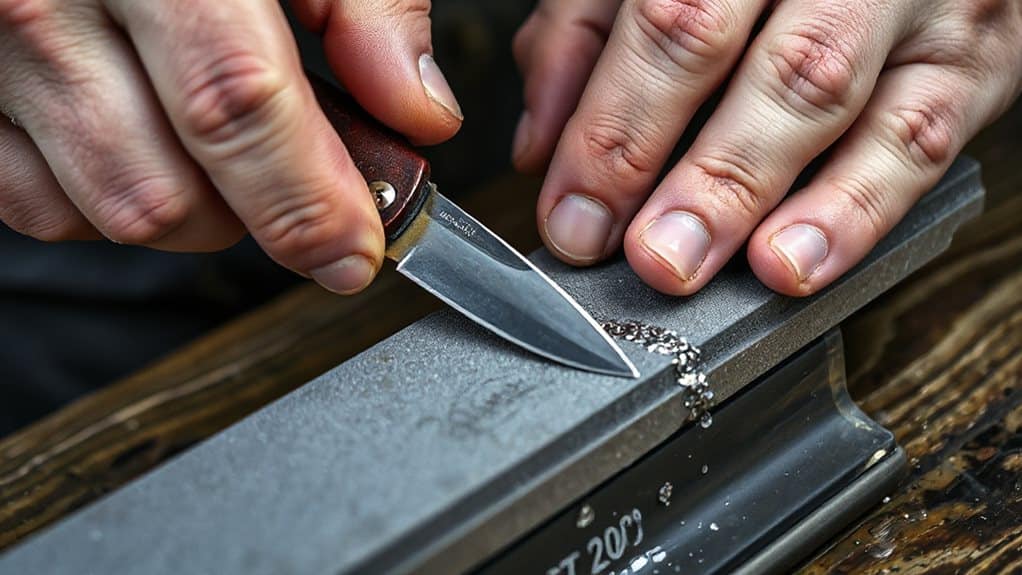
Find the Correct Sharpening Angle
You’ll want to find the right sharpening angle to keep your pocket knife sharp and durable.
Most pocket knives work best between 17° and 20°, with 20° being a safe, easy-to-maintain choice if you’re just starting out.
Using an angle guide or the marker method helps you stay consistent and avoid guesswork.
Finding The Right Angle
How sharp is sharp enough—without being too fragile? For your pocket knife, aim between 17–22°.
Most benefit from 20° per side, balancing edge life and sharpness. Match the factory angle first—check it with a Sharpie on the bevel. If it chips, go 1–2° higher.
Prefer slicing finesse? Try 17–18°. Need toughness? Lean toward 20–22°. Your style, your edge.
Using An Angle Guide
Get your pocket knife’s edge perfectly aligned with an angle guide—your secret weapon for consistent, reliable sharpening.
Clamp it to the blade’s spine, maintain light, even pressure, and match the factory angle.
Use the Sharpie trick to check contact, adjust as needed, and sharpen at 18–22 degrees.
It’s simple, precise, and puts total control in your hands—no guesswork, just sharp, durable edges every time.
Rebuild the Edge With a Coarse Grit Stone
Grab your coarse grit stone and get ready to reshape that worn edge—this is where the real metal meets the grind. Use #80–400 for damaged or dull blades, soaking it in soapy water first.
Maintain a 15–20 degree angle, stroke forward from heel to tip, and check for a burr. Flip, repeat, and keep your pressure even—this builds a strong, toothy edge ready for finer grits. Regular maintenance and cleaning after sharpening will help prevent corrosion and prolong the blade’s life, so store the knife in a dry place and wipe it down after use, especially if exposed to moisture or salt air (preventative storage).
Alternate Sides to Form a Uniform Burr
Now that you’ve raised a burr on one side of the blade, it’s time to switch gears and work the opposite bevel—this keeps your sharpening balanced and on track.
Flip the knife and repeat the same strokes, maintaining your angle.
Once a burr forms on this side too, alternate briefly between sides to keep it even.
This guarantees symmetry, prevents uneven wear, and helps you achieve a sharp, consistent edge from heel to tip—no guesswork needed.
For ongoing maintenance, regularly clean and lightly lubricate the blade and pivot with graphite pencil to reduce friction and preserve the edge.
Refine the Edge on a Fine Grit Stone
Hone your blade to a refined, razor-sharp edge by moving to a fine grit stone—typically 4000 or higher—once you’ve evenly developed a burr on both sides.
Maintain a consistent 10–15 degree angle, using smooth, forward strokes with light to moderate pressure. Alternate sides evenly, checking for a polished edge under light.
This step removes any remaining burr, leaving a smooth, precise cutting surface ready for delicate tasks.
Store your sharpened knife in a hard case for optimal protection against bangs and drops and to prevent damage while not in use; consider using a locked case if you need added security (hard case).
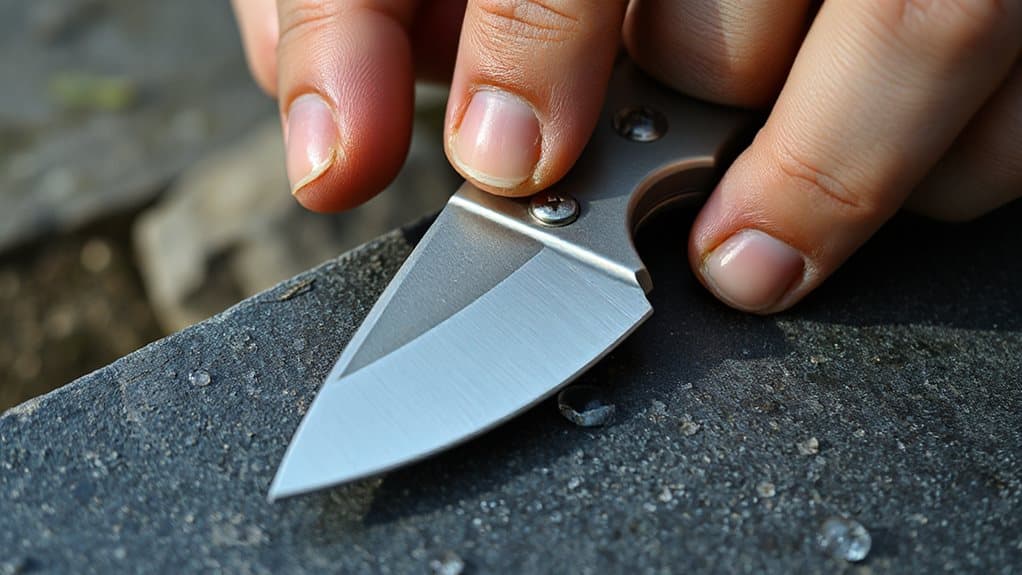
Check Sharpness With Simple At-Home Tests
You’ll often want to confirm your knife’s sharpness before putting it to serious use, and luckily, a few simple at-home tests can quickly reveal how well your edge performs.
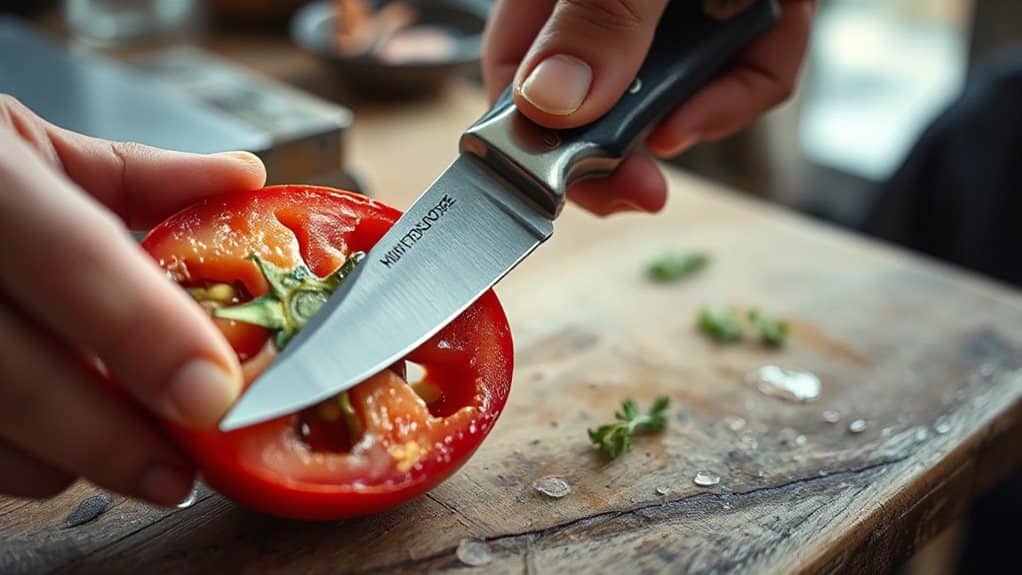
Try the paper test—clean cuts mean sharpness. Use a plastic straw to check piercing ability, or gently feel the edge on your thumb; it should grab, not slide. A wood slice or arm hair shave also works.
Spot reflections along the blade? That’s dullness or damage.
These quick checks keep you ready, safe, and in control—anywhere, anytime.
Keep Your Stone Flat for Better Results
A sharp knife starts with a solid foundation, and that begins with your sharpening stone. Keep it flat for even bevels and consistent edges.
Check flatness every few sessions using a pencil grid or straight edge. Flatten with a diamond plate or coarse stone, using circles or figure-eights.
Rinse, dry, and store it properly to maintain performance—your edge depends on it.
Final Note
You’ve got this—sharpening your pocket knife just takes practice and patience. Now that you know how to pick the right stone, maintain the angle, and test the edge, you’ll keep your blade in top shape. Remember to flatten your stone regularly and work through the grits for the best results. A sharp knife is safer and more effective, so don’t skip steps. Keep at it, and soon it’ll feel second nature.


